Building a deck: where to start?

The more detailed the design and thoughtful the considerations, the better the deck will serve those who use it regularly. There are several options available to you: using a variety of materials, assigning a specific function to each area, and adding decorative items… The possibilities are endless! Begin by collecting ideas and drawing sketches. Then, start the planning process.

Identify your needs

Before beginning the construction of your deck, take time to ask yourself the following questions. They will help you choose deck materials.

  • How will the deck be used?
  • Will there be an eating area?
  • Will there be an outdoor kitchen?
  • Will there be an outdoor fireplace or a fire pit?
  • Is the deck intended as a relaxing outdoor living room?
  • How would the weather affect the design? Can the deck be designed for use in more than one season?
  • Are there any privacy issues such as with neighbours, nearby roads, commercial areas?
  • Are there any other safety issues such as with children?
  • Would a universal design be beneficial for those who are aging or who need assistance moving throughout the home and landscaping?

Steps to follow

Make sure the steps below have been well thought-out.
1 - Compile conceptual ideas for the deck design. The conceptual design ideas may be lists, sketches, and even a gathering of images of decks that have desirable qualities. Pinterest is an excellent source of inspiration for this type of project. At this step of the process, include as many details as possible such as the actual furniture locations, sizes, and clearances between furniture, tables, and walkways. Make sure to take these details into consideration from the very beginning to avoid any unpleasant surprises along the way.
2 - To ensure compliance with current building codes and bylaws, go to your town hall and speak with the staff at the building department. You'll receive practical advice, as well as information regarding the local building code and the costs related to obtaining the necessary permits. The type of soil, the required depth of the foundation, and other special restrictions for the location of the future deck are essential factors to consider. Take advantage of this opportunity to book a subsequent appointment to review the construction plans.
3 - Develop a schedule for each step of the project. The schedule ideally includes extra time to account for unforeseen events, weather, and other last-minute changes. A list of supplies and specific workers' schedules could be linked to the timeline.
4 - The budget is always an important part of a design program. Some people enjoy thinking freely at the beginning of the project without regard to cost. Then, the costs are added up afterwards. This idea does help to foster creativity. However, it may be wise to consider costs and the budget before going along too far into the project's design. Even the smallest items such as hardware can add up quickly.
5 - Call local authorities to have underground utility lines marked. Get this done early on because sometimes there is a wait for the markings. This service is free of charge.
6 - Create a site plan of the yard. The site plan will include the outline of the home, the outline of the property, underground utilities, existing outdoor structures, hard surfaces, and landscaping. Any item that will need to be removed or that will remain on the property should be marked. Notes and references to neighbours' yards or to other features of the property that will influence the deck's design should be included.

Important elements to consider

The following information will help you successfully carry out the ideal deck project, for your home, lifestyle, and landscape.

Size of the deck

Even before the details are determined, calculate the approximate size of the deck. For example, make sure there is enough space for each planned activity as well as for the number of people who will be using these areas. As a general rule of thumb, however, plan for 100 square feet per occupant.

Split levels

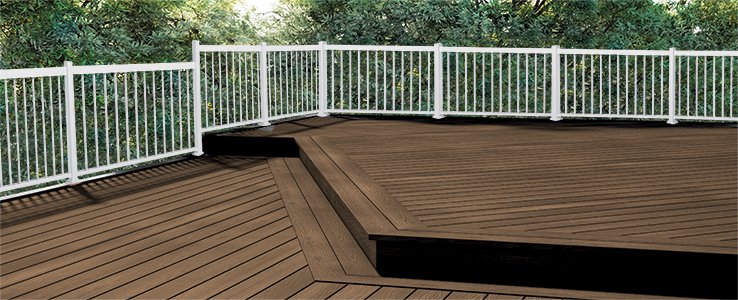
A deck with split levels can accommodate a sloped yard and a separation of activities. If planned correctly, split levels can also avoid the need for a railing and stairs. The levels need to be large and expansive to fulfill this requirement. A local building department can provide pertinent details.

Anchored / standalone

The majority of decks are anchored securely to the home, which is an integral part of the overall structural system. Yet, some decks are standalone and do not need to be anchored to the home. Determine the deck’s main structural support scheme and decide if you need to install a deck foundation. A professional may need to be consulted for verification of the structural design. The building code officials can also provide guidance in this matter.

Groundlevel patio or elevated deck

A patio at ground level could be an alternate option for an elevated deck. Concrete pavers, paving stones, and tiles are favourite flooring materials for ground-level patios. Additionally, a ground-level patio could be used in conjunction with the deck's design. You'll find additional information on building an elevated deck in our Building an elevated deck article.

The approach

The approach to and the exit from the deck is important to its overall design. Stairs can be designed in many different ways, such as being located in the corner of the deck or be designed as benches and expansive enough on the treads so that they would not need railings. Design access to the deck from the inside of the home as well as into the landscaping. Are there any alterations to the home that could make the deck's design more accommodating to its relation to the interior of the home?

Roof structure

A roof structure over a deck provides shade as well as structure for outdoor lighting and vines, support for a ceiling fan, or, can then again simply be another surface that would help to make the outdoor space feel more like a “room.”

Prevailing winds

Occasionally winds can be a structural issue as well. If the area has the potential for being a strong wind corridor, consider using wood for pergolas and trellises for more stability. Local authorities responsible for construction projects can be of great help with regards to wind patterns and the type of structures that can be installed.

Seasonal and nighttime use

While a deck is commonly used during the warmer months of the year, it can be used for a greater length of time if the design will allow. Cooler nights could benefit from heated lamps, outdoor fireplaces, fire pits adjacent to the deck, and even a nice stash of warm blankets. Adding a roof with moveable panels could also be helpful and might even allow the outdoor room to be used during all seasons. To use the deck at nighttime, plan for an outdoor lighting system and greater measures for privacy.

Shade

Consider the direction the deck faces the sun. If the sun's summer rays will be too intense at certain times of the day, add shade with plantings, a lattice, a canvas shade, an umbrella, a pergola or a gazebo, or by planting nearby shade trees.

Views and privacy

Plan the views from different locations on the deck and from outside the property. If sitting at the dining table, what will fall within the sight line of the visitors while eating? Go through several possible scenarios to optimize the design of each view from the deck. It may be necessary to include extra structures and outdoor decorative panels within the landscape so the views from the future deck and its privacy level are ideal.

Finish floor patterns

The finish flooring material and pattern are significant features to consider. The finish material floorboards could be nailed down in straight, adjacent orientation which is the most common pattern. Other options: create a basket weave pattern which consists of alternating squares or rectangles. These types of decking surfaces can be hand-crafted or purchased as wooden deck tiles. Adding accent colours or combining materials to create colour and texture depth are also interesting alternatives. Nail the finish boards at 1/8" spacing to allow for proper water drainage.

Plantings

Plantings can provide shade and aesthetics to the deck's design and activities. Deck designs typically have plants arranged at the base, and in pot on the surface.

Materials choice

The choice of deck materials is determined by the level of maintenance, budget, purpose, and aesthetics.
Types
Weight
Hardness
Color
Cost
Pressure-treated (P.T.) wood
Medium
Medium
Yellow-green; can be stained / painted
$
Cedar
Light
Soft
Reddish-brown
$$
Redwood
Heavy
Hard
Reddish-yellow
$$$
Ipe
Heavy
Hard
Brown-tan, olive, black brown
$$$$
Composite
Heavy
Medium
Several color choices avail. per mfr.
$$
Vinyl
Light
Soft
Several color choices avail. per mfr.
$$
Euro-tile, P.T. wood
Medium
Medium
Yellow-green; can be stained / painted
$$

Drawing up the plan

A plan is necessary to successfully carry out a deck project

Sketch the design into the site plan

Start by making several photocopies of the site plan so you can draw different deck designs.

Draw the furniture and associated clearance dimensions onto these sketch plans. For example, leave a 4' clearance from the table's edges to accommodate seated persons and walk spaces. Then choose the ideal design from the various options you are considering.

The final plans

Draw the plans of the deck: bird's eye view, elevations (side views), demolition plan, foundation plan, and structural plan. On each one, include surrounding structures, dimensions, notes, materials identifications, and any other information that will impact construction.

The details

Once the general structure is drawn, plan the details which will give your deck its distinct personality.
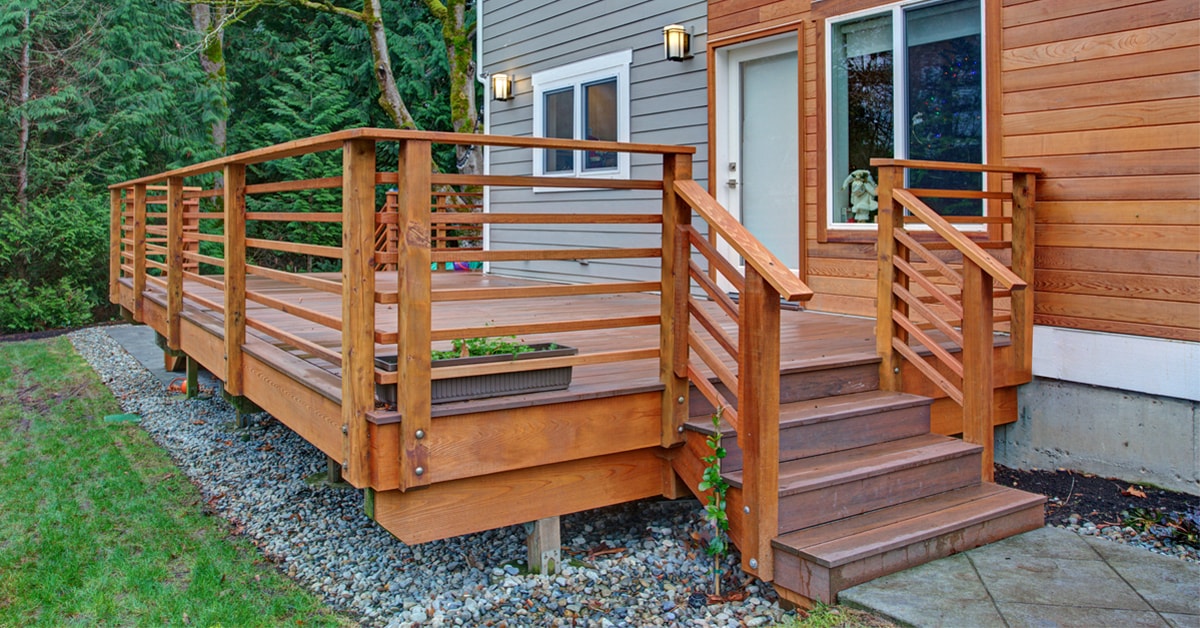
  • Stairs: Note that the risers need to be 6" – 8" high with 8 being the maximum. The treads need to be 10" – 16" deep; with 12" as the ideal length the minimum being 9 ¼". Keep the riser heights equal for each step. The same rule of equality applies to the treads.
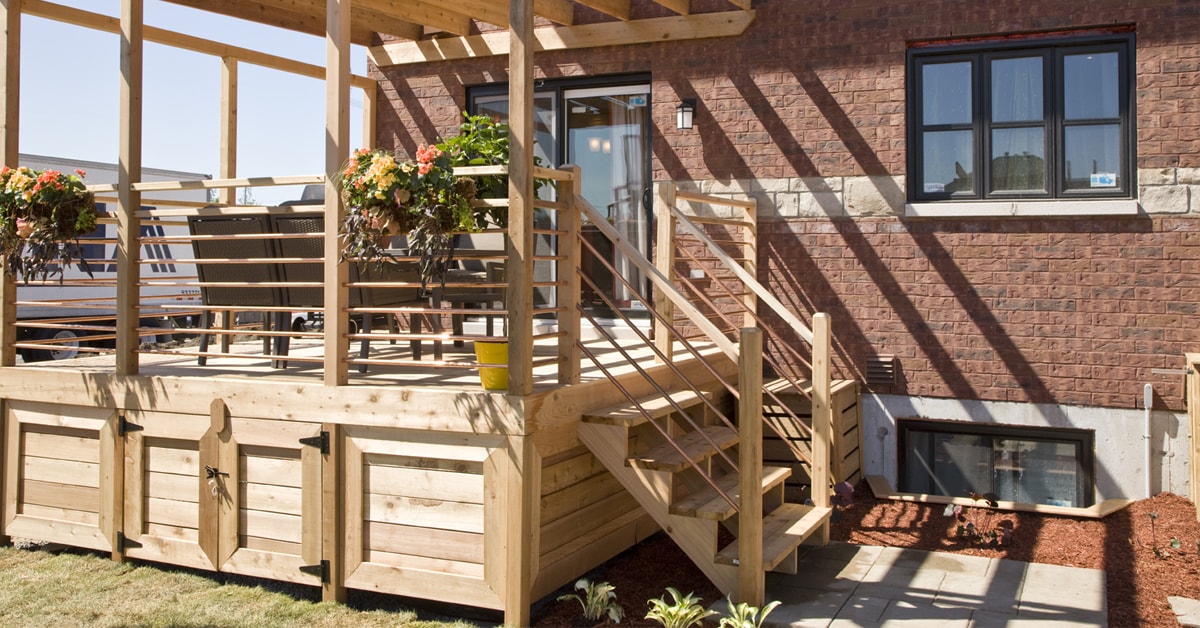
  • Railings: Railing heights are given in local codes; however, they are usually at 3' – 3'-6" tall. The spacing between each rail can be no larger than 4". This rule is meant to keep children safe. The National Building Code of Canada establishes guidelines for the construction of buildings and various structures, including decks.
  • Balusters: Consider adding caps to the balusters. There are many different cap options from copper, colored glass, stainless steel, to matching decorative wood versions. The caps could also light at night and be solar-powered.
  • Trim: Post-base trim is a popular option for the base of each baluster. Other types of trim are also available and can help to complete the deck design.
  • Deck base: The base of the deck can be closed with a pre-fabricated lattice skirt or with a custom-designed skirt.
  • Gate: A gate may be needed to protect children and domestic animals that may also use the deck. Additionally, if there is an adjacent pool, a gate may be required for safety. Verify local regulations before building, especially with a pool located nearby.

Calculate the quantities

Review the drawings, evaluations, and details to tally up all the quantities for all the materials. Do not forget to account for the type and quantity of fasteners needed for each phase of the construction. Sales representatives are available to assist with materials quantities calculations with advice and calculators. There are also some online calculators available.

For a small deck, begin by counting the boards needed for the structure and the finish decking. For the structure, add 10 percent more material to the total. For the finish decking, add 15 percent to the total.

If building a larger deck, the amount of square footage of finish decking material can be purchased per lineal feet equal to the deck's square footage. Any materials calculation method used will provide total counts of required posts, beams, joists, and other framing members.

Estimate 5 pounds of fasteners for every 100 square feet of decking. The number of metal connectors and fasteners for the framing will need to be counted individually. The amount of concrete required for the foundation is dependent upon the type of foundation system used.

Double-check your work

Walk through the construction process virtually with the drawings to make sure all the details are worked out. Double-check supplies quantities. Take all the plans to the building department to apply for a permit, have the drawings reviewed, and to set up appointments for a building official to check the foundation work and the final deck.

Miscellaneous tips

Here are a few suggestions and practical tips for a truly harmonious and functional space
  • Add outdoor lighting designed for the deck, its furniture, and designated areas.
  • Consider having some of the deck's edges curved rather than straight.
  • If the deck surface is less than 2' high, the deck will not need railings. If the stairs' treads are more than 5' long and wide, the railing could be avoided. Check with local code restrictions.
  • Planters can be built-in on top of the railings. The presence of flower boxes around an eating area can be very elegant.
  • When designing the deck, think about how sculptures and decorative objects can fit into the design.
  • Wide top railing can be used to support drinks during entertaining events.
  • If the deck has a knee-high wall that defines one edge, its base could be wide enough to double as a bench.
  • Use the wall of the home adjacent to the deck for installing latticework for a collection of potted plants and other décor.
  • Select outdoor furniture of the same finish to match and complement the deck's design.
  • Combine a variety of materials to add depth, such as black rails with wooden balusters.
  • If designing the deck around trees, leave a 3' clearance around each trunk to accommodate growth.
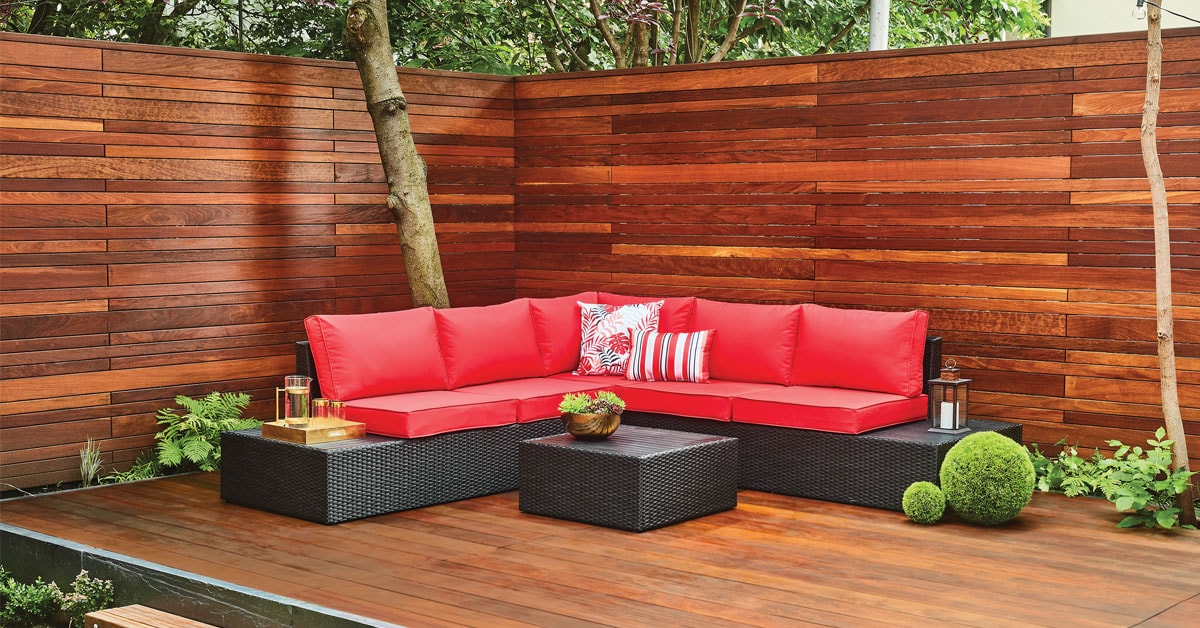
  • Fences and deck walls on the side of a deck can provide a screen against closely-set neighbour yards. These types of deck walls can preserve quietness and privacy.
  • For an outdoor kitchen, designate a 10' x 10' area. Provide a buffer between the cooking and dining areas.
  • When adding a cooking area with a barbecue, consider adding an outdoor cart that can store outdoor linens, glasses, and plastic ware, etc.
  • Consider painting the deck to match with your home’s existing trim.

Suggested products

See all decking products