Share
Do it yourself

How to install ceramic wall tiles

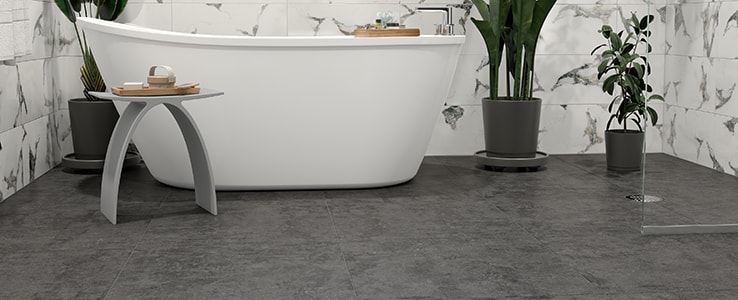
A tiled wall offers many advantages. From installing simple borders to covering half or even the whole wall, maintenance is easy and design possibilities are unlimited. Here, wall tiles are installed in a bathroom.

Difficulty level: Intermediate
Duration: 10 days
Before you start
Make sure the wall is covered with moisture-resistant gypsum board and that the surface is smooth and flat. If you're tiling over a painted wall, lightly sand the surface first.
1

Prepare the room

  • 1.1 - Switch off the power to electrical outlets and take out decorative wall plates and other accessories anchored to the wall.
  • 1.2 - Protect all surfaces.
  • 1.3 - Take out the baseboards.

Buying the right number of tiles

Calculate the number of tiles necessary to cover the area and buy more than needed to account for cuts. Add 5% for tiles laid out in straight lines and 10 to 15% for a diagonal layout.
Tiles calculator
2

Draw reference lines on the wall

  • 2.1 - With a chalk line, draw reference lines on the wall. Here, tiles are laid in a straight pattern, centred on the wall.
  • 2.2 - Snap a vertical chalk line in the centre of the wall and another line for each end of a wall section.
  • 2.3 - At the bottom of the wall, snap a horizontal line, perpendicular to the first, to indicate the top edge of the base row of tiles. Make sure that this line is level and square, and that the first row of tiles won't be touching the floor.
3

Spread the adhesive

  • 3.1 - With a notched trowel, spread the tile adhesive over a small section of wall to one side of the vertical centre line. Hold the trowel at a 45o angle. Cover an area of 3 to 4 linear feet at a time.
  • 3.2 - Make grooves in the adhesive with the notched side of the trowel. The grooves should all be made in the same direction.

Pro Tip

If your tiling layout is more complex than a straight layout, includes special patterns or borders, or if your walls are not completely straight, a tiling plan is recommended.
4

Install the first tile

  • 4.1 - Using the reference lines as a guide, install the first tile near the centre of the wall, twisting it slightly so it adheres well.
  • 4.2 - Check that the tile is level and adjust as needed.
5

Install all the tiles

  • 5.1 - Following the same technique, lay the other tiles, starting from the centre and working outwards, in a pyramid or step-like arrangement.
  • 5.2 - Place tile spacers between each tile to ensure even gaps. Don't push them in too deep. Leave the spacers in place while the adhesive dries.
  • 5.3 - Incorporate any border that you planned to install. If necessary, cut the tiles nearest the wall to the correct size.
6

Wipe off excess adhesive and remove spacers

  • 6.1 - Once all the tiles are installed, wipe off the excess adhesive with a damp sponge.
  • 6.2 - Let dry for 24 to 48 hours before applying the grout.
  • 6.3 - Remove the tile spacers.

Pro Tip

If you used masking tape to protect surfaces, take it off before applying the grout.

Don't apply grout to gaps separating the tiles from another type of material. These gaps act as expansion joints and will be sealed later.
7

Apply grout

  • 7.1 - Before applying the grout, dampen the tiles with clean water.
  • 7.2 - Mix the grout according to the manufacturer's instructions. The grout should be evenly coloured and the consistency of toothpaste.
  • 7.3 - Pour some of the grout directly onto the tiles and work it into the joints with a rubber float.
  • 7.4 - Apply the grout section by section, covering a surface no bigger than 10 sq. ft. at a time. Keep the float at a 45° angle. Since grout dries fairly quickly, wipe off the excess as fast as possible. With the rubber float, remove the excess grout from the tiled surface.
  • 7.5 - Clean the surface with a damp sponge, smoothing it diagonally over the tiles. Rinse the sponge often, using as little water as possible so as not to dilute the grout. Remove as much milky residue from the tiles as you can.
  • 7.6 - After 24 hours, when the grout is completely dry, apply grout sealer to the joints.
  • 7.7 - Wait 30 minutes, then apply a second layer.
8

Caulk the joints

  • 8.1 - Finally, after about ten days, caulk the expansion joints with silicone sealer.

Suggested products