Cutting, sanding, and painting
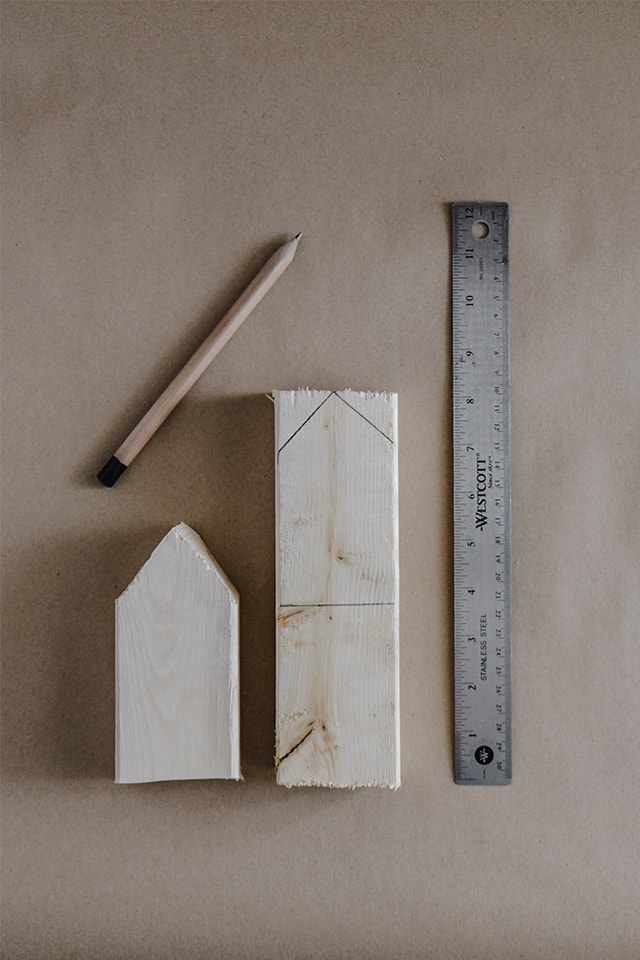
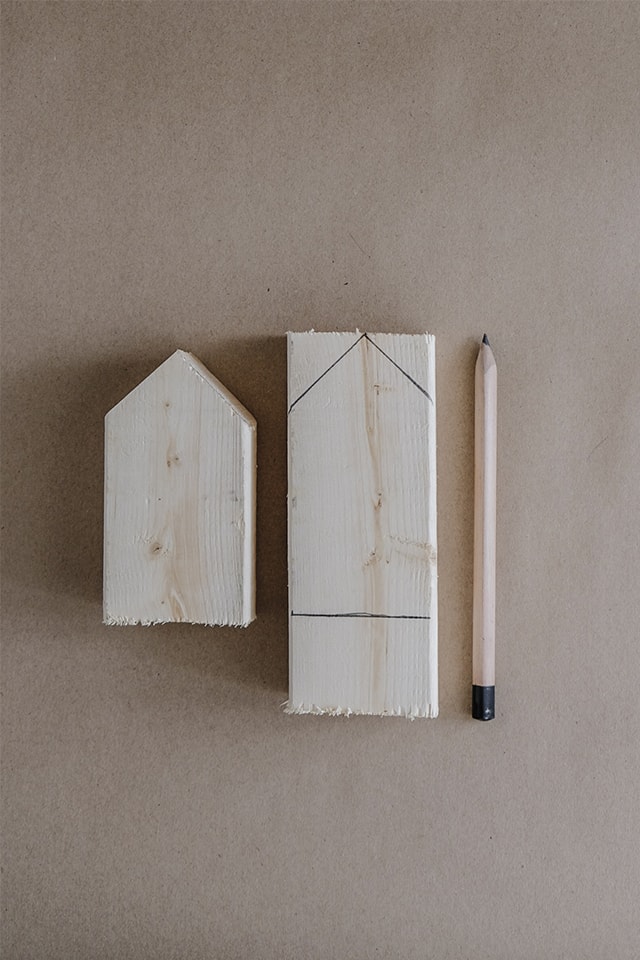
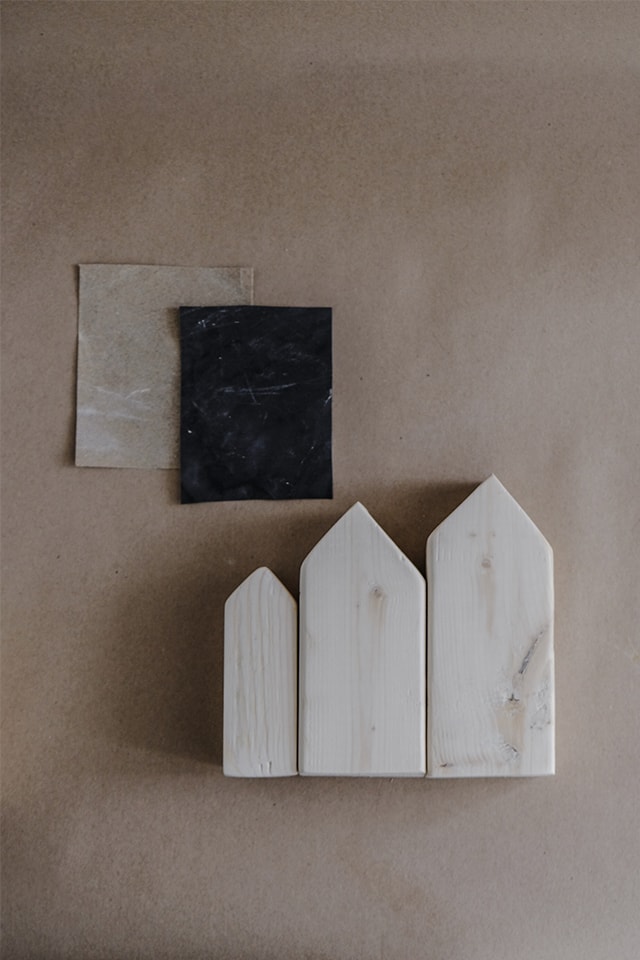
- 1.1 - First, trace a V on the piece of wood at the desired angle. Then, cut the wood using the jig saw. You can vary the height of the different houses to add depth to the village.
- 1.2 - To vary the width of certain houses, cut two identical pieces of wood and glue them together.
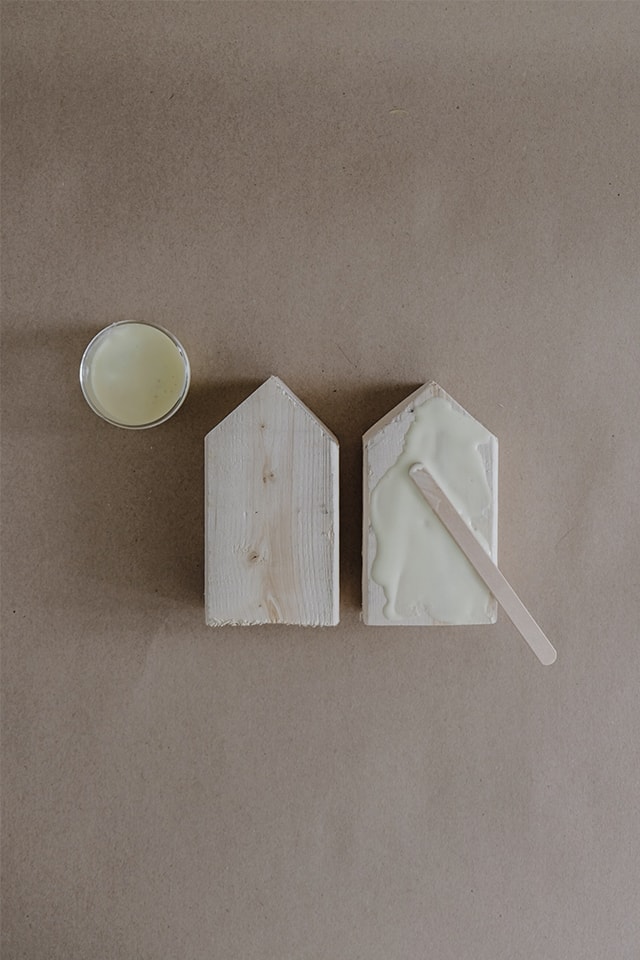
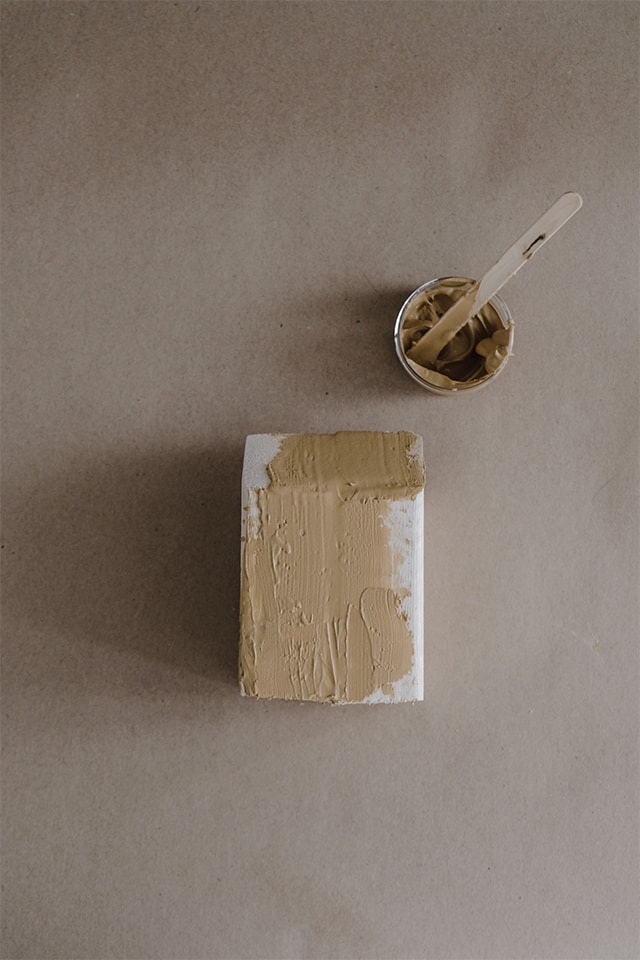
- 1.3 - Once dried, apply wood filler to hide the cracks.
- 1.4 - Sand the houses down with 120 grit sanding paper. If you prefer a smooth finish, sand again using 220 grit.
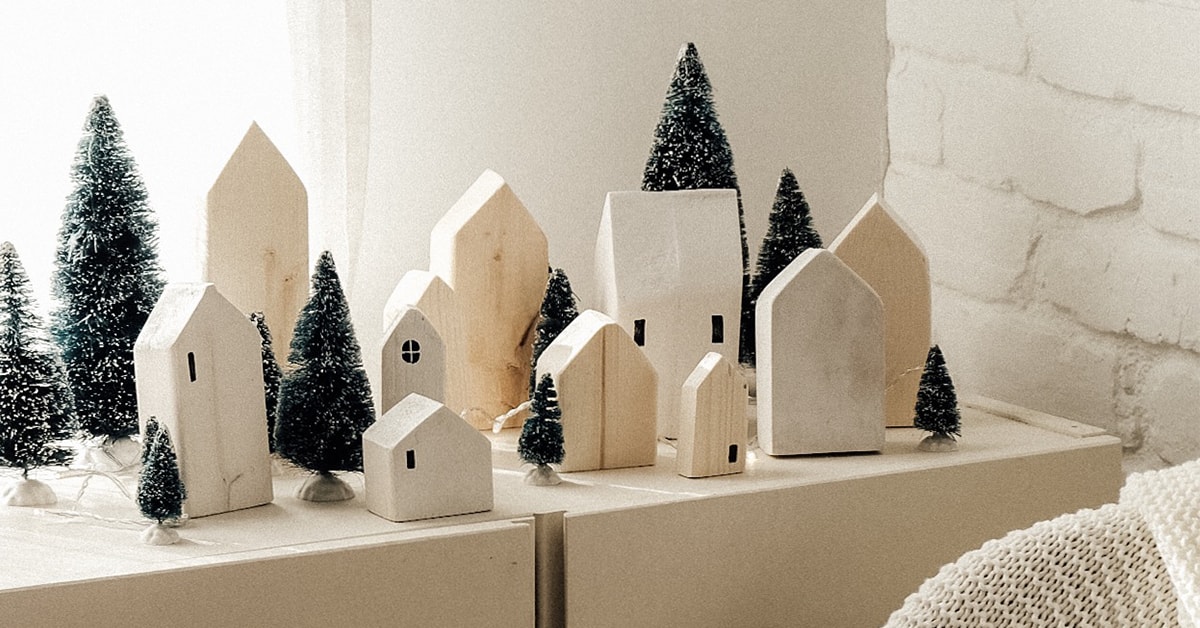
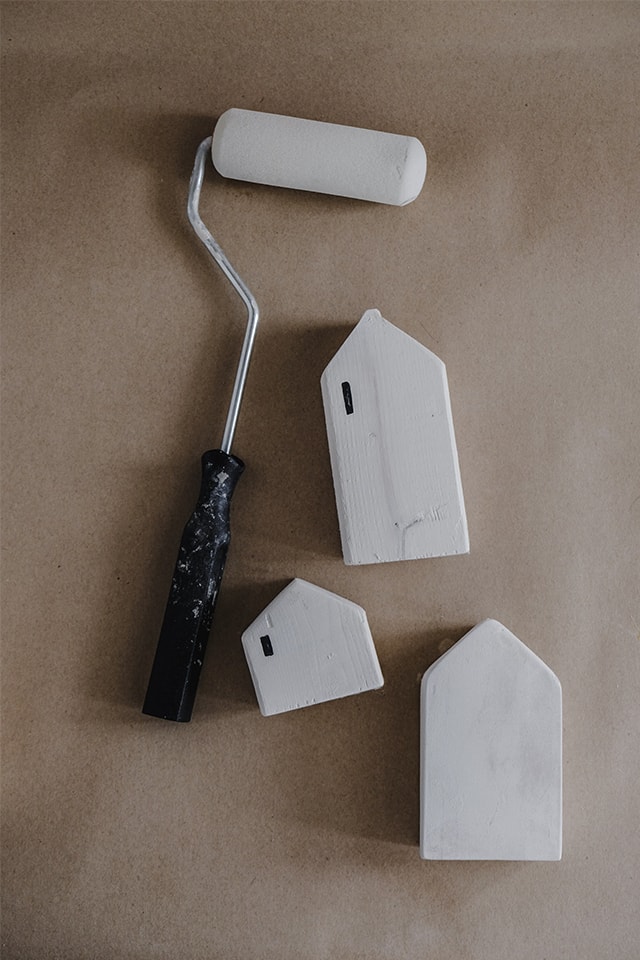
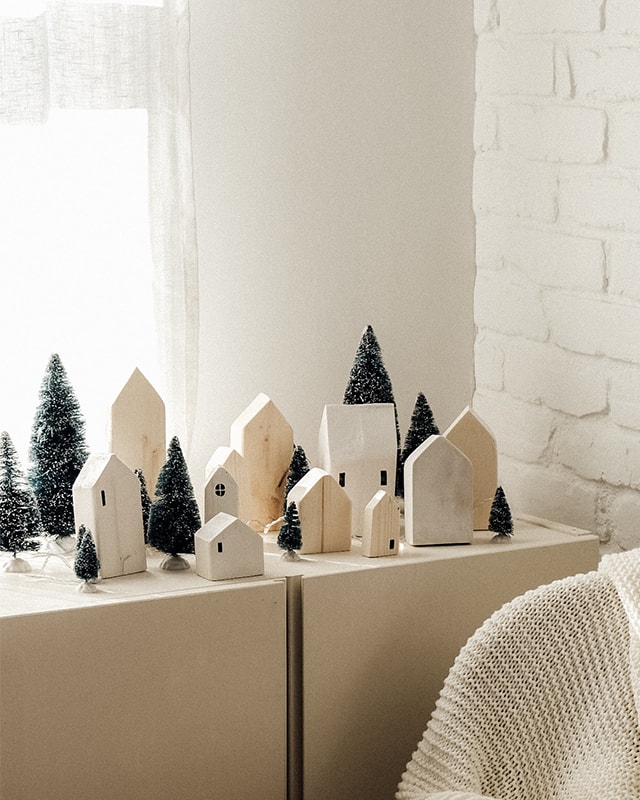
- 1.5 - For paint, I chose neutral tones to stay within a Scandinavian esthetic. You can always use your creativity and paint the houses with a more mixed palette. This step can even be done by the kids, by using non-toxic paint. You can even glue pictures of the family onto the houses to further personalize your village.


