Share
Do it yourself

Shiplap wall

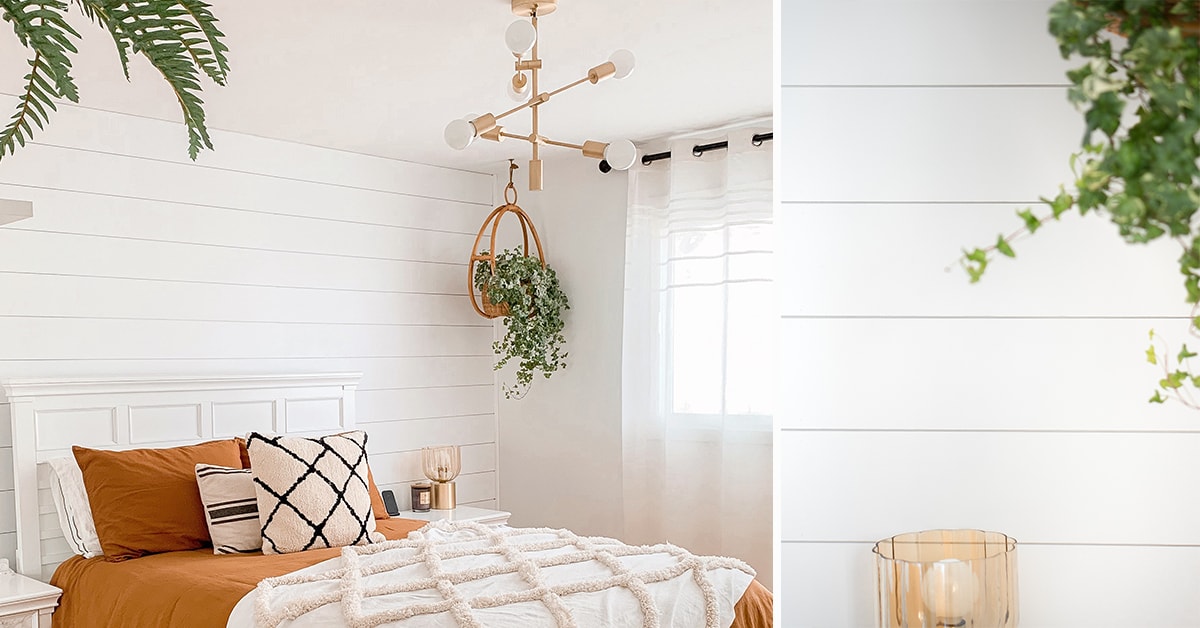
I’m so happy to be writing this article right now! After watching approximately 13 546 YouTube videos, we finally built our own shiplap wall. Of course, you can buy boxes of shiplap panels, but honestly, I find them a little expensive. Our wall costed about 3X less, and is just as cute in my opinion.

Mélissa Leduc
Lifestyle blogger
1

Preparing the planks

  • 1.1 - Measure and cut the MDF sheets to create planks that are even in width.
  • 1.2 - Paint the plank edges. This will facilitate the finishing touches once the shiplap is installed on the wall.
  • 1.3 - Let dry the recommended time and apply a second coat.

Pro Tip

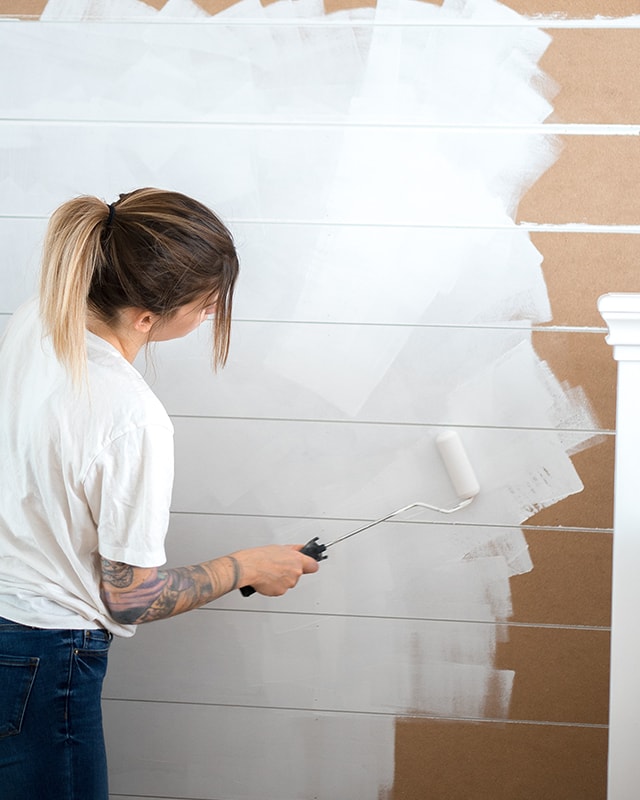
Start by painting the wall the same colour that you’ll be painting the shiplap. Painting each little crack would be way too long and the risk of having paint accumulate in between the planks would be higher.
2

Installing the first rown

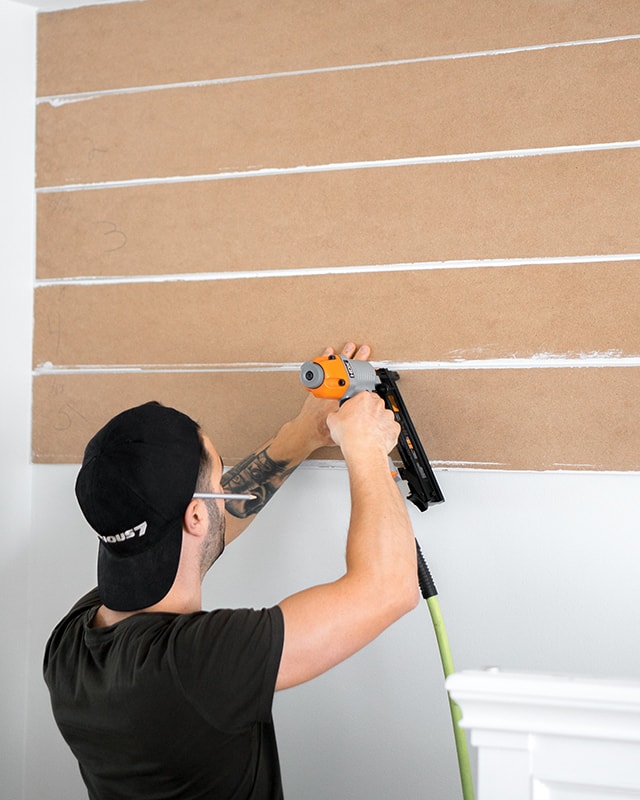
  • 2.1 - Apply wood glue to the first plank and hold it up to the wall.
  • 2.2 - Make sure the plank is level and secure with a nail gun.
  • 2.3 - Install the entire first row.
3

Installing the remaining rows

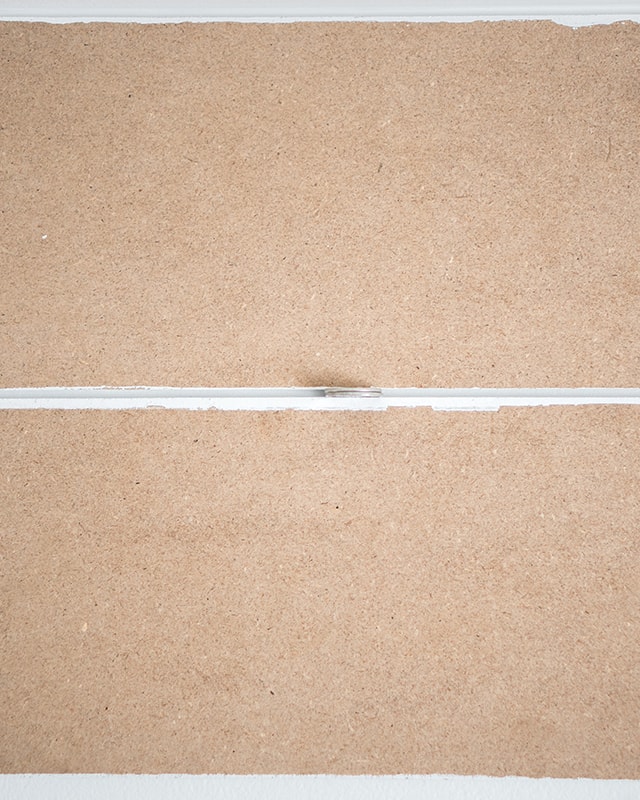
  • 3.1 - Use spacers to evenly space out the second row of planks.
  • 3.2 - Repeat steps 2.1 and 2.2 for the installation.
  • 3.3 - Continue this process for all rows.

Pro Tip

To space out the planks, you can also place 2 stacked quarters in between.
4

Finishing the project

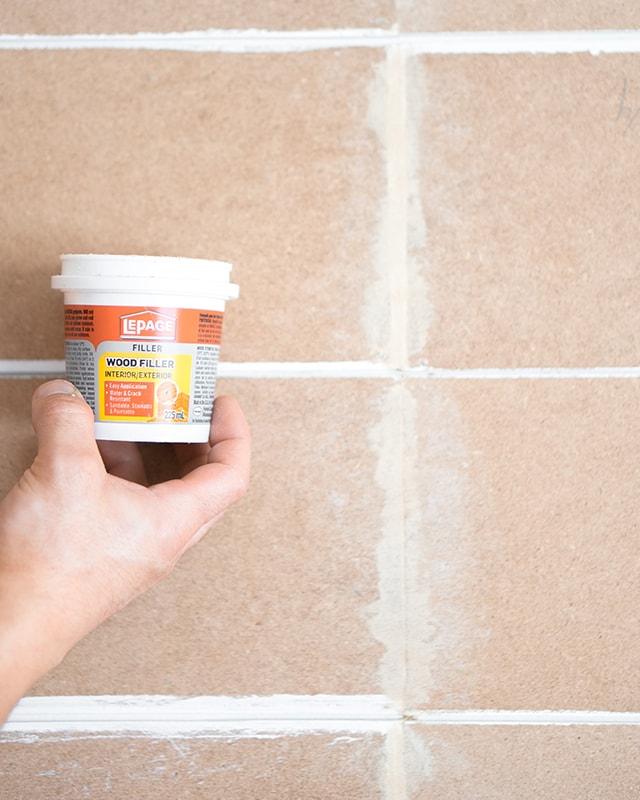
  • 4.1 - Apply wood filler to hide the cracks between planks of a given row. Sand if needed.
  • 4.2 - Using a foam roller, paint the planks.
  • 4.3 - Let dry the recommended time and apply a second coat.
  • 4.4 - For a cleaner finish, install moulding on either side of the wall.

Pro Tip

A pile or microfibre roller or a paintbrush could leave excess paint between the rows of planks.
Mélissa Leduc
Lifestyle blogger
Mélissa is a content creator and lifestyle blogger who is very active on social media. You can follow her work on her blog and on her Instagram page @dusty_rose_blog.

Suggested products