Published on July 18, 2024
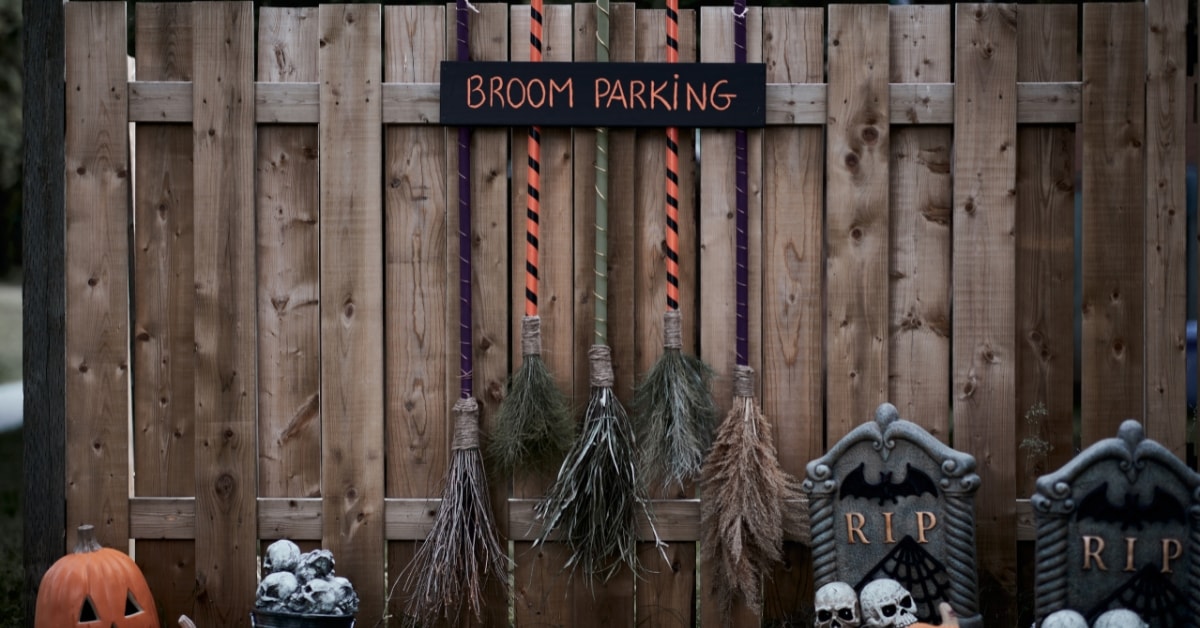
DIY Halloween Decorations: Broom Parking
Enjoy some family time and create this easy DIY Halloween decoration in just 5 steps. This broom parking rack with liven up your front porch and delight trick-or-treaters! Brooms only, so beware, all others will be “toad!”
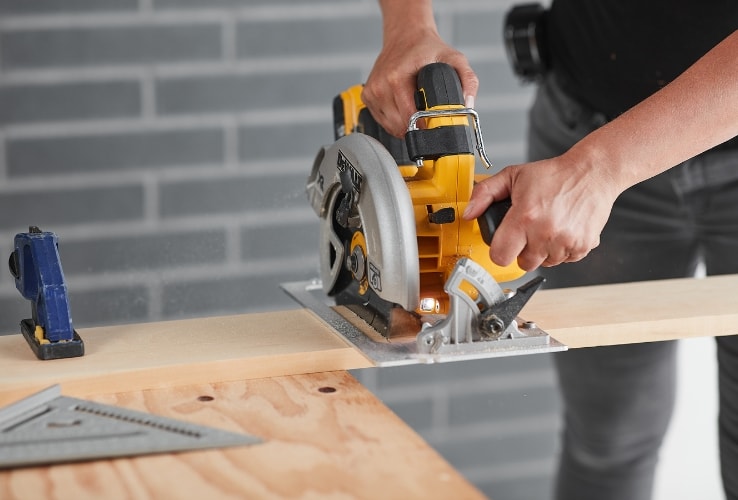
1Cut the Planks
Pro Tip
Use a carpenter’s square as a guide to get a straight cut.
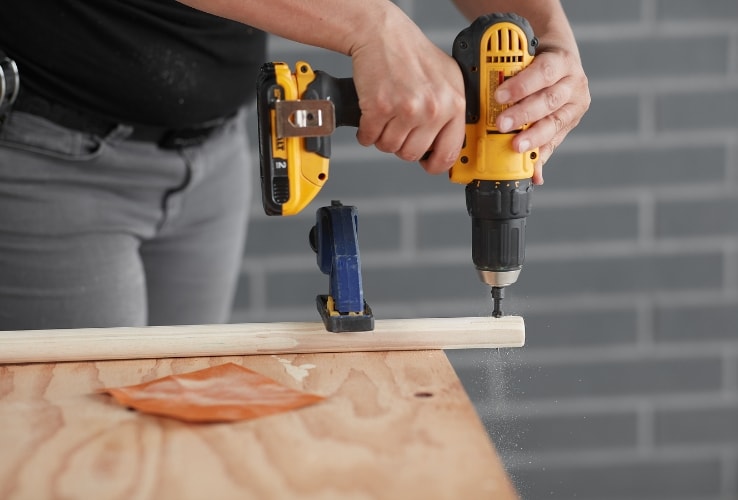
2Drill the Wooden Dowels
- 2.1Secure the wooden dowels to the table using clamps.
- 2.2Cut the broom handles to different lengths.
- 2.3Sand them down to round off one end.
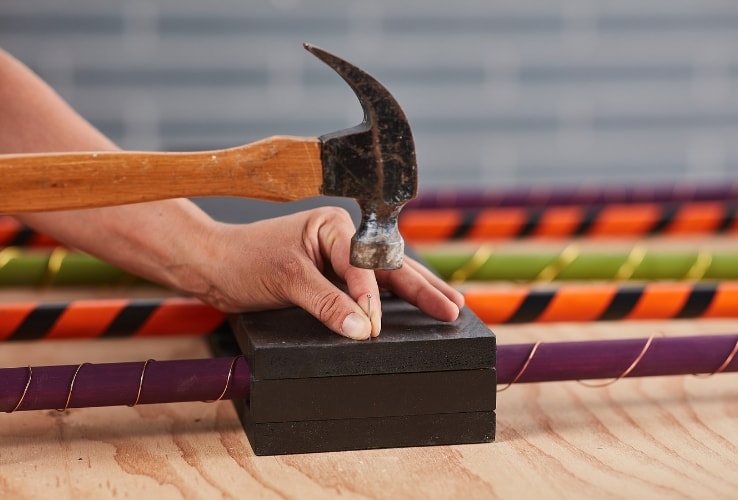
- 2.4Drill and mill each dowel to pass a small rope through them.
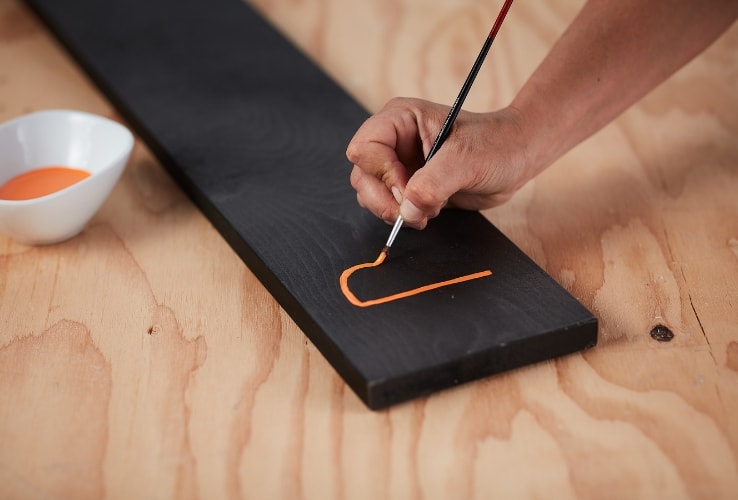
3Paint the Box and Brooms
- 3.1Paint the box black.
- 3.2Switch up the colours—think orange, green, white, or purple—for the broom handles. You can also choose to leave them natural.
- 3.3
For the sign on the box, paint it freehand or use stickers. Some ideas:
- Broom Parking
- Brooms Only!
- Happy Halloween
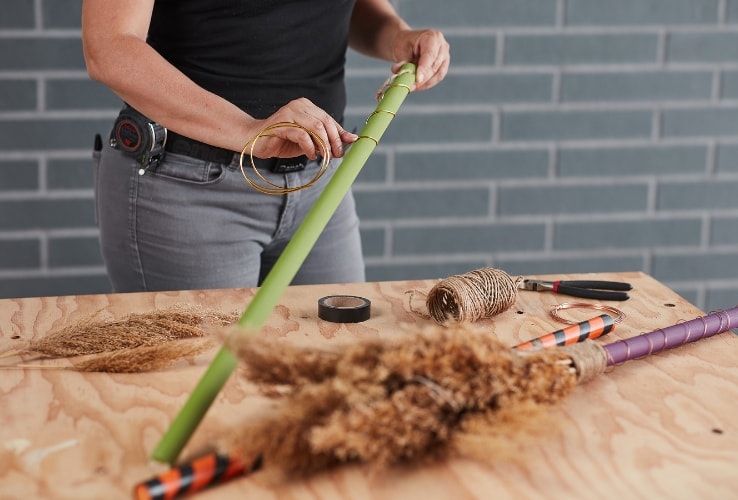
4Decorate Your Project
5Add the Finishing Touches
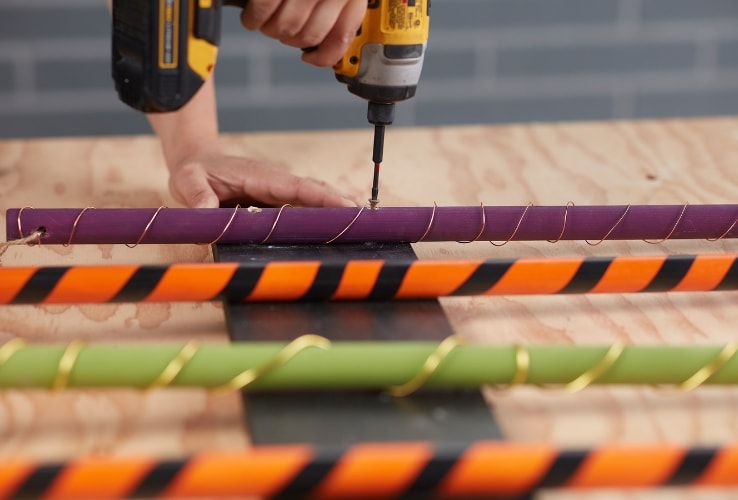
- 5.1Place the brooms at equal or varying distances apart on the front board. Secure each broom in place using two screws.
- 5.2Assemble the remaining box pieces using finish nails.
- 5.3Install the hardware for securing the project to the wall.
Disclaimer
These DIY projects are provided for informational purposes only. The information contained in RONA’s DIYs is intended to provide general guidelines to simplify jobs around the house. Because tools, products, materials, techniques, building codes, and local regulations are continually changing, RONA inc. assumes no responsibility for the accuracy of the information contained herein and disclaims any liability for the omissions, errors, or outcome of any project. RONA inc. makes no representation on the feasibility of any project and the viewer bears all risks coming with the realization of the projects. It is the responsibility of the viewer to ensure compliance with all applicable laws, rules, codes, and regulations for a project. The viewer must always take proper safety precautions and exercise caution when taking on any project. If there is any doubt in regard to any element of a project, please consult a licensed professional.


