
Published on December 8, 2023
How to Lay Sod for a Perfect Lawn
There’s more to laying sod than just "green side up" and we’ll show you how in five quick steps to get the lush, green landscape you deserve. Fresh sod not only makes for an instant impact, but it’s also vital for proper lawn care treatment for damaged areas. Are you ready to roll? Get started with this how-to guide on how to lay sod.
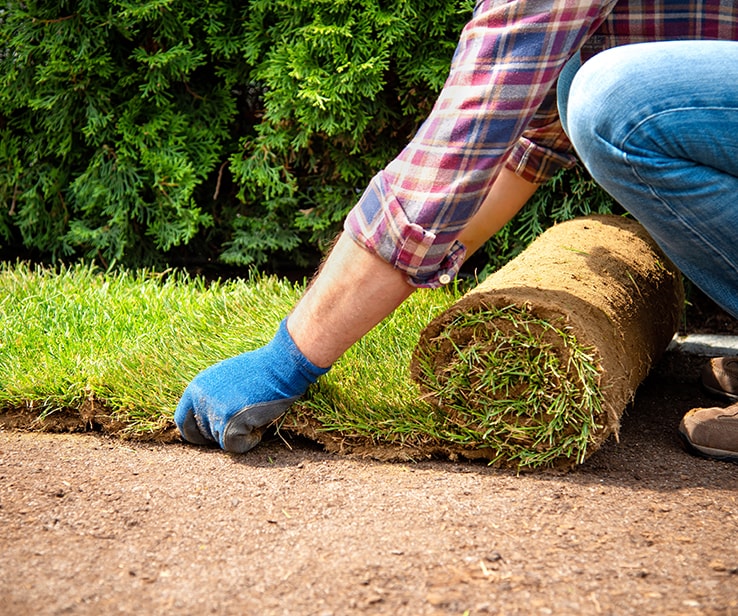
1Prep the Area and Lay the Sod Rolls
- 1.1Rake the soil and make sure it’s level, then sprinkle with water to prep the surface.
- 1.2Fill any holes with topsoil to avoid gaps between the soil and the sod.
- 1.3Lay the first roll of sod along your sidewalk, curb, driveway, patio, hedge, or garden, making sure it’s in a straight line.
- 1.4Continue to lay sod to create the first row.
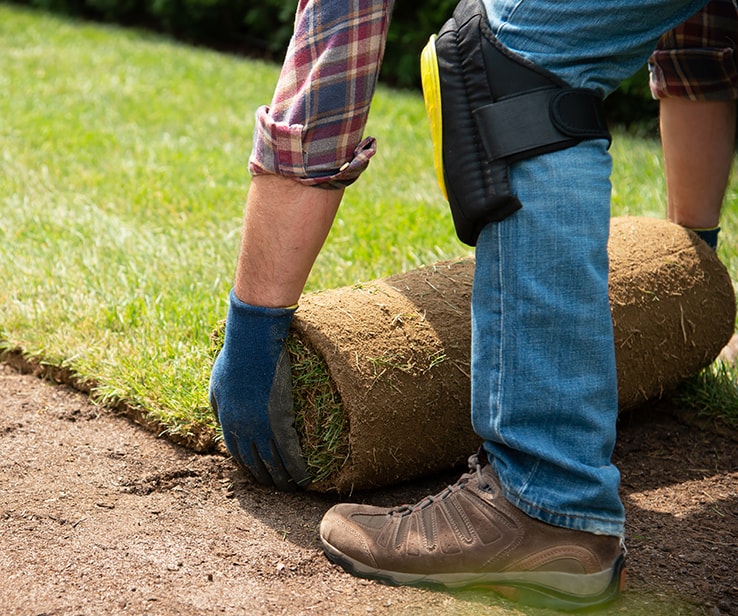
2Position and Unroll Each Row
- 2.1Place your next roll beside the first row.
- 2.2Unroll the turf tightly beside the first row as you go, ensuring there are no gaps.
- 2.3Continue to lay sod in a brick work pattern, staggering the edges of each row of sod.
Pro Tip
When sodding a sloped area, lay the sod horizontally and use stakes, if necessary, to pin the sod in place.

3Trim the Sod for Clean Edges

4Level Your Sod with a Lawn Roller
Pro Tip
If the sod is extremely dry, wet the newly laid rolls before rolling them.
5Nourish Your New Sod with Plenty of Water
- 5.1Immediately after installation, thoroughly water your lawn. Use a sprinkler to have one area watered while you’re working on another so that as much of your lawn is watered as possible.
- 5.2Check to see if the water has penetrated the soil by lifting corners of the sod.
Pro Tip
A dense, healthy lawn is the best weed control, as the weeds have no place to get started. If your neighbours or your previous lawn had insect problems, check your lawn regularly because control measures might be necessary.
Disclaimer
These DIY projects are provided for informational purposes only. The information contained in RONA’s DIYs is intended to provide general guidelines to simplify jobs around the house. Because tools, products, materials, techniques, building codes, and local regulations are continually changing, RONA inc. assumes no responsibility for the accuracy of the information contained herein and disclaims any liability for the omissions, errors, or outcome of any project. RONA inc. makes no representation on the feasibility of any project and the viewer bears all risks coming with the realization of the projects. It is the responsibility of the viewer to ensure compliance with all applicable laws, rules, codes, and regulations for a project. The viewer must always take proper safety precautions and exercise caution when taking on any project. If there is any doubt in regard to any element of a project, please consult a licensed professional.


