Share
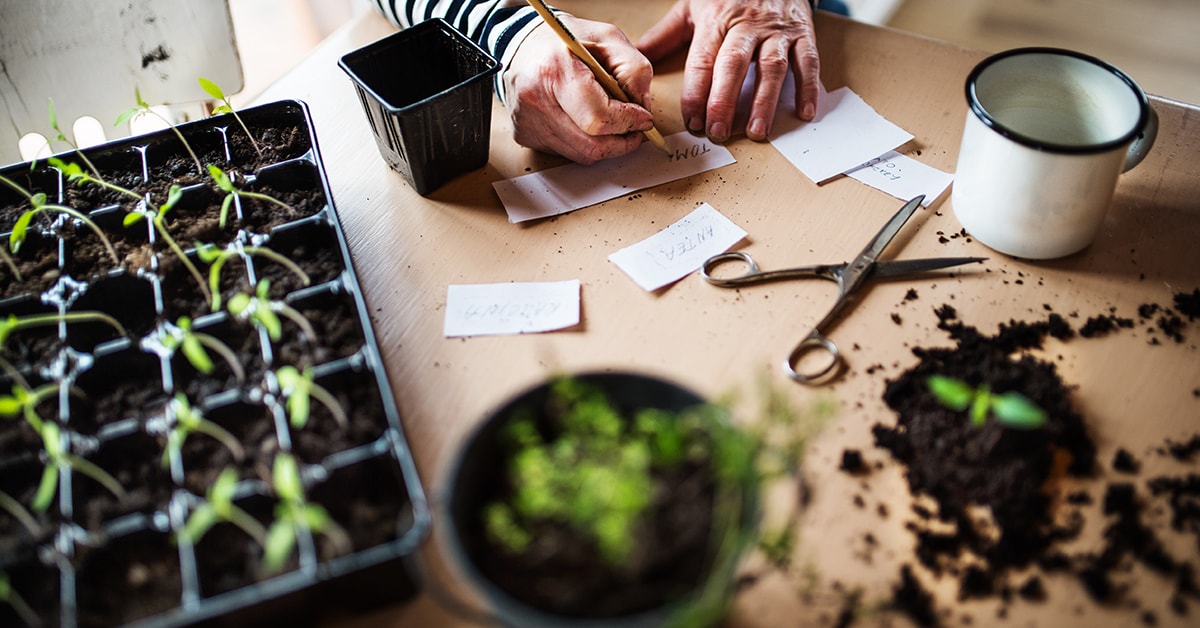
Person starting vegetable seedlings

Updated on February 17, 2023

Do it yourself

How to Grow Your Own Seedlings in a Few Simple Steps

There is nothing more gratifying than growing your own seedlings and enjoying the fruits (or vegetables) of your labour. Here are the steps to master seed sowing every time, from planting to transplanting. Grab a trowel and get started!

Difficulty level: Easy
Duration: 2 months
Before You Start
It is possible to sow your seedlings in just about any sterilized container, so long as the water can evacuate.

Many containers are made explicitly for seedlings, such as:
  • peat pellet refills: recommended for small seeds, and
  • biodegradable plantable pots: perfect for larger seeds (like pumpkins), or plants with fragile roots (like cucumbers), because they can be planted into the earth with the seedling.
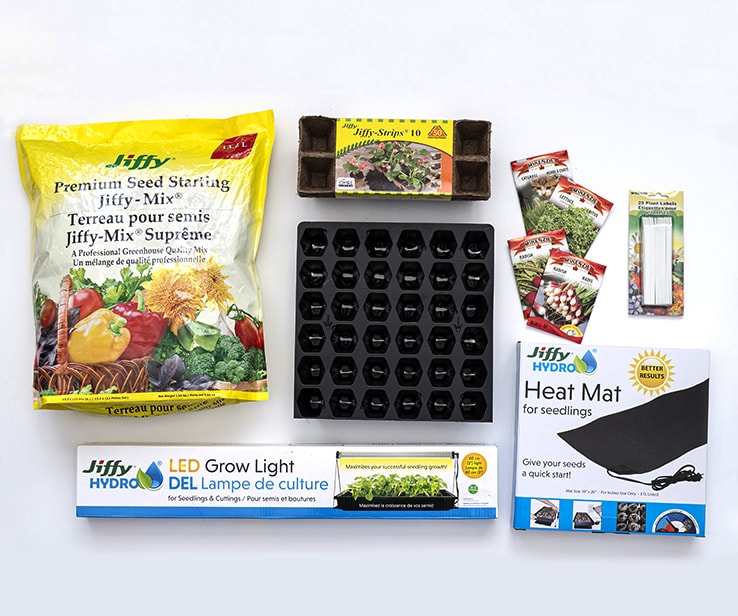
Material to grow seedlings

1
Plan the Vegetable Garden

What types and quantities of containers, soils, and seeds will you need? How much space and sunlight do you have? What are your fruit and vegetable needs? When should you sow different seeds?

Before digging into the project, put pen to paper and answer these questions.
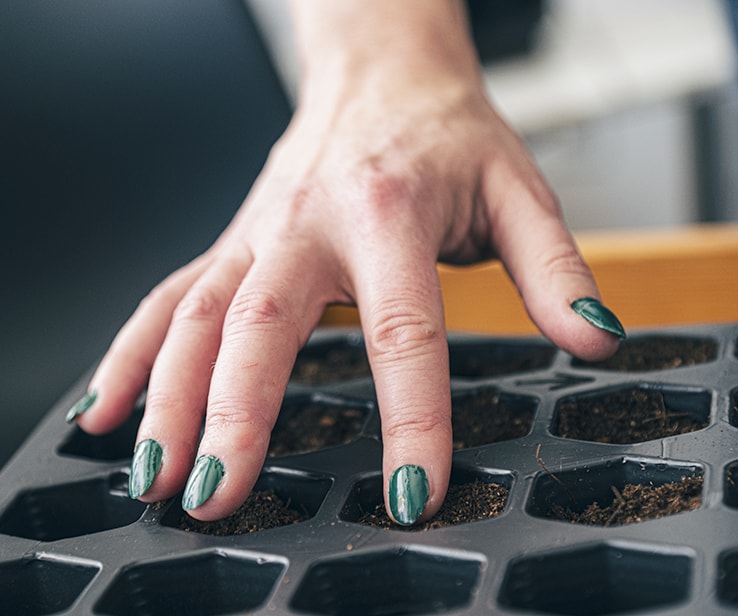
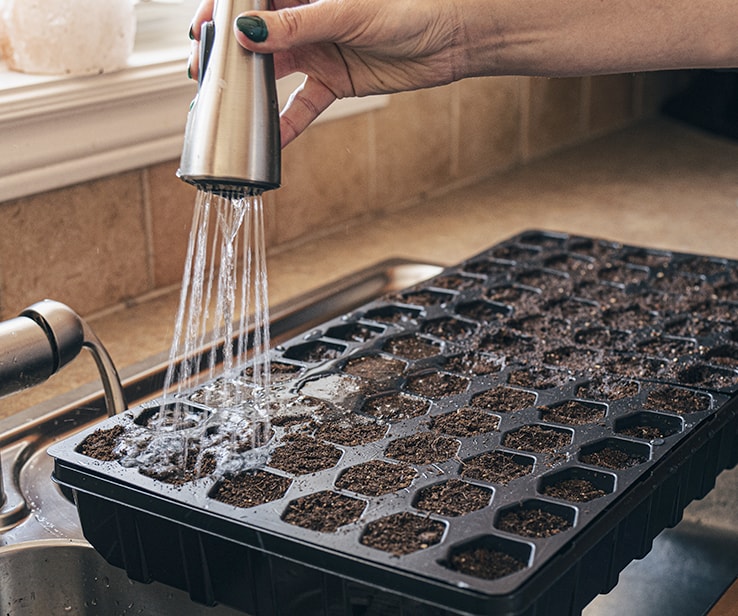
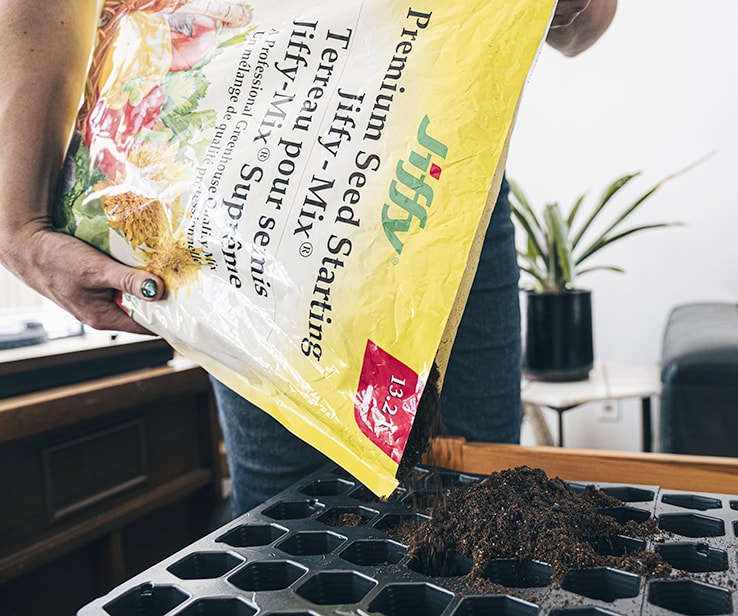
Woman adding soil to a seedling trayWoman using her fingers to compact soilWoman watering a seedling tray

2
Fill Containers with Seed-Starting Soil

  • 2.1If you want to use old soil, put it in the oven at 100°C for 30 minutes to sterilize it.
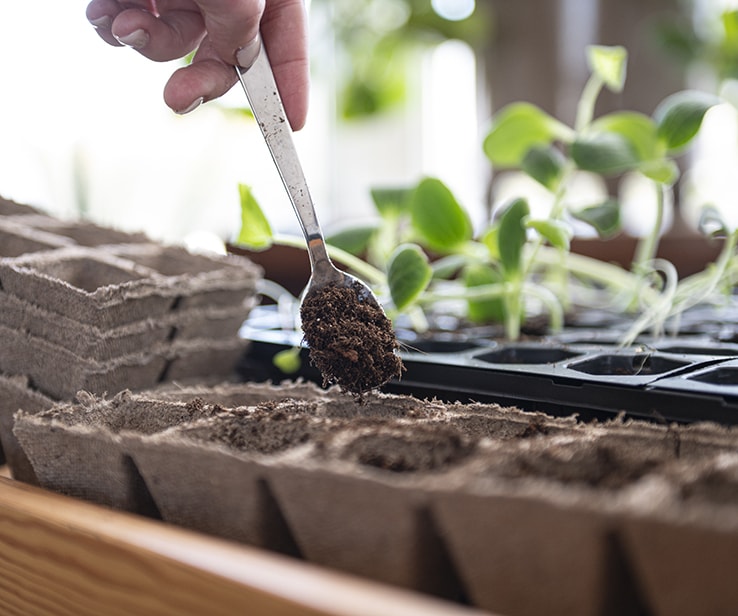
  • 2.2Fill containers with seed-starting soil.
  • 2.3Slightly tap the soil so the seeds adhere well.
  • 2.4Water well.
  • 2.5Make sure the water drains appropriately.
icon-bulb

Pro Tip

Add a third of vermiculite to seed starting soil for optimal results.
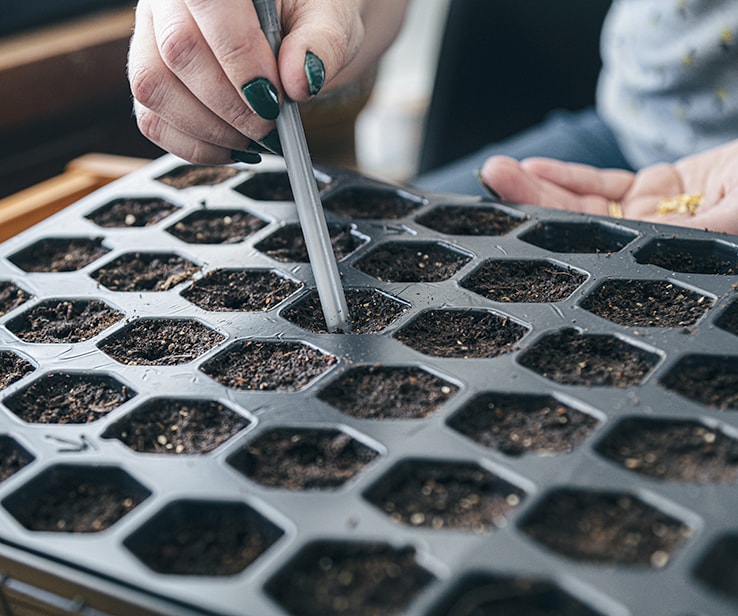
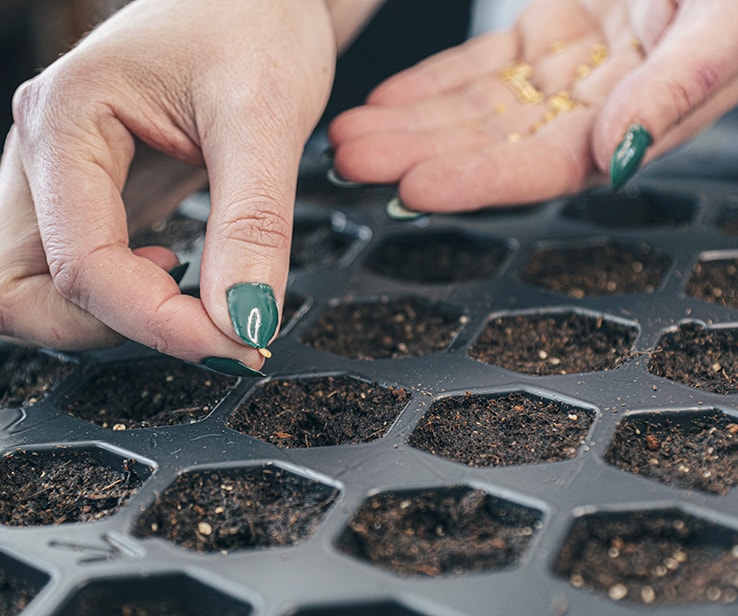
Woman using a pen to dig into soilWoman adding seeds to a tray with soilSeeds in a mini greenhouse trayPlant tags

3
Plant the Seeds

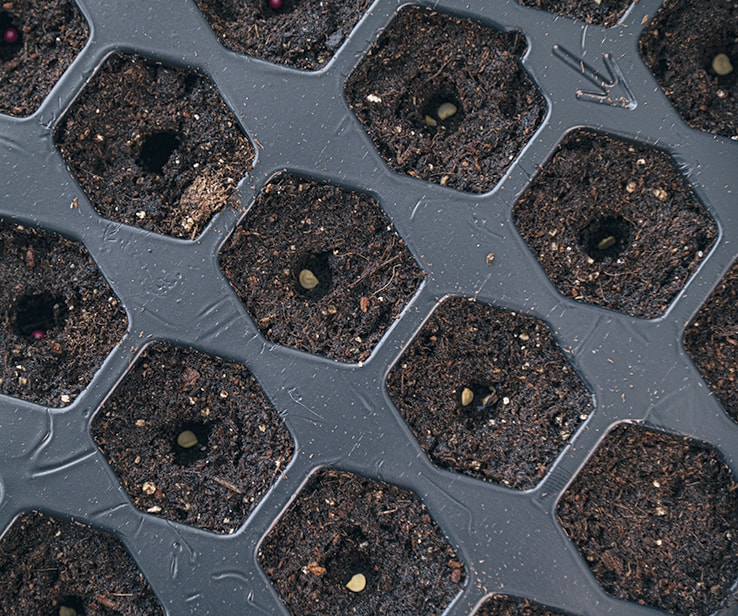
  • 3.1Use a pencil to make a small hole in the center of the cell.
  • 3.2Put a seed (or several, for better germination) in the centre of each hole. Plant the seeds 4 times deeper than the diameter of the seed. For very small seeds, like carrots, simply cover them with a thin layer of soil.
  • 3.3Follow the recommendations on the packaging or our sowing calendar to plant seeds at the right time and with correct spacing.
  • 3.4Identify the seeds with plant tags or little wood sticks.
icon-bulb

Pro Tip

If you have leftover seeds, save them in the refrigerator or freezer. If you opt for freezing, make sure to thaw the seeds for 24 hours before planting them.
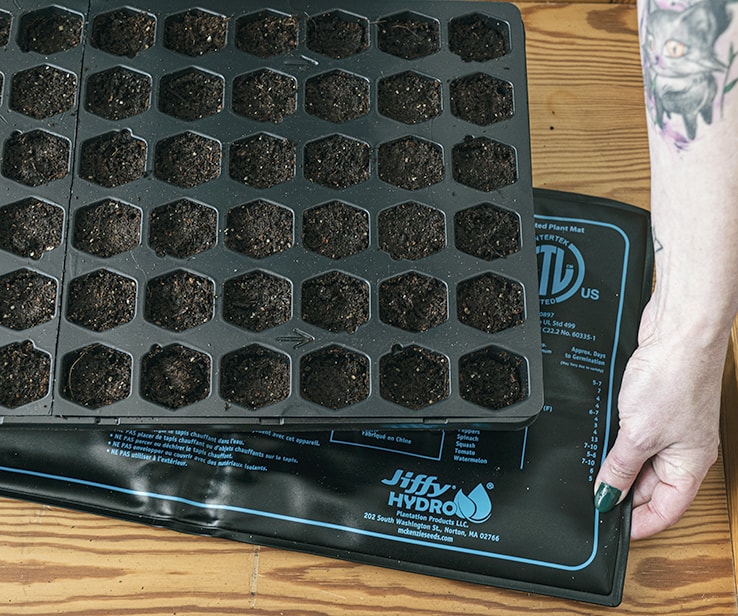
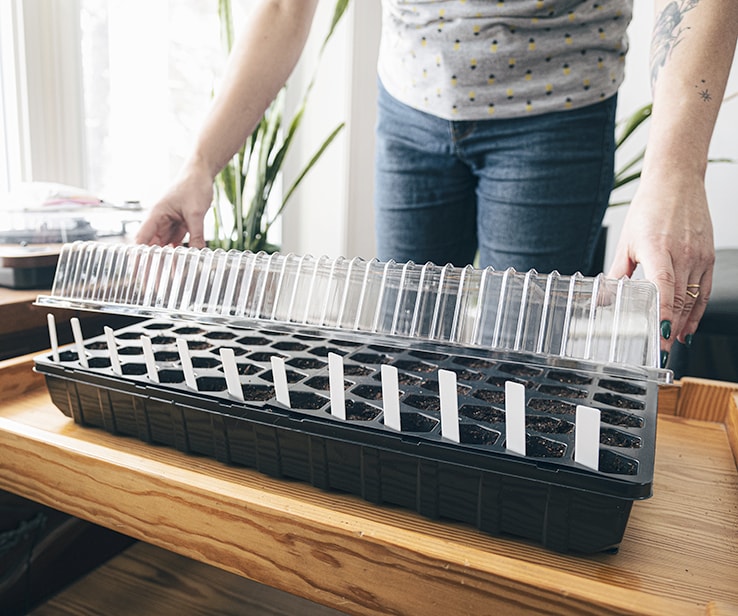
Woman placing a heating pad underneath a seedling trayWoman adding a cover onto a mini greenhouse

4
Boost Germination

  • 4.1Place the greenhouse cover on the tray to conserve moisture. For best results, use a heating pad.
  • 4.2Once the seedlings have produced two leaves, remove the cover and expose to direct sunlight. For optimal results, use grow lights.
  • 4.3Wait until the seedlings have 2 true leaves before picking.

Fix Common Problems with Seedlings

Even if you have all the right materials and have started your seedlings with care, you may notice some common problems, such as poor germination, leggy seedlings, drooping seedlings, and mould. See 9 Common Problems with Seedlings and How to Solve Them for more information.
Person filling containers with soil

5
Prick the Plants

  • 5.1Water the plants and wait 1 hour.
  • 5.2Fill the individual containers with soil and vermiculite.
  • 5.3Delicately separate the plants, making sure not to damage the roots or stems.
  • 5.4Make a hole in the soil of the containers and plant the roots of the young plants to the collar.
  • 5.5Lightly tap the soil around the plant and water it.
  • 5.6Place the plant indoors, in the shade, in order for it to regain strength.
icon-bulb

Pro Tip

For tomatoes, plant not only the roots, but also a part of the stem in the soil. This allows the plant to become stronger, faster.
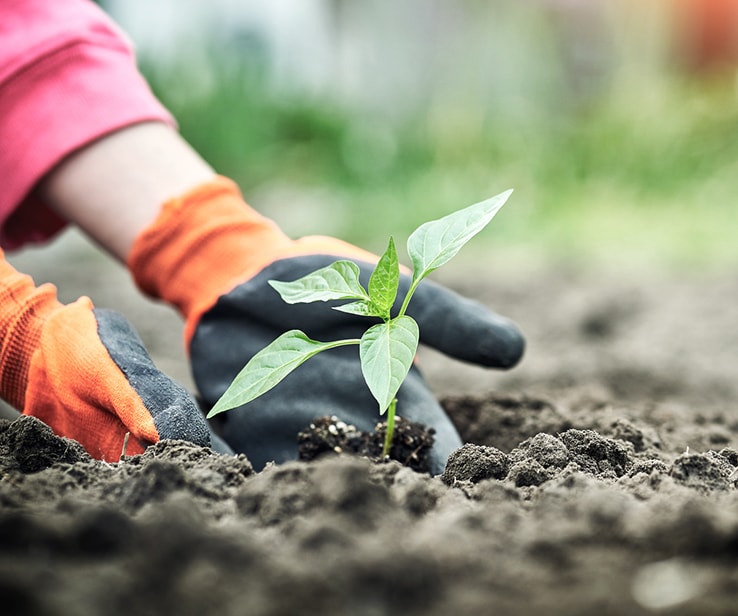
Person transplanting a pepper plant

6
Transplant the Seedlings to the Garden

  • 6.1Before planting seedlings in the garden, they must harden off. The transition occurs over 15 days.
  • 6.2Start by placing the plants outdoors in the shade for 1-2 hours during the day.
  • 6.3Repeat for a few days, leaving them outside longer each day.
  • 6.4Then, leave them outdoors all day, in moderate sunlight, when there is no risk of them freezing.
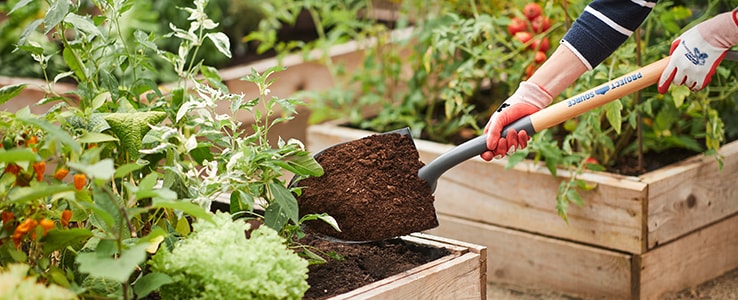
  • 6.5Finally, plant them in the garden all the while respecting the correct spacing between the plants and rows.

Disclaimer

These DIY projects are provided for informational purposes only. The information contained in RONA’s DIYs is intended to provide general guidelines to simplify jobs around the house. Because tools, products, materials, techniques, building codes, and local regulations are continually changing, RONA inc. assumes no responsibility for the accuracy of the information contained herein and disclaims any liability for the omissions, errors, or outcome of any project. RONA inc. makes no representation on the feasibility of any project and the viewer bears all risks coming with the realization of the projects. It is the responsibility of the viewer to ensure compliance with all applicable laws, rules, codes, and regulations for a project. The viewer must always take proper safety precautions and exercise caution when taking on any project. If there is any doubt in regard to any element of a project, please consult a licensed professional. 
Suggested Products

SHOP GARDENING TOOLS