Share
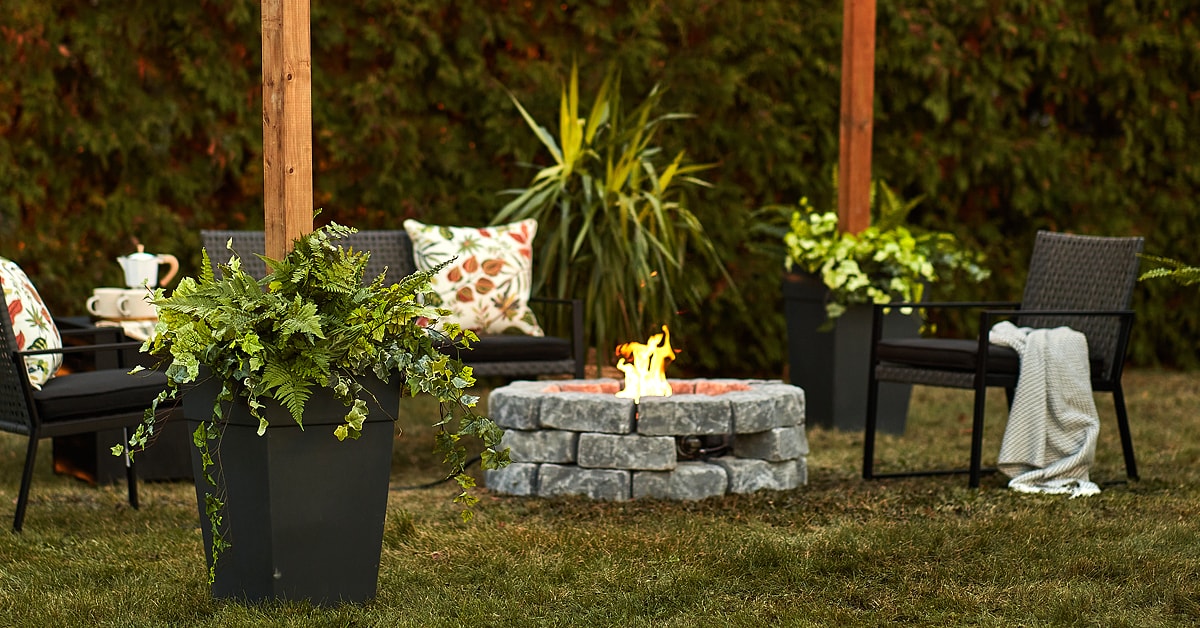
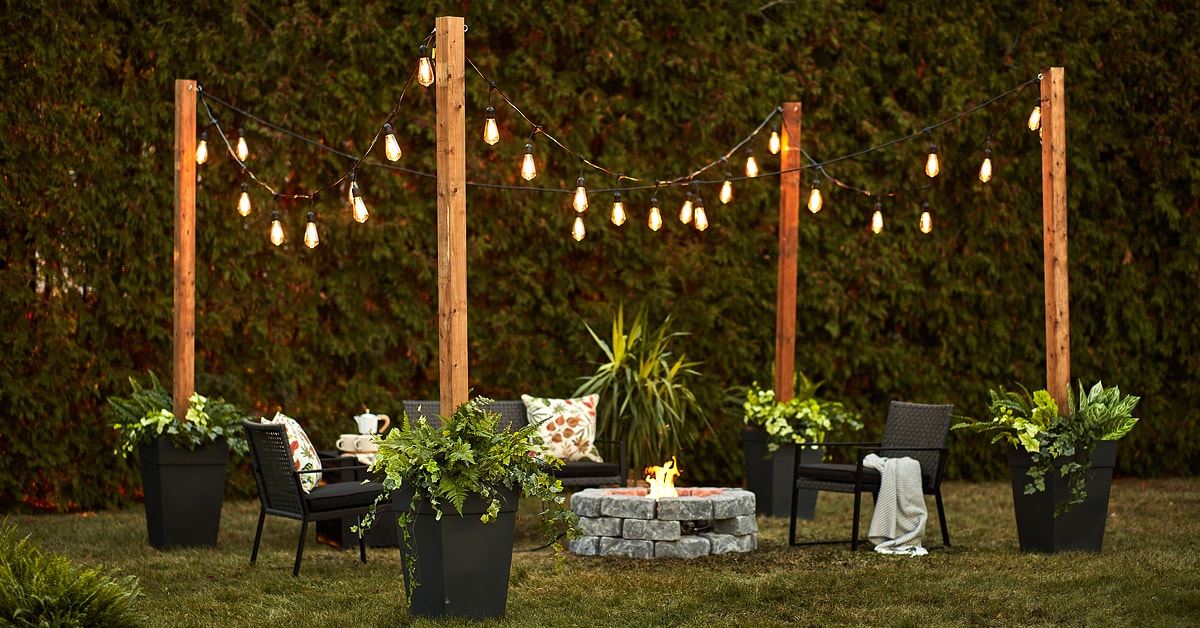
Outdoor entertaining space with a cinder block gas fire pit
Do it yourself

How to Build a Gas Fire Pit with a Traditional Look

Municipal by-laws ban wood fire pits? No problem: here’s how to build a gas fire pit that’s the spitting image of a traditional wood-burning one. No one will suspect a thing!

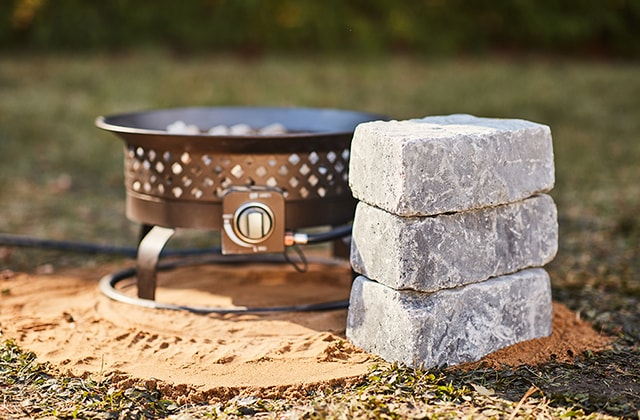
Three cinder blocks stacked beside a gas fire pit
1

Select a Location for the Pit

  • 1.1 - Find a location that’s as level as possible to build the pit.
  • 1.2 - The size of the circle of grass to be cleared will depend on the pit model and stones used. Plan for a clearance of at least a 6” between the stones and the pit so air can flow freely.
  • 1.3 - For the height, find out how many rows of stone you’ll need. If needed, add a slab under the pit so its top is at the same height as the surrounding stones.
  • 1.4 - Before continuing, make sure to carefully read the instructions on your fire pit’s packaging.
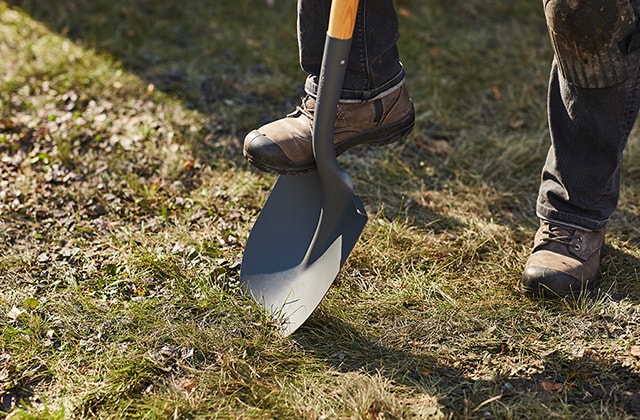
Person removing grass with a shovel
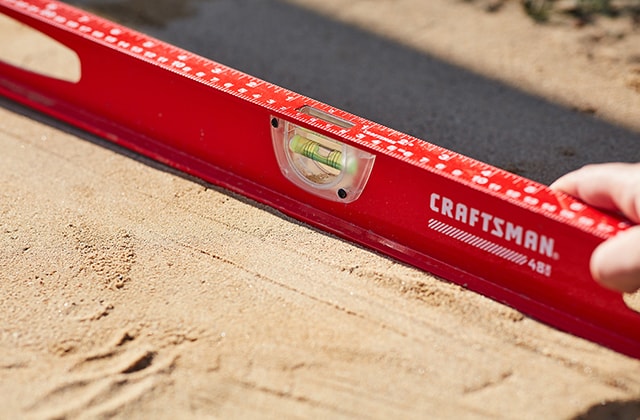
Person checking a surface is level
2

Prepare the Ground

  • 2.1 - Clear the grass from your chosen location, then add a layer of sand or gravel. Next, level out the surface as much as possible.
  • 2.2 - Place the pit in the centre and choose the direction of the switch and gas hose.
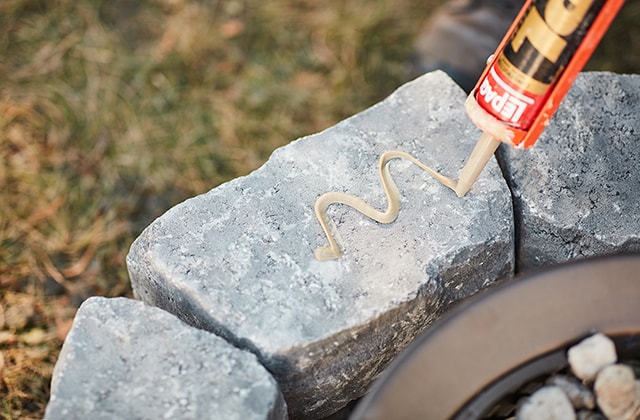
Person applying construction adhesive to a cinder block
3

Lay the First Stones

  • 3.1 - Place the stones of the first row so that the clearance between the stones and the pit (6”) is maintained. To make the work easier, remove the pit before continuing.
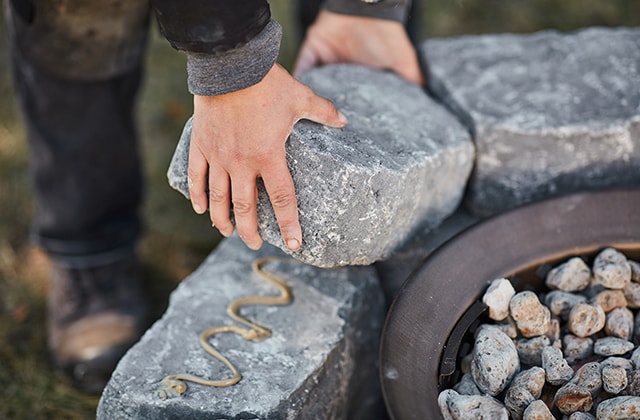
  • 3.2 - For the second row, lay the stones so the joints are offset—just like a regular brick wall—but don’t glue them in place just yet.
  • 3.3 - If you’re satisfied with the result, remove each stone and apply construction adhesive before replacing the stones. Don’t glue in the stone in front of the fire pit switch, as it will be removed at the end.
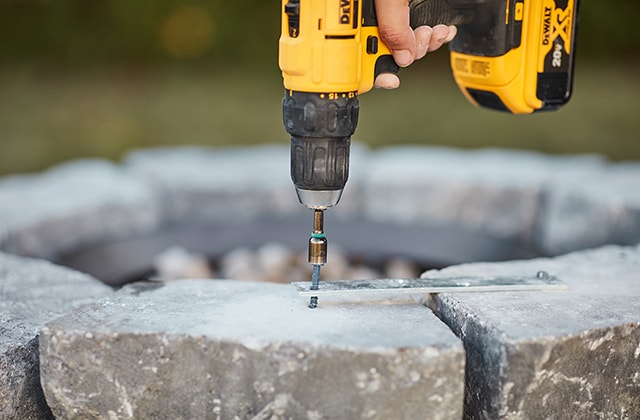
Person joining two cinderblocks with a steel plate
Person gluing the top row of a stone fire pit
4

Add the Last Row

  • 4.1 - Lay down all the stones of the last row but don’t glue them in just yet.
  • 4.2 - Join the two stones above the hole for the pit’s switch:
    - Flip both stones over, place the steel mending plate, and mark the location of the holes.
    - Using a concrete drill bit, drill the holes in the marked locations.
    - Secure the steel mending plate by using a concrete screw in each hole.
    - Flip the two stones over and put them back in place.
  • 4.3 - Glue the stones of the last row, except the one in front of the fire pit switch.
  • 4.4 - Leave the glue to dry for about a day.
5

Finishing Touches

  • 5.1 - Remove the stone in front of the fire pit’s on/off switch.
  • 5.2 - Put the pit back and run the gas hose through the space between the stones.
  • 5.3 - Connect the gas hose to your gas tank, making sure to follow the manufacturer’s instructions.

Disclaimer

These DIY projects are provided for informational purposes only. The information contained in RONA’s DIYs is intended to provide general guidelines to simplify jobs around the house. Because tools, products, materials, techniques, building codes, and local regulations are continually changing, RONA inc. assumes no responsibility for the accuracy of the information contained herein and disclaims any liability for the omissions, errors, or outcome of any project. RONA inc. makes no representation on the feasibility of any project and the viewer bears all risks coming with the realization of the projects. It is the responsibility of the viewer to ensure compliance with all applicable laws, rules, codes, and regulations for a project. The viewer must always take proper safety precautions and exercise caution when taking on any project. If there is any doubt in regard to any element of a project, please consult a licensed professional.