Updated on August 27, 2024
Choose the Best Exterior Paint: Type, Sheen, and More
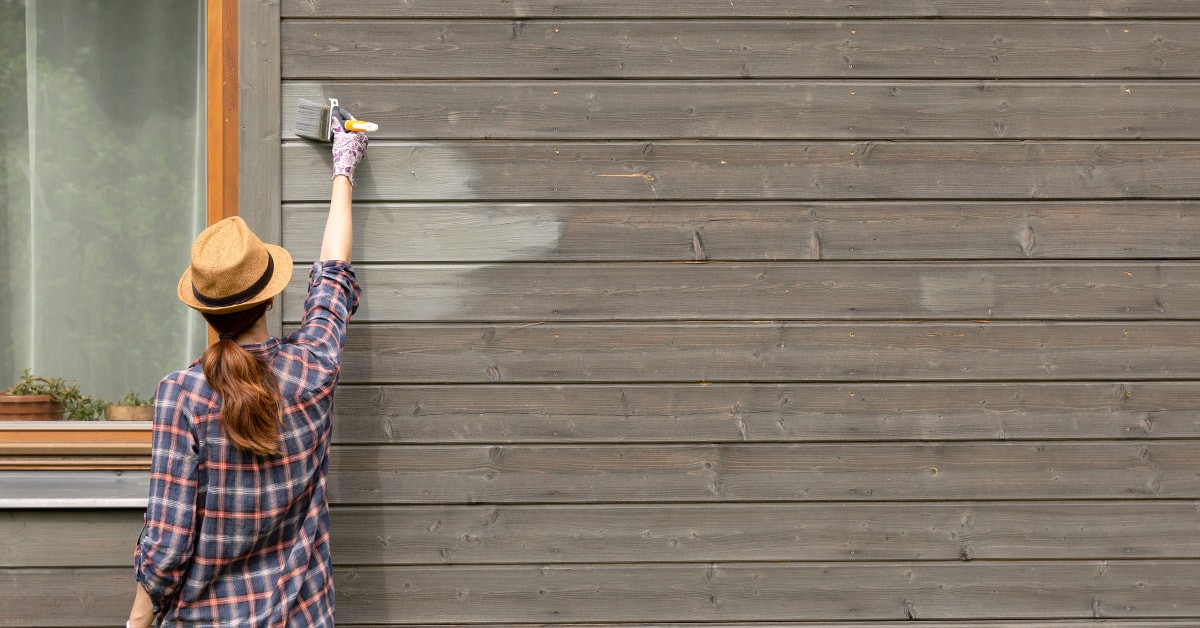
How do you choose the right type of home exterior paint for a deck, fence, exterior siding, patio furniture, and more? The product required will depend on the material of the outdoor structure to be painted, but also your personal taste. Once you’ve picked the right paint, read our application tips and let your creativity be your guide!
Water-Based vs. Oil-Based Paints
Just like interior paint, exterior paint is divided into 2 types: water-based (latex/acrylic) and oil-based (solvent/alkyd). In general, water-based paints are more user-friendly than their solvent-based counterparts. However, solvent-based paint does have its benefits for certain applications. Let’s compare:
Water-Based (Latex/Acrylic) Paint | Oil-Based (Solvent/Alkyd) Paint |
|
|
Pro Tip
Note that water-based paints will not adhere to oil-based paints. Oil-based paints can be applied over water-based paints, but it’s important to add an oil primer if you wish to apply water-based paint over oil-based paint.
Choose the Right Paint for the Material
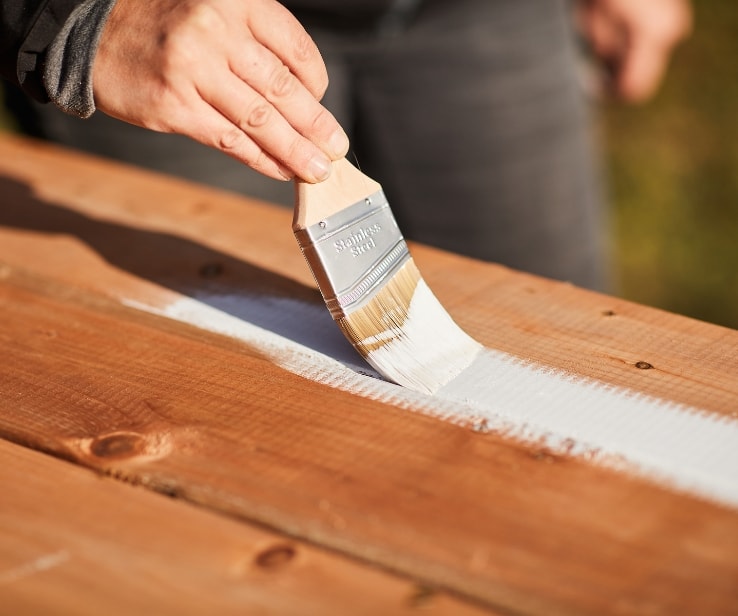
Wood
Recommended paint. Water-based paints are more resistant to humidity and discolouration than oil paints. They are suitable for sidings, cornices, windows, and doors. On the other hand, oil based exterior paints offer better resistance to friction. They are perfect for trailers and fences.
Other considerations. Wood that has not been pressure-treated or that is not naturally mould-resistant (such as cedar) is especially vulnerable to water and humidity damage. This is particularly true for untreated windows, windowsills, and pine doorframes. Two types of preservatives are available: zinc, which is clear; and/or copper naphthenate, which is green-tinted.
Prefinished Siding
Recommended primer. Oil-based primers often provide better adhesion to the surface. However, a water-based primer means you will not be restricted in terms of paint choice.
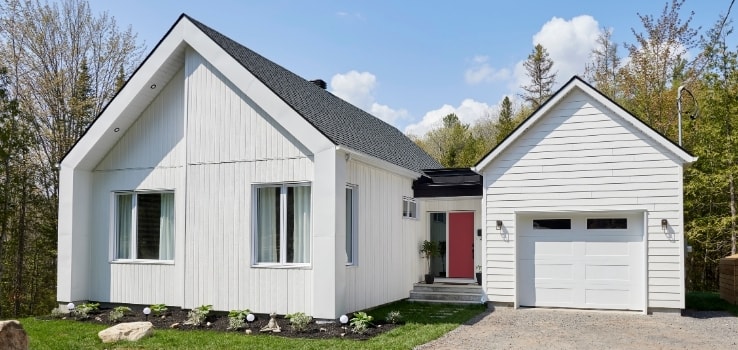
Recommended paint. For vinyl siding, we recommend water-based paint in a satin finish. For hardboard or aluminum, both types work. Finally, for steel siding, use a rust-inhibiting water- or oil-based paint. Either option will require 2 coats.
Other considerations. Vinyl, steel, aluminum, or hardboard siding can all be repainted.
Application.
Vinyl siding:
- Sand all surfaces.
- Wash the siding with a concentrated solution of trisodium phosphate.
- Apply 2 coats of paint.
Other types of siding:
- Scrape away any peeling paint.
- Sand to smooth out.
- Metal surfaces: Apply an anti-rust primer.
- Apply 2 coats of paint.
Pro Tip
Be careful: painting vinyl siding in a darker colour than the initial shade may cause damage by warping, since the darker colour will trap more heat than what the siding was originally designed for.
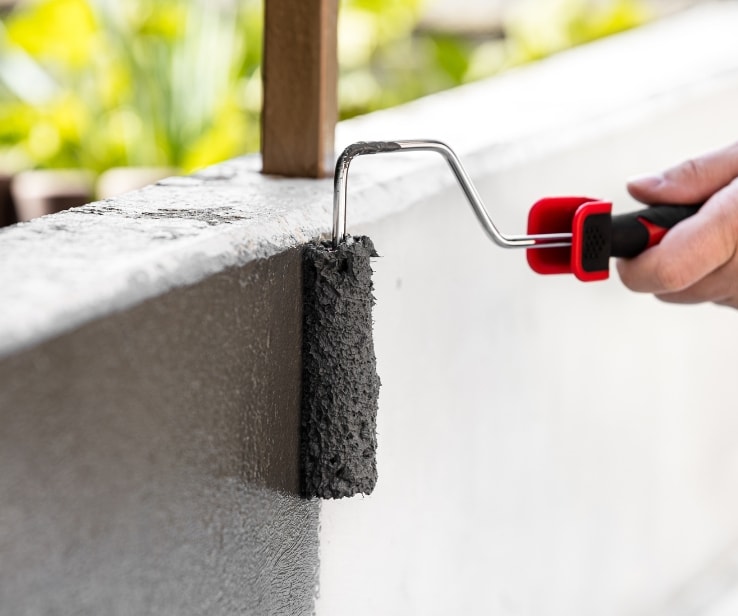
Stucco, Concrete, or Cement
Recommended primer. Acrylic latex primers work well on stucco, concrete, and other masonry projects.
Recommended paint. Concrete foundations or exterior walls can be painted using an acrylic latex paint. Be sure to wet the concrete before applying the first coat. For concrete floors, use an exterior floor paint. Follow the manufacturer’s instructions.
Other considerations. There are 2 things to watch out for on stripped concrete:
- Efflorescence stains: These stains are white and caused by the mineral salts found in concrete. To remove them, use muriatic acid, making sure to follow the manufacturer’s instructions.
- Oil stains: Clean with a concrete/masonry cleaner and degreaser before painting.
Application.
- Remove any peeling paint with a steel brush.
- Wash thoroughly.
- Paint.
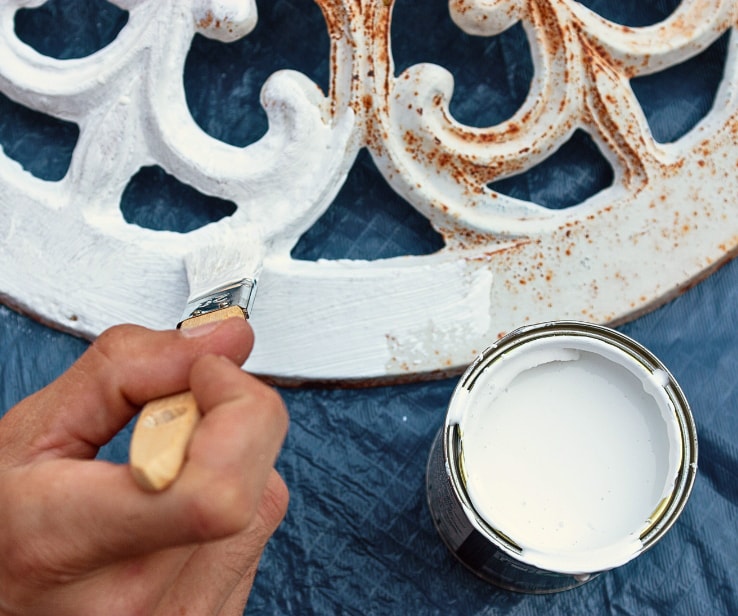
Wrought Iron
Recommended paint. Once the surface has been cleaned and a rust-inhibiting primer has been applied, use an anti-rust paint. Either way, you will need 2 finishing coats.
Application.
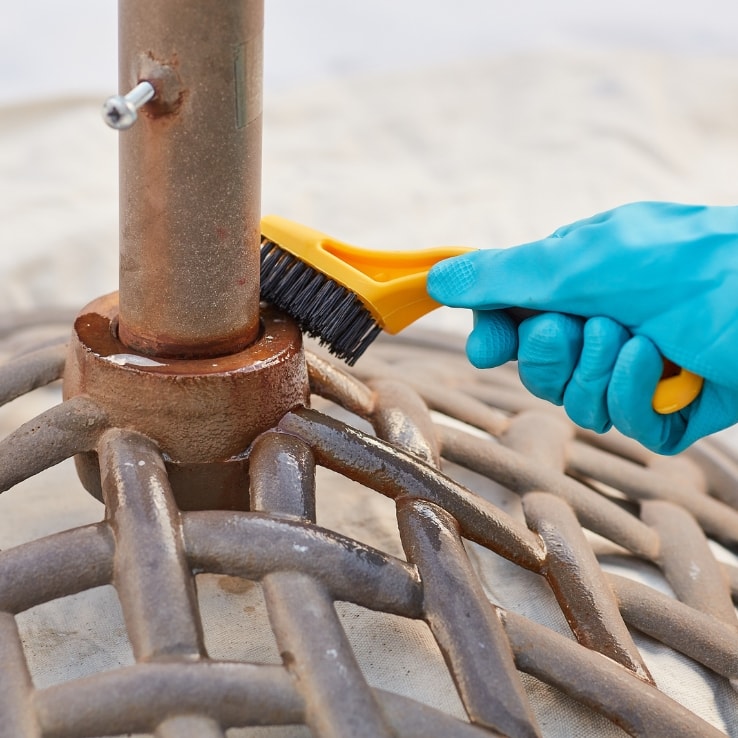
- Scrape off rust blisters with a double-bladed, reversible scraper. When the first side of the blade becomes slightly worn off, use the other side.
- Clean the surface with a steel hand brush or with a circular steel brush mounted on your electric drill. Be sure to wear protective glasses.
- Clean the surface.
- Paint. Requires 2 finishing coats.
Plastic
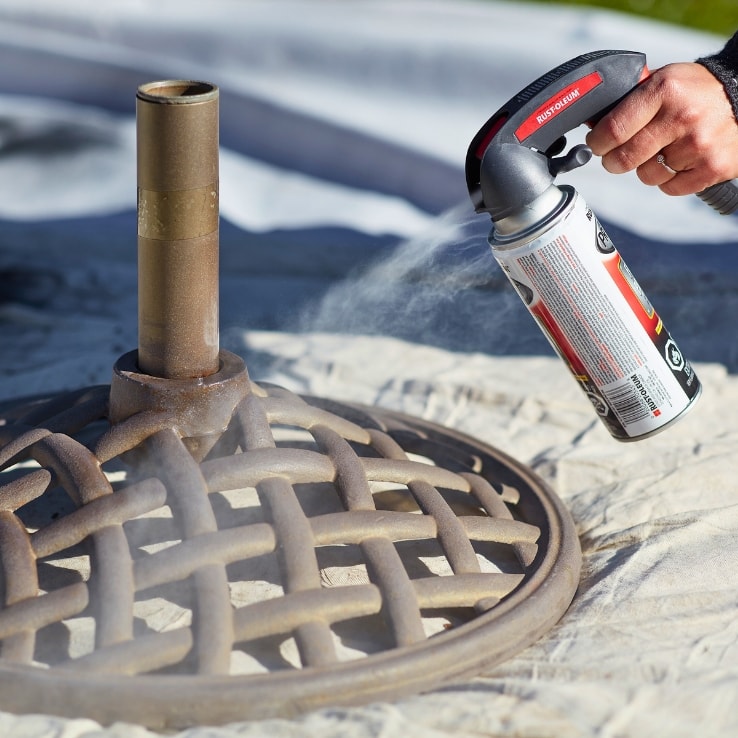
Recommended paint. A spray paint specially formulated to bond to plastic.
Application.
- Ensure plastic is clean.
- Paint in a well-ventilated area in temperatures between 10–25°C.
- Apply several light coats for the most even coverage. Drying time is quick, so plan accordingly.
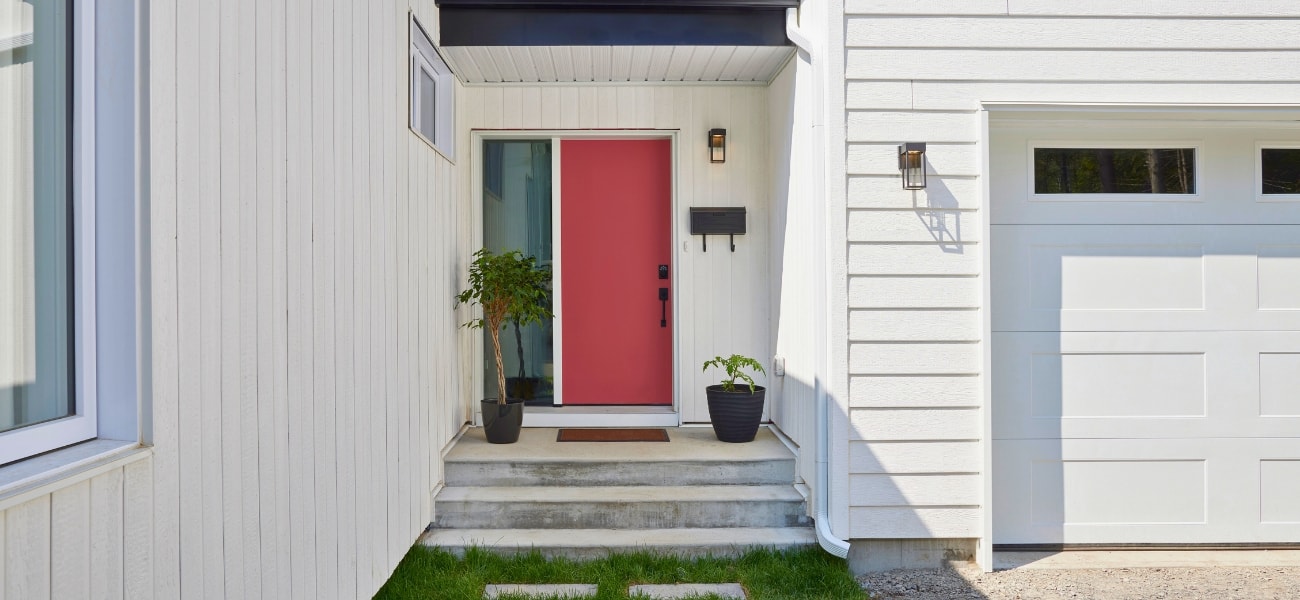
Factors to Consider When Buying Outdoor Paint
When selecting home exterior paint, several factors must be taken into consideration to ensure a successful result:
Weather resistance. Make sure to pick a high-quality product that can withstand regular heavy rain and resist fading and aging from sunlight.
Durability. This is key to maintaining the paint job’s longevity and protecting your property.
Colour. The painted surface should complement your home’s style, architecture, and surroundings.
Finish and sheen. Many finishes are available. Be sure to pick the most suitable one for your project:
- Matte: Does not clean well but hides imperfections.
- Satin: Finish is between that of matte and gloss. It hides imperfections well and is easier to clean than matte paint. Typically used as siding paint.
- Semi-gloss: Finish is shiny and durable, making it easy to clean. Highlights imperfections, so typically used on small applications that require frequent cleaning (such as trim and doors).
Drying time. Some paints (such as latex) are dry enough for a second coat in just a few hours, which can be convenient, while other types of paint take much longer.

Spray Paint: A Popular Option for Outdoor Projects
Best Practices for a Successful Spray Paint Project
Our Best Exterior Paint Application Tips
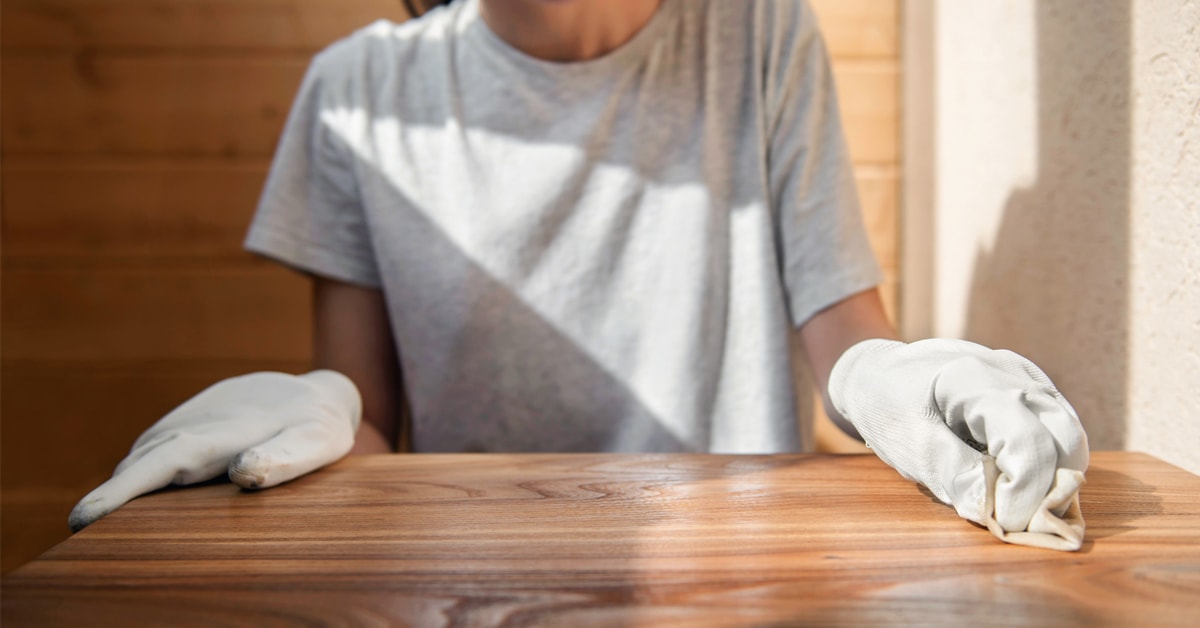
The surface must be contaminant-free and dry.
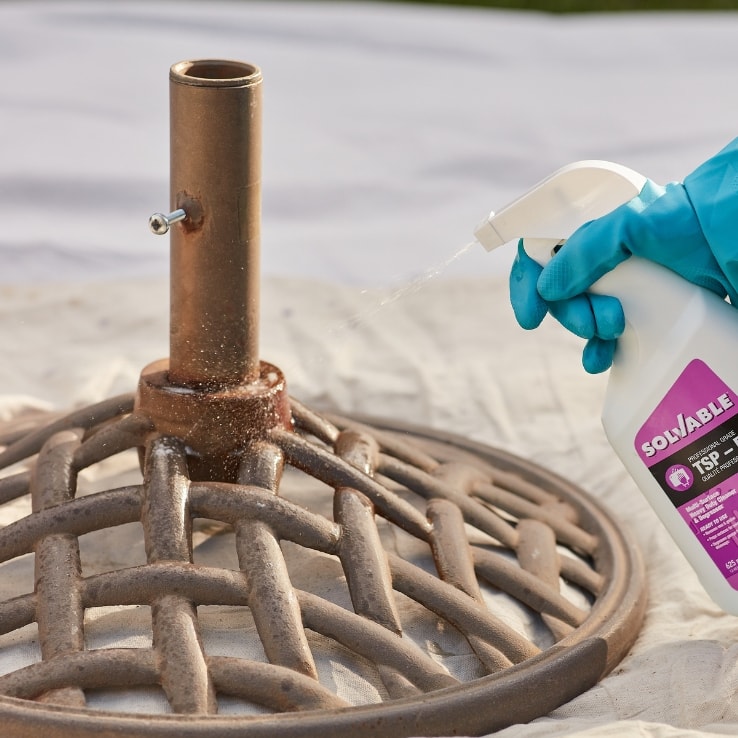
Before beginning a painting project, it is important to first prepare the surface to allow the new paint to adhere to the surface evenly and properly:
- Remove dirt with trisodium phosphate (TSP).
- Remove mould with a chlorine-based cleaner.
- Remove old paint with a scraper and sandpaper. (If you get down to raw wood, be sure to apply primer before painting.)
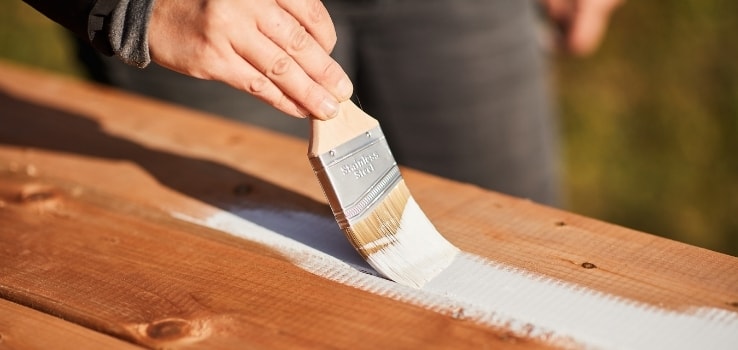
Make sure to use primer.
Primer plays a critical role in painting.
- Protect both the paint and the wood by first applying a primer.
- The primer will give the paint a smooth and even surface to adhere to, creating a watertight seal between the wood and the paint.
- Sometimes dry wood can suck the paint in, creating an uneven or splotchy paint application.
- By priming the wood first, you won’t have as many coats of paint to apply, saving you both money and time.
Don’t let the elements interfere with your painting project.
Wind
- Can blow debris onto your wet paint.
- Can cause the paint to dry too quickly, resulting in marks.
Temperature and Moisture
- Colder temperatures (below 10°C) may prevent paint from drying.
- Humidity and rain can prevent paint from drying properly.
- Check paint label for recommended temperature ranges.
Sunlight
- Direct sunlight can make it difficult to see what areas have been painted during application.
- Can cause the paint to dry too quickly, resulting in marks.
Paint large surfaces first.
Paint from top to bottom.
If you are painting a house, follow this plan:
- Cornices
- Sidings (from top to bottom)
- Windows and doors
- Balconies and patios
- Shutters, storm windows, and removable screens can be saved for painting in the garage on a rainy day.


