Planning the construction of a kids’ playground structure

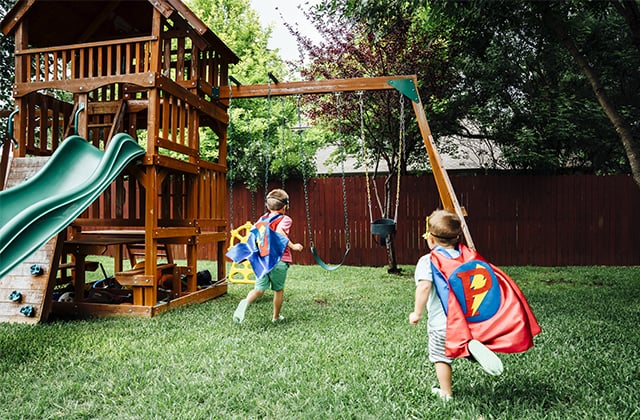
Play structures are fun features for backyard entertainment. Whether customized or built from a kit, modifications may be made to the play structure’s design based on the ages and play styles of the children who will use the equipment most often. Keep the structure as fun as possible while maintaining all safety guidelines.

Determining the Type of Structure

Before you start anything, think of what your children would like to do in a play structure. Would they like a simple model with a slide and swing, or a themed multi-leveled structure that will suit their playing needs for many years?

On-the-ground

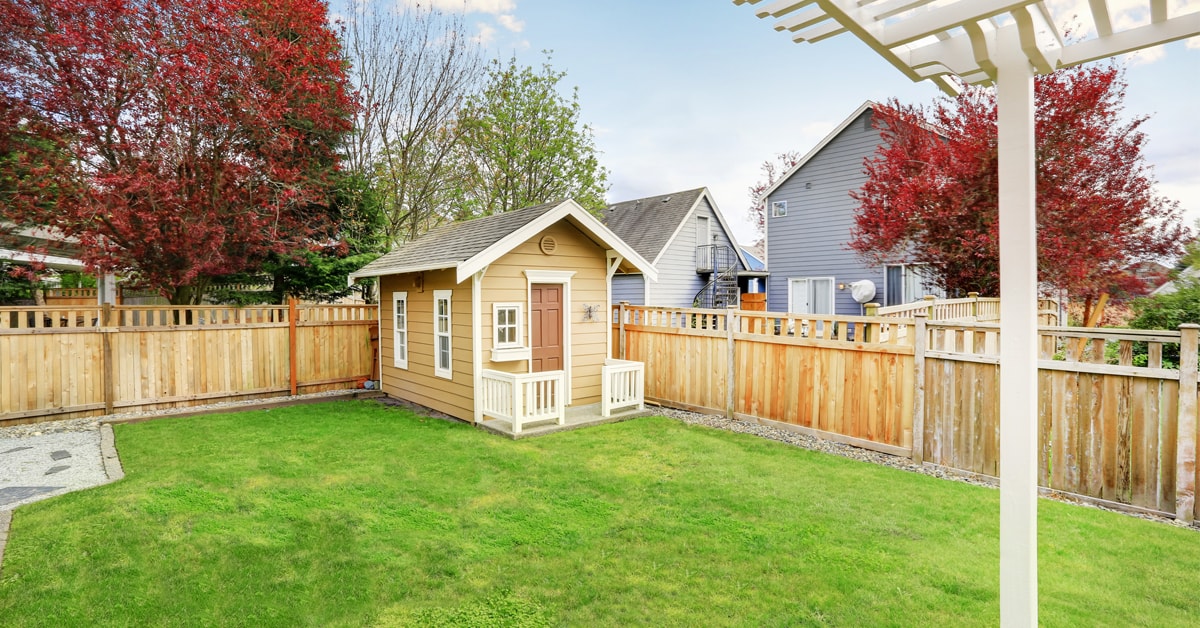
On-the-ground play structures can be fun, simple, and frugal alternatives to the large, multi-level structure. On-the-ground play structures could be an outdoor fort with a single room, a door, window, and perhaps a flag. A small, little house could have a garden associated with it.  Add a simple swing set that can be set adjacent to the play structure for hours for fun!

Elevated

Play structures with more than one level can add quite a lot of adventure for the kids who use it. An elevated structure could be an elaborate castle that houses fairy tales, a replica of the family’s home or a tree house. Time to be creative.

Themes

Together, parents and kids can design the theme of the playground to suit their style. Following are a few ideas to spark inspiration. Keep in mind that multiple structures could be built to create a “main street” scene.

A few ideas to inspire you:

  • Firehouse
  • Police station
  • Train station
  • Theater
  • Grocery store
  • Beauty salon
  • Gas station
  • Diner
  • Doctor’s office
  • Post office
  • Bookstore
  • Town hall
  • Church
  • School

Play structure kits

Consider purchasing a play structure kit for ease of design and construction effort.

  • Play structure kits are available in a variety of designs, sizes, materials, and price ranges.
  • Each kit comes with detailed instructions and a list of materials to streamline the construction process.
  • Some of the kits can be customized.Parents can rest assured that each kit has been tested and has passed national regulatory safety requirements.
  • Parents can rest assured that each kit has been tested and has passed national regulatory safety requirements.

Choosing Play Structure Elements

Athletic Features

Decide which types of athletic events or activities are enjoyable for the children.

Swings

  • Traditional swings can be purchased as hard plastic, hard wood, or flexible rubber. Refer to the safety guidelines for spacing swings.
  • Infant swings are ideal for children up to the age of 3 years old. Infant swings protect children from falling.
  • ADA swings are designed for children with physical special needs. ADA swings are equipped to protect a child with safety belts and a moulded plastic seat.
  • Tire swings are classical options for a playground structure. Some of the tire swings are traditionally upright. Others, however, are horizontal to the ground so that up to 4 kids can sit together on the tire.
  • 360-degree rotation swings need extra space for safety.
  • Acrobatic swings, or trapezes, consist of a bar hung from two ropes.
  • Rings are similar to acrobatic swings. Both the acrobatic swing and the rings hang from two ropes, so these features could be changed out to add some novelty to the structure.

Slides

  • Turbo slides are fun and appropriate for children over the age of 5 years old.
  • Whether choosing a metal or plastic slide, install them out of direct sunlight if possible. Remember that plastic slides can cause static electricity.
  • Bumpy slides are a fun and slower alternative to the straight slide.
  • Spiral slides are ideal for space saving locations.
  • Wavy slides are similar to bumpy slides in that they offer the kids a fun ride at a slower pace.
  • Enclosed tube slides provide a different, enclosed experience. The shaded slide will also remain cool enough for little legs if located in direct sunlight.

Other Athletic Features

  • Monkey bars are a classic playground feature. Take care to install monkey bars at a safe height for the ages of the children who will use them. Falling heights and ground cover regulations will help to determine the safe height for the monkey bars installation.
  • Rocket riders are fun for younger children. Keep the riders out of direct sunlight.
  • Rock climbing features are popular options for accessing higher, elevated levels of a play structure. Rock climbing features are appropriate only for children over the age of 5 years old.
  • Fire poles are fun and appropriate for older children above the age of 5 years old. Fire poles are constructed of metal, should be securely connected into the ground, and located out of direct sunlight.

Structural Features

  • Bridges provide an enjoyable means for passage from one area of the play structure to the next. Swinging bridges add another level of fun as the children may jump across the bridge to play with how it sways. When a swinging bridge is designed for children under the age of 5 years old, install the bridge low to the ground surface.
  • Ladders are used to access the upper levels of a play structure. The ladder could be a solid wood or metal structure. To add a greater level of athleticism, the ladder could be a rope ladder that moves and sways as the child climbs. Rope ladders are appropriate for children above the age of 5 years old.
  • Secret escapes can be used for tea parties or other imaginary play.
  • Tower structures can offset the horizontal emphasis of the entire structure. Towers also encourage imaginary play.
  • Benches can be incorporated anywhere around or along the play pathway for both children and adults to use. Consider building nearby shelves that can be used for books, beverages and other items.

Extra Fun Features

  • Sandboxes are most often located in the shade. Therefore, consider adding a sandbox underneath the elevated part of the play structure.
  • Picnic tables can be set underneath an elevated structure or adjacent to a play area. If a picnic table is located below and used for crafts, consider building an outdoor cupboard to store supplies.
  • Play kitchens encourage imaginary plan. The play kitchen could be located in a secret escape, next to picnic tables, or as an area along the play structure’s design pathway.
  • Steering wheels are popular with younger children and can be added anywhere along the play pathway.
  • Telescopes are fun for all ages. Encourage the kids to take a closer look at nature and wildlife with the telescopes while playing.
  • An outdoor easel is a fun idea for the artistic family. Supplies could be kept outdoors in a cupboard built into the play structure.
  • Outdoor chalkboards can be added anywhere along the play pathway. Activities such as tic-tac-toe or drawing would be a fun diversion.
  • Shelves and pegs for imaginary play, books, toys, and even children’s gardening tools could be stored within the play structure.
  • Cupboards in the play kitchen or those used for art and crafts supplies offer convenient storage that children can access directly.
  • Signs are a fun decorative touch to the play structure. Perhaps the structure would be named or the children’s names displayed.
  • Toy boxes or storage chests could be helpful for outdoor playtime convenience. Take care to consider whether or not a child could get hurt if they were to climb inside.
  • Water cannons are extra fun features that are popular with a pirate ship theme.
  • Flower boxes can add a decorative touch and be used to teach children about gardening.
  • Bells add charm to the structure and could be used for imaginary play.
  • Musical instruments of all types from xylophones to digital sound players can be added to the structure.

All play structure accessories available.

Choosing Ground Surface Materials

Falling is the greatest risk of injury for children on play structures. Therefore, ground surface materials are designed to help cushion the fall to avoid or lessen injuries.

A grassy lawn can become compacted and hardened over time, so each play structure needs extra ground surface protection. The type and quantity of ground surface is based on the height of the structure and also on the ages of the children playing.

Types of Recommended Materials

  • Play-grade wood chips provide protection that is easy to maintain and inexpensive. Children are not advised to wear open-toed shoes while playing on wood chip playgrounds.
  • Rubber tiles are high-tech and often need to be installed professionally. Rubber tiles will provide optimum protection.
  • Pea gravel is a practical, inexpensive option.
  • Sand is also a practical, inexpensive option. Sand is a fun option for children who enjoy sandboxes.
  • Rubber mulch consists of loose pieces of rubber. As ground cover tends to find its way into the yard, bear in mind that rubber does not naturally degrade into the landscaping.

Surface Construction Tips

  • The ground surface material should extend up to 6' out on all sides of the structure.
  • 12' of ground coverage should be installed in front of and behind swings.
  • Loose material should be 12" thick and compact to no less than 9".
  • With loose material, verify regularly that the material is replenished to maintain the minimum recommended depth.
  • The ultimate surface material depth is based on the structure’s height. Refer to the ground surface chart below.

Ground surface chart

When using the ground surface chart, keep the following interpretations in mind:

  • The listed “critical height” is the height requirement listed for kids of a certain age range. The critical height is the highest level from which a fall could occur.
  • The ground surface material needs to meet both the “compressed” and “uncompressed” depth requirements in order to pass safety code requirements.
  • It is always a good idea to over-engineer the ground surface material. Think about putting down 10% more ground cover than the recommendation to account for loss of material and uneven coverage.
  • Do not rely on this chart alone. Verify safe depths related to critical height from the manufacturer and from local building codes. Never install a play structure on a concrete surface, asphalt, compacted dirt or any other hard surface without covering it with a sufficient layer of adequate material, by adhering to current regulations.

Here is an interpretation example from the chart:

  • 6" of wood chips can be used for a structure up to 7' tall.
  • 9" of wood chips can be used for a structure up to 10' tall.
Critical height for playground equipment
Wood chips (depth)
Shredded bark mulch (depth)
Play sand (depth)
Pea gravel (depth)
Recycled rubber mulch* (depth)
5'
-
-
  • 6" uncompressed
  • 9" uncompressed
  • 9" compressed
-
-
6'
-
6" uncompressed
-
  • 6" uncompressed
  • 9" compressed
-
7'
6" uncompressed
9" compressed
-
9" uncompressed
-
8'
-
-
-
-
-
9'
-
-
12" uncompressed
-
-
10'
  • 9" uncompressed
  • 9" compressed
9" uncompressed
-
12" uncompressed
6" uncompressed
11'
12" uncompressed
12" uncompressed
-
-
6" uncompressed
-
-
-
-
-
6" uncompressed

* It is recommended that you request test data from your chosen supplier of recycled rubber mulch that shows the critical heights of the material when it was tested in accordance with ASTM F1292.

Determining the Structure’s Location

Here are a few suggestions to help you determine the ideal location for the play structure:

  • To allow for a safe play area around the structure, locate the play structure 6' – 8' from any other structures, hard surfaces, roads, driveways, and even from the property lines.
  • While it is possible to build a structure on a sloped site, most play structures are designed for level ground. If the property has low slopes, consider re-grading the site to make it more appropriate for the structure. Playground kits are designed exclusively for areas that have a level ground.
  • Select a site that ideally has some protection from the sun, especially for metal surfaces and slides.
  • Consider evaluating the prevailing wind patterns that pass over the play area so that the area can cool naturally.
  • While trees offer great shade, avoid trees that may drop sap or nuts onto the play surfaces.
  • Also design the play structure’s location in such a way that parents can keep an eye on the playing activity.

Ensuring the Safety of the Structure

Here are a few general tips to help you build a safe and solid structure.

  • The height of the structure is based on the ages of the children. Structures are commonly designed to protect children within the age ranges of 2-5 years old and 5-12 years old.
  • Prevent head and neck entrapment by keeping all open spaces smaller than 3 ½" wide. This rule applies specially to railing stiles spacing.
  • Slide entrances need to be greater than 9" wide.
  • Avoid V-shaped spaces that could trap a child’s head.
  • Provide handrails and railings according to local municipal codes.
  • Swings have several spacing requirements. Make sure there is enough space between each swing. The swings with a 360-degree rotation need to be located in separate play structure area.
  • Never install equipment on concrete, asphalt, packed earth, or any other hard surface without adding sufficient ground surface material per regulations.
  • Make sure the play equipment is anchored to the ground. If in an area with harsh winds, consult a professional to make sure the structure is rated to withstand winds typical of that geographical area.
  • Remember than unfinished equipment is dangerous for children to play on.
  • Make sure that the play equipment’s anchoring assemblies are covered so as to prevent a tripping hazard.

Hardware safety

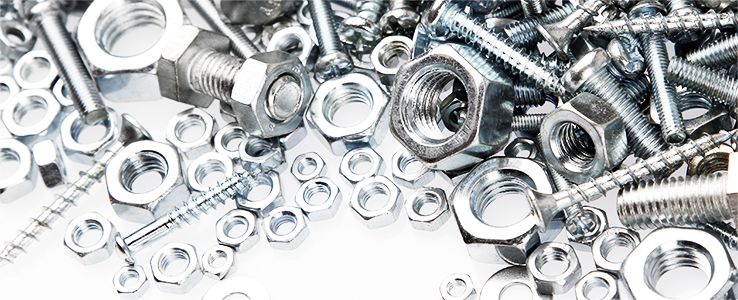
  • Use corrosion-resistant hardware throughout.
  • Always use lock washers or self-locking nuts.
  • Keep bolts and other hardware sized appropriately to avoid extra lengths that could cause a possible laceration or entanglement.
  • Close “S” hooks and all hooks to a gap smaller than the size of a dime.

All play structure accessories available.

Municipal bylaws

  • Check out local restrictions for play structure construction and ground cover requirements.
  • Visit the building department to make sure the structure is designed and constructed safely. Play structure kits have already been approved, but ground cover requirements may need to be approved.
  • Verify whether or not a permit is needed before construction begins.

Designing the Play Structure

It’s important to think of what types of movements the children will make when they play to ensure their safety.

  • Design the structure so that the kids can move from one element to the next.
  • Consider safety issues when several children are using the equipment and moving through the play areas simultaneously. For example, keep the slide exit area free and clear from swings.
  • Separate quiet areas from active areas such as keeping the sandbox at a distance from the swings or slides.
  • A play structure’s design can evolve as the children grow older. Swings can be changed out for athletic bars and rings or a fixed ladder could be changed for a rock climbing wall.

Building the Structure

Here are a few general tips on how to start building your play structure:

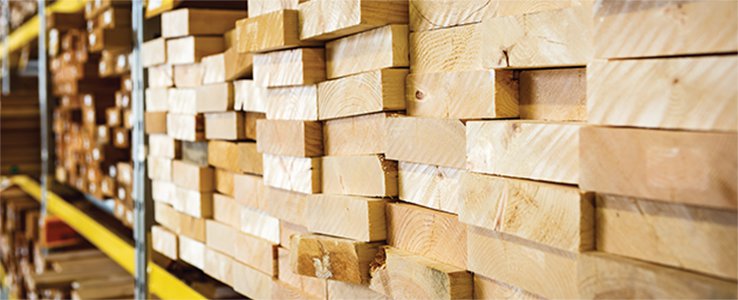
  • Install pine treated wood with the bark side up to prevent splitting and to protect against a risk of splinters.
  • Drill holes first before installing fasteners to prevent the wood from splitting.
  • Sand the wood thoroughly after installation.
  • Use a highly pigmented pure color stain for woods other than redwood. Treated pine wood cannot be stained until one year has passed after construction.
  • Cover bolts with safety caps that can only be removed with a tool.
  • Use corrosion-resistant hardware. Take care to research which hardware materials are compatible with the type of wood used as there is a difference from wood to wood.
  • Any ropes installed within the structure must be anchored safely.
  • Plan for one or more helpers during the construction and assembly.

Play structure kit construction tips

  • Read all instructions before assembling the kit.
  • Play structure kits have lists of the required materials to make construction easy.
  • Sort the parts before beginning construction to help organize the process and to make sure that all parts are included.
  • Install the play structure kit on level ground.

Maintenance and Care of your Structure

A well-maintained play structure will be safer and last longer.

  • Check nuts and bolts twice monthly and tighten as necessary.
  • Oil any moving parts when needed.
  • Check protective caps twice monthly.
  • Repair broken parts immediately.
  • Plastic swings may need to be removed during the cold winter months.
  • Rake and maintain the ground surface material to prevent compaction and a loss of material over time.
  • Re-stain wood every three years.
  • Research the warranty of play structure kits before purchase.
  • Keep metal elements rust-free and replace them if need be.

Suggested products