Share
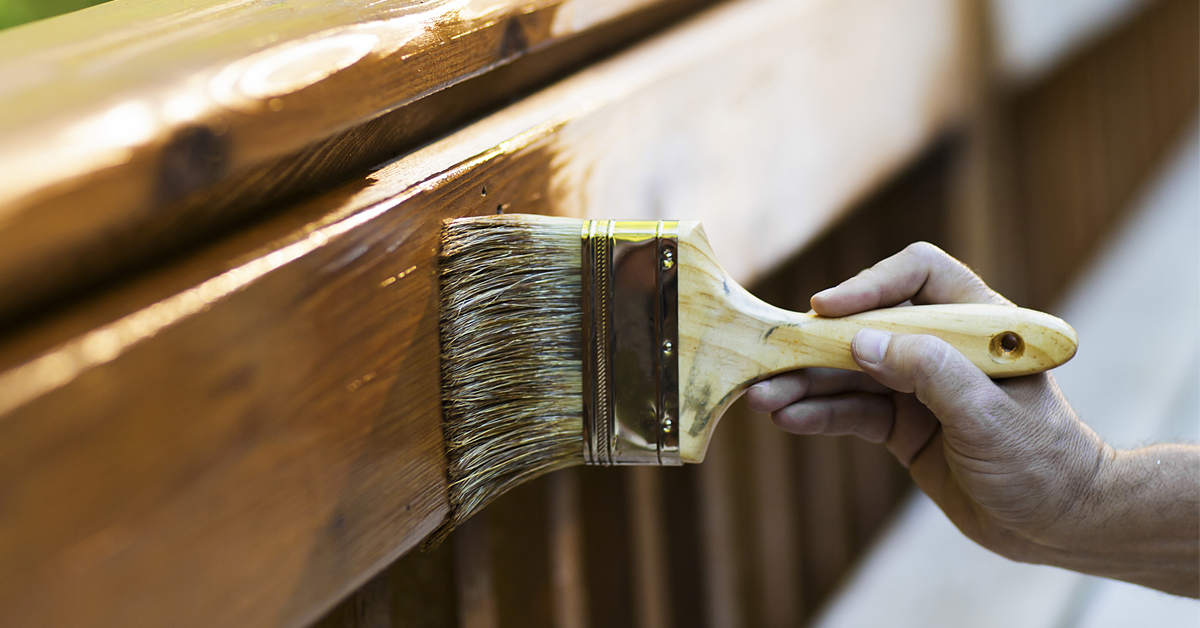
Brush applying stain to a wooden deck
Do it yourself

How to Paint or Stain a Wood Deck

Set aside a weekend to revitalize your deck or another wood structure outside. A fresh coat of paint can do wonders! Spruce up the deck and you’ll enhance both the value and the appearance of the whole house. There are practical reasons as well, since paint provides an even, protective finish. The project is quite simple: begin by removing the old paint, then apply the new coat. It can become long and tedious, however, and the steps we’ve outlined below will help you save time and energy, and maybe even some money. Choose the right paint or stain and materials for the job and get started!

Pro Tip

Before You Start: Since every deck is different (treated or untreated wood, weather exposure, foot traffic, and more), it is important to adapt the project accordingly and take a good look at the deck before choosing which products to apply.
1

Check the Wood Structure

  • 1.1 - Examine the support structure (such as the pillars, rim joists, and intermediate joists) and ensure that everything is in good condition.
  • 1.2 - Check for rot in wood that is in contact with the ground. Repair or replace damaged pieces where necessary.
  • 1.3 - Ensure that the joists are sound.
  • 1.4 - Replace any decking that is mouldy or damaged boards if necessary.
  • 1.5 - Check that all railings are solid and repair if necessary.
  • 1.6 - Be sure that all bolts, nails, and screws are tight. Replace loose or proud nails with screws.
2

Strip the Surface

  • 2.1 - Scrape and roughly sand flat surfaces with an electric sander and 80-100 grit sandpaper.
  • 2.2 - Sweep clean.
  • 2.3 - Apply a thick coat of paint stripper with a silk-bristle paintbrush.
  • 2.4 - Let the stripper penetrate until the old paint starts to pull away.
  • 2.5 - Scrape the surface with a wood scraper, a hard brush, and steel wool or a finishing pad.
  • 2.6 - Use a pressure washer to clean the surface.
  • 2.7 - Apply an additional coat of paint stripper if necessary.
  • 2.8 - Sand horizontal surfaces with 80 grit sandpaper and vertical surfaces with coarse 120 grit sandpaper to remove all residue.
  • 2.9 - Rinse, then clean surfaces with a broom or a shop vacuum.
3

Clean Unpainted Surfaces

  • 3.1 - Hose down the surface of the wood structure.
  • 3.2 - Apply cleaner using a sprayer. Do not let the product dry.
  • 3.3 - Brush surfaces; stains and high-traffic areas in particular.
  • 3.4 - Follow the manufacturer's instructions and wait for the product to act.
  • 3.5 - Clean and rinse surfaces with a pressure washer.
  • 3.6 - Liberally rinse plants, shrubs, and other surfaces close to the structure.

Running out of paint or stain in the middle of a project can be frustrating!

Make sure you have the right quantity of paint or stain by using our calculator.
CALCULATE

Choosing the Right Stain

Stains are available in a wide range of finishes, from transparent to opaque to semi-transparent. The specific product and number of coats to be applied will depend on the desired effect.
4

Apply the Primer and Paint or Stain

  • 4.1 - Make sure that all surfaces are prepped, clean and dry.
  • 4.2 - Check the weather forecast and choose a period of more than 48 hours without rain. Do not paint or stain when it is very hot.
  • 4.3 - Protect surfaces that will not be painted or stained, such as the vinyl cladding on the house and deck accessories, with a tarp and masking tape.
  • 4.4 - Apply a coat of primer-sealer with a brush, roller, or spray gun. Apply the selected product with a brush or a sponge.
  • 4.5 - Allow to dry thoroughly, according to the manufacturer's instructions.
  • 4.6 - Use a brush to paint or stain off-the-floor elements, such as the rails, handrail, and caps.
  • 4.7 - Apply the selected product in the direction of the wood grain.
  • 4.8 - Paint or stain the decking and large surfaces with a roller in 2’ to 3’ sections. Start with the area farthest from the door.
  • 4.9 - Paint or stain the rim joists and stairs.
  • 4.10 - Apply enough paint to penetrate into cracks and knots, but not to excess. Saturate the ends of boards.
  • 4.11 - Check the time you'll have to wait before applying a second coat.
5

Protect the Deck (optional)

  • 5.1 - If you chose to stain your deck, please note that it is recommended to re-stain every 1-3 years.
  • 5.2 - Remember that dirt can act like sandpaper, damaging the finish. This is why a thorough wash at the beginning and end of each season can help to minimize wear and tear.

Apply Stain on a Rainy Day

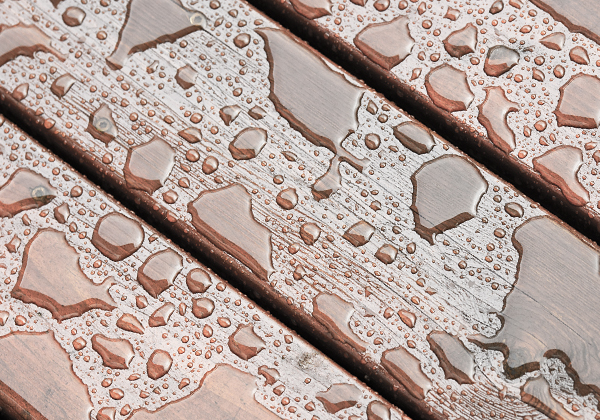
While conventional wisdom says to avoid staining in the rain, Weather-Ready™ Technology allows for exterior wood surface staining in damp conditions, whether it is hot or cold. It also takes less time.

  • Enjoy the ability to clean and stain after it rains
  • Feel free to mist and apply when it is hot and sunny out
  • Effective stain application down to 0°C (35°F)
  • A deck refinished with Weather-Ready™ stains is rain-ready in just 8-12 hours

SHOP OLYMPIC EXTERIOR STAINS

  • Olympic wood stain – staining in damp conditions

Suggested products