Share
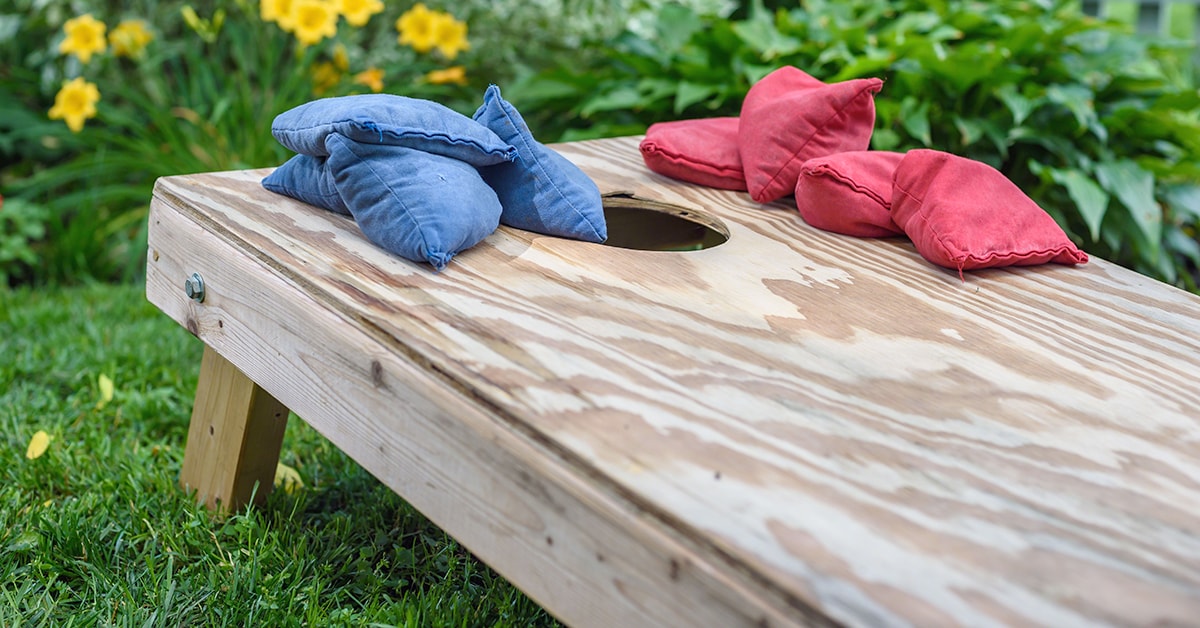
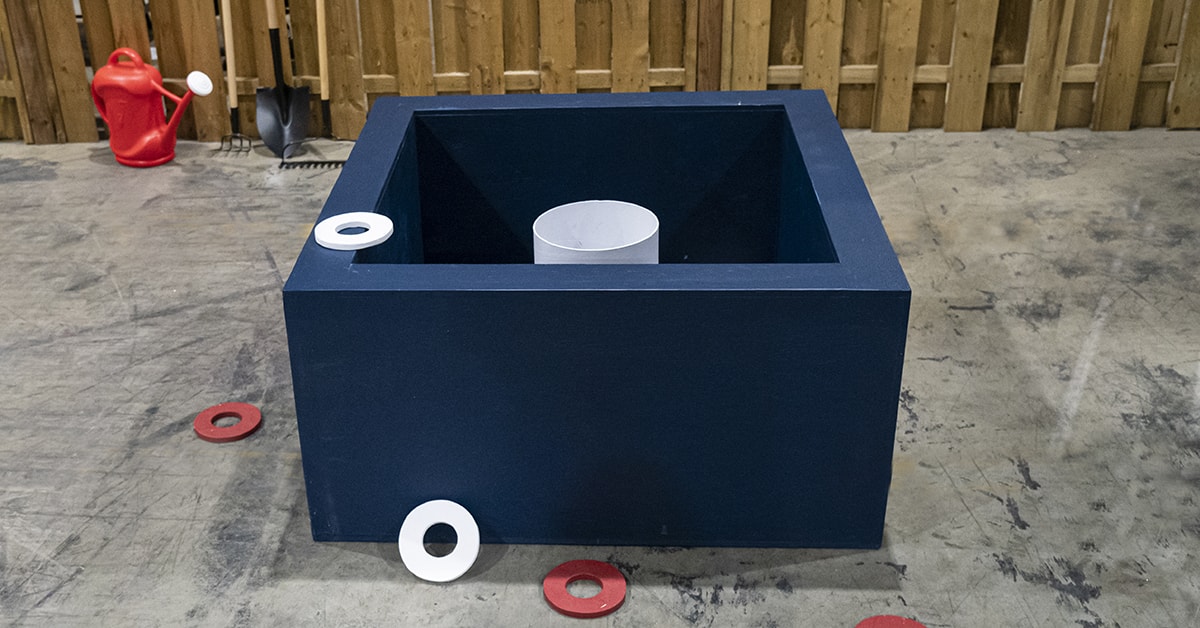
Wood cornhole game board

Updated on June 28, 2024

Do it yourself

Step-by-Step Guide: DIY Beanbag Toss Game

Build your own wood beanbag toss board (also called “cornhole game”) in a few easy steps to have fun in the sun all summer long. Learn how!

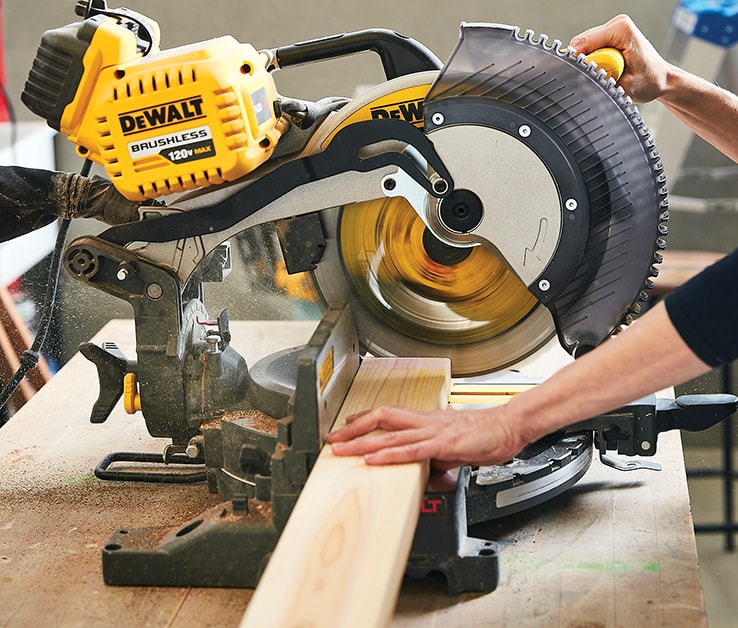
Person using a mitre saw

1
Measure and Cut the Wood

  • 1.1Measure and cut 2 2x4s at 48” to form the sides.
  • 1.2Cut the 2x4 scraps at 21” to form the ends.
  • 1.3Measure and cut the plywood at 24”x48” to form the top.
  • 1.4Cut the 2x4 scraps at 12" to form the legs.
  • 1.5Make a mark 1" from the edge on one side, then draw a line from this mark to the opposite corner (see plan).
  • 1.6Cut along this line to create an angled end.
  • 1.7Using the jigsaw, round the straight end of each leg.
icon-bulb

Pro Tip

To trace the semicircle used to round off the end, you can use a pencil compass... or simply a bowl!

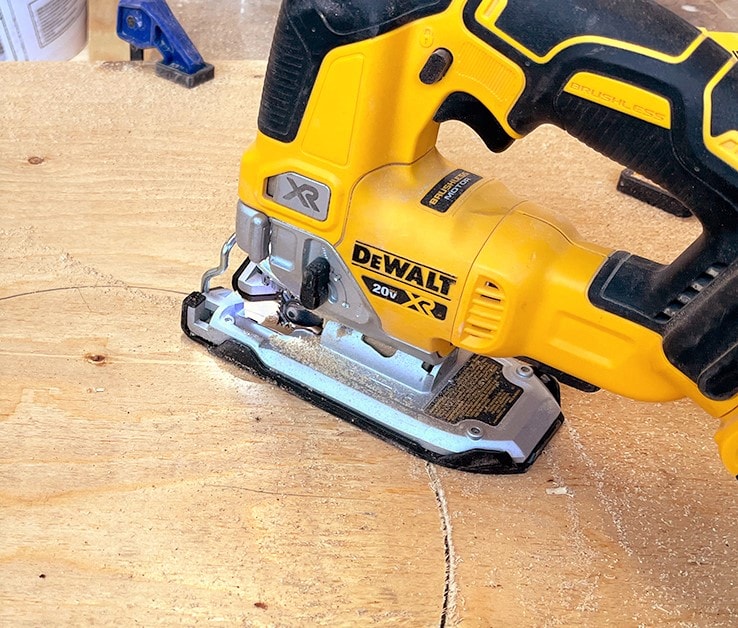
Person using a jigsaw

2
Make the Hole

  • 2.1On the plywood, draw a 6" circle at about 6" from the top of the sheet (the middle of the circle will be 9” from the top of the sheet).
  • 2.2Using the jigsaw, cut the circle.
  • 2.3To avoid any injuries, sand all the cut edges.
icon-bulb

Pro Tip

You can also use a hole saw with a drill to cut the hole.

3
Build the Base

  • 3.1Create a rectangle with the pieces of 2x4 (place the shorter pieces inside the longer pieces).
  • 3.2Check that the base is square and secure the 4 corners with screws.

4
Install the Top

  • 4.1Place the plywood on the base, with the hole at the top where the legs are.
  • 4.2Install the top by screwing into the base from above.
icon-bulb

Pro Tip

For a cleaner look, you can use a pocket hole jig. This extra step makes the project more complex but will produce a sleek-looking top with no visible screws.

5
Add the Legs

  • 5.1Turn the structure upside down (with the top against the floor).
  • 5.2Using a leg as a drill guide, drill the holes for the bolts that will hold the legs.
  • 5.3Secure the legs onto the base using the bolts, washers, and nuts, ensuring that the short side of the angle faces upwards.

6
Add the Finishing Touches

  • 6.1Apply a wood sealer to the entire structure, without forgetting the joints.
  • 6.2Decorate with exterior paint if desired.

Disclaimer

These DIY projects are provided for informational purposes only. The information contained in RONA’s DIYs is intended to provide general guidelines to simplify jobs around the house. Because tools, products, materials, techniques, building codes, and local regulations are continually changing, RONA inc. assumes no responsibility for the accuracy of the information contained herein and disclaims any liability for the omissions, errors, or outcome of any project. RONA inc. makes no representation on the feasibility of any project and the viewer bears all risks coming with the realization of the projects. It is the responsibility of the viewer to ensure compliance with all applicable laws, rules, codes, and regulations for a project. The viewer must always take proper safety precautions and exercise caution when taking on any project. If there is any doubt in regard to any element of a project, please consult a licensed professional.