Build a Pergola

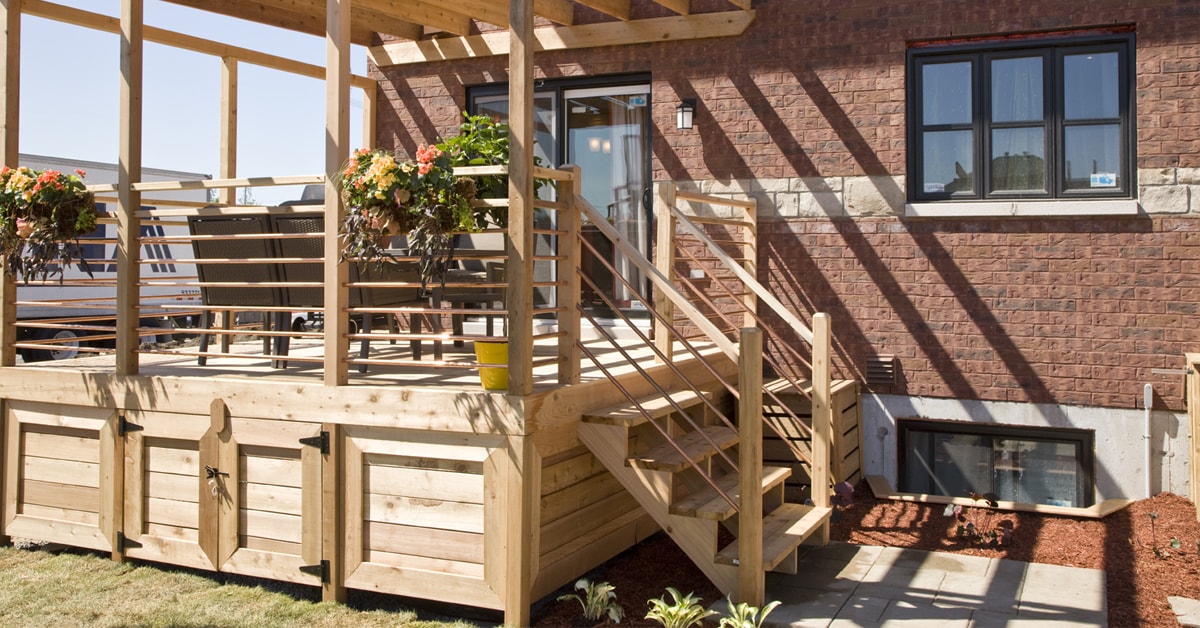
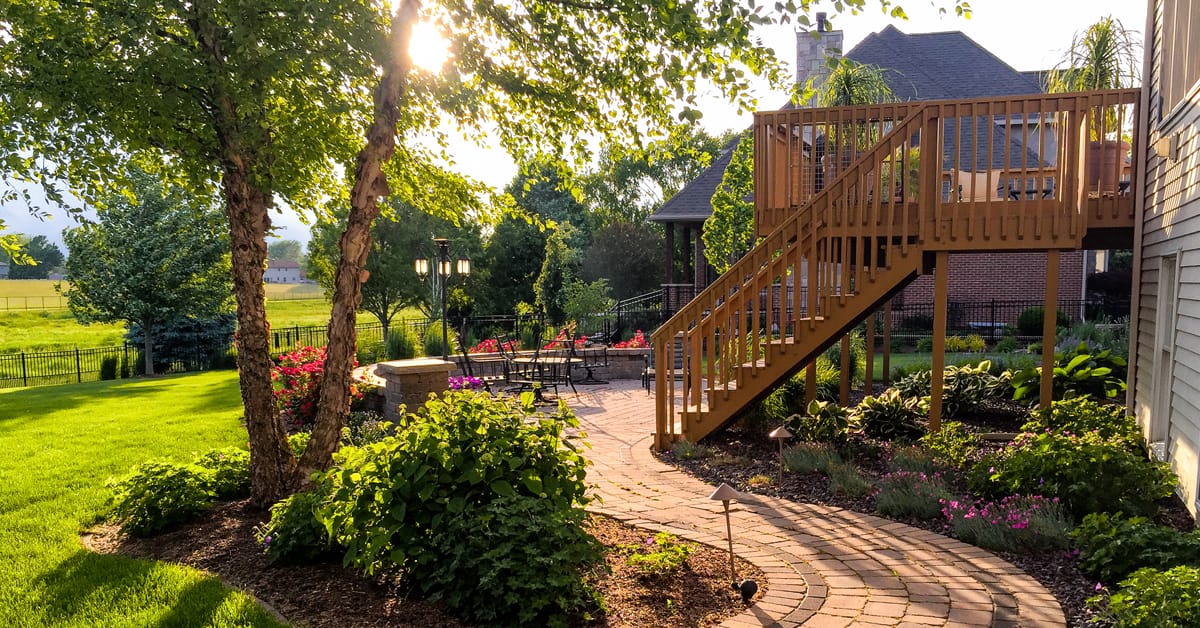
Building a pergola on the terrace or in the garden will add a point of interest to the landscaping. This partially shaded corner will be the perfect spot to relax and chill. Some hanging planters or climbing plants will help to integrate perfectly this wood structure to the landscape.
Difficulty level: Intermediate
Duration: Week-end Project

These instructions and materials are intended for a pergola attached to the house, with a surface area measuring 7ꞌ11" x 9ꞌ6". 

The surface area of the pergola and the length of the rafters will determine the size of the posts and headers. If you’re planning a large pergola, you may require 2"× 10" headers and 6" × 6" posts. Check with our in-store professionals.

A handrail is mandatory for decks that sit more than 21" from the ground.

1

Secure the joist to the house

  • 1.1 - Determine the location of the joist: higher than the headers but the same height as the rafters.
  • 1.2 - Remove the aluminum, vinyl or wood exterior cladding 1 foot above the location where the joist will be installed.
  • 1.3 - Localize all structural elements. Studs are normally 16" apart (centre-to-centre) on either side of the door.
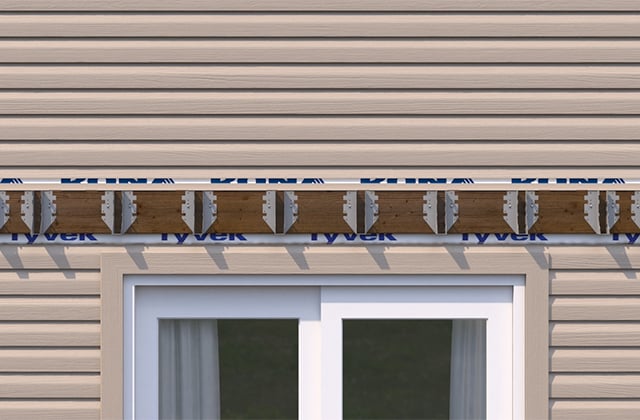
  • 1.4 - Start from the centre of the joist and mark the location for each joist hanger: every 14" centre-to- centre.
  • 1.5 - Secure the metal joist hangers to the joist.
  • 1.6 - Strongly secure the joist to structural elements of the house.
  • 1.7 - Caulk the top of the joist and install galvanized steel flashing to prevent water from penetrating.
2

Prepare the roof structure

  • 2.1 - Draw the shape you want for the ends of the rafters and headers on a piece of cardboard.
  • 4 x 4 Posts
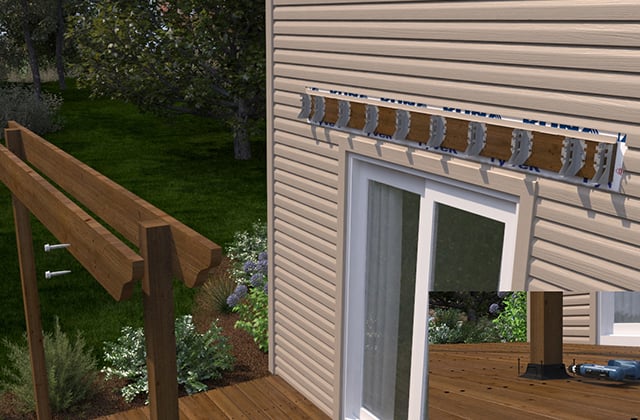
  • 2.2 - Cut both 4"× 4" posts at the same height as the joist
  • 2.3 - Mark the locations of the headers that will support the rafters on both posts.
  • 2.4 - Determine the location of the metal post bases on the deck, and screw in.
  • 2.5 - Anchor the posts in the bases.
  • 2.6 - Check that the posts are square and level.
  • Headers
  • 2.7 - Measure the (exterior) distance between, the 2 posts.
  • 2.8 - Add 24", or 12" on each side, and cut the headers to this length.
  • 2.9 - Fix the drawing to one end and then the other of the headers and cut the design on the boards with jigsaw.
  • 2.10 - Mark the location of the posts on the headers and drill holes.
  • 2.11 - Secure the headers to the posts with lag screws and a ratchet.
3

Install the rafters

  • 3.1 - Measure the distance between the joist and the first 2" × 8" header.
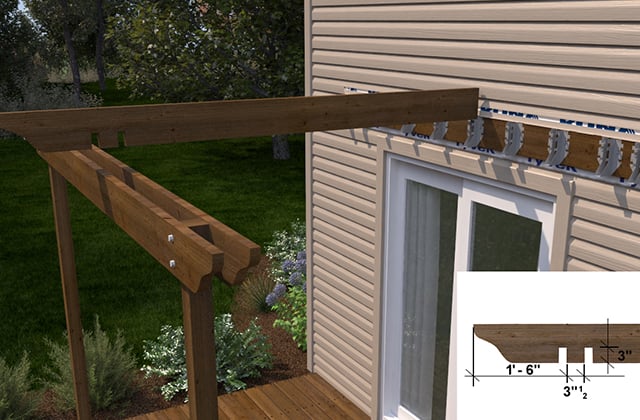
  • 3.2 - Make two notches 1½” wide and 3" deep on the rafter to set in the header. The notches should be 3 ½" apart.
  • 3.3 - Use a jigsaw to cut out the notches.
  • 3.4 - Apply the design to one end of each rafter and cut the design with a jigsaw.
  • 3.5 - Begin the installation in the center of the headers and move outward.
  • 3.6 - Fit the rafters into the notches made in the headers and then slide the other ends into the joist hangers at the other end.
  • 3.7 - Screw the rafters into the headers at a 45° angle to strengthen/solidify the structure.
  • 3.8 - Screw the rafters into the hangers.

Suggested products