Share
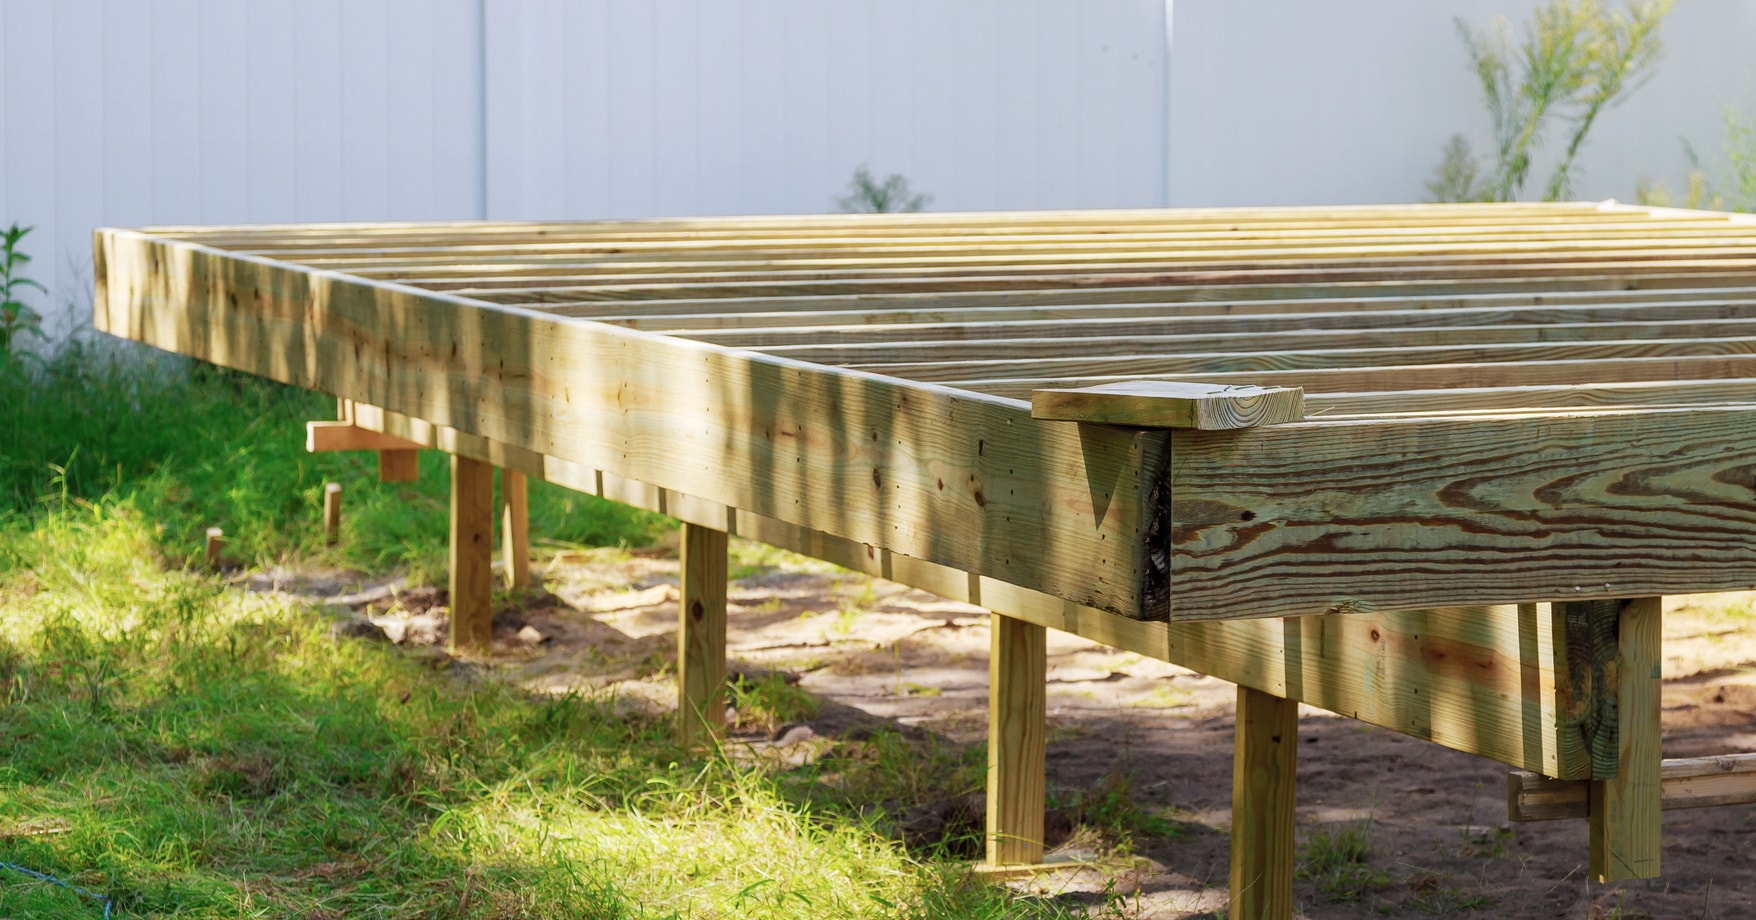
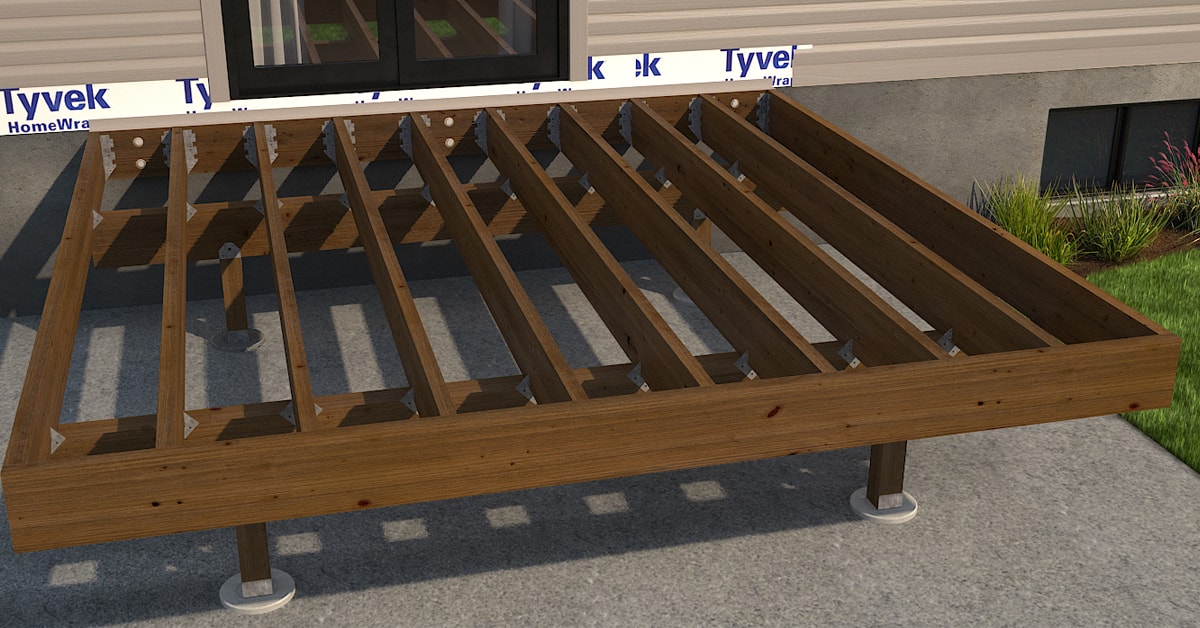
One-level wooden deck with pillars
Do it yourself

How to Build a Deck Foundation

A sound deck foundation is absolutely basic for a one or two-level deck. One weekend is all it will take. Ready to install your deck, and you’ll be well on your way to summer enjoyment!

Before Your Start

Calculate how much concrete you’ll need: it may be more practical to book a concrete truck delivery than to buy bags of concrete mix. But first decide if you want to build a one-level deck or a two-level deck.

Footings should always be installed below the frost line or in accordance with standards in the area where the deck will be built.

Check with municipal regulations stipulating the distance between deck footings and property lines when planning the construction of a deck.

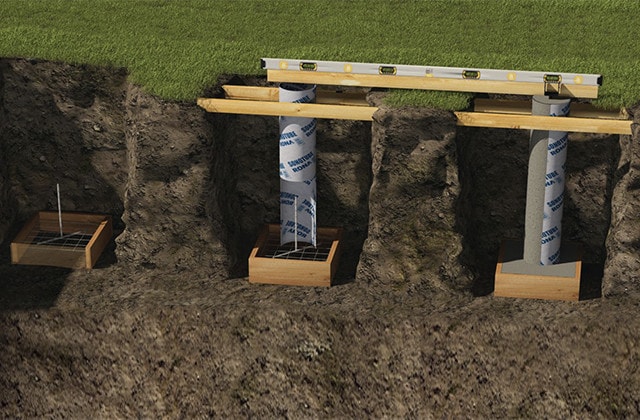
Concrete pillars with footings in the ground
Concrete pillars with footings is the most stable deck foundation, but seldom installed
1

Concrete Pillars with Footings

Pros
  • Permanent, frost-proof foundation
  • Ideal for most types of soil and sloped terrain
  • Very stable
  • Suitable for large decks
Cons
  • Cost is prohibitive
  • Time-consuming to install
  • Digging below the frost line is required
  • 1.1 - Excavate 4" within the deck perimeter.
  • 1.2 - Calculate the weight of the deck in order to determine the number of pillars you'll need. If you're working from your own design, have it checked by a professional.
  • 1.3 - Determine the location of the pillars. If the deck will be built at the same time as the house, have both foundations dug at the same time.
  • 1.4 - Dig holes 54" deep and large enough for 24" forms.
  • 1.5 - Build 24" square forms using 2x8 boards.
  • 1.6 - Insert a reinforcing rod diagonally, then a wire mesh.
  • 1.7 - Place a reinforcing rod bent into an L-shape in the centre of the frame. The short end should fit under the diagonal reinforcing rod already in place. The L-shaped rod will link the footing and the pillar.
  • 1.8 - Hold the L-shaped rod erect, then pour the concrete. Allow sufficient time for the concrete to cure, according to the manufacturer's instructions.
  • 1.9 - When the concrete has cured, place form tubes at the centre of the footings, and support with pieces of wood.
  • 1.10 - Ensure that the tubes are level. Measure diagonal lengths to verify that the foundation is square.
  • 1.11 - Backfill the footing.
  • 1.12 - Pour concrete into the form tubes.
  • 1.13 - Insert the saddle spikes in the centre of each pillar, leaving a 1" thread above the surface.
  • 1.14 - Level all saddles.
  • 1.15 - Mound the concrete around the fence post so that water will drain away
  • 1.16 - Repeat these steps for the remaining pillars until the foundation is complete.
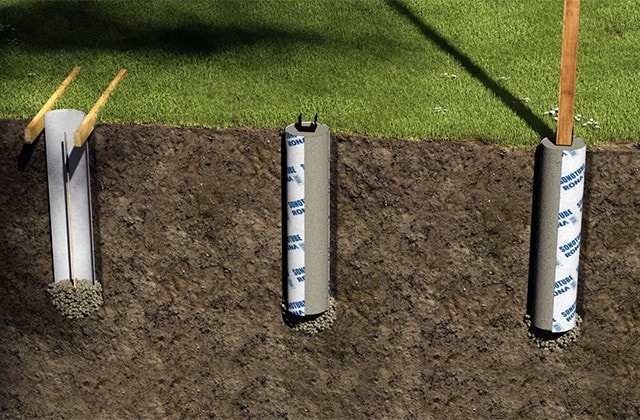
Concrete pillars without footings in the ground
Concrete pillars without footings is the most common deck foundation
2

Concrete Pillars Without Footings

Pros
  • Permanent, frost-proof foundation
  • Ideal for most types of soil and sloped terrain
  • Perfect in regions subject to freeze-thaw conditions
  • Suitable for large decks
Cons
  • Expensive and time-consuming to install
  • Digging below the frost line is required
  • 2.1 - Excavate 4" within the deck perimeter.
  • 2.2 - Determine the precise location of the concrete pillars so the outside edges of the 4x4 timbers are aligned with the string marking the deck perimeter.
  • 2.3 - Use a posthole auger to dig holes 10" to 12" in diameter and approximately 54" deep, depending on the area.
  • 2.4 - Pack the bottom of each hole and add a 6" layer of 0-¾" crushed stone for drainage.
  • 2.5 - Insert a cardboard form tube in each hole and cut to leave 6" above ground level.
  • 2.6 - Secure the tube in position by screwing in wood supports.
  • 2.7 - Ensure that the form tubes are level with each other. Measure diagonal lengths to verify the foundation is square.
  • 2.8 - Backfill the exterior of the tubes.
  • 2.9 - Secure the tube in position
  • 2.10 - Insert a steel bar into every form tube to reinforce the pillar and minimize structural damage due to frost.
  • 2.11 - Insert the saddle spikes in the centre of each pillar leaving a 1" thread above the surface.
  • 2.12 - Level all saddles or J-Bolts to the same height.
  • 2.13 - Mound the concrete around the fence post so that water will drain away
  • 2.14 - If you used a J-Bolt: when the cement has dried, secure the saddle by orienting the side plates so that the pressure-treated 4x4 sits on top.
  • 2.15 - Repeat these steps for each pillar in order to complete the foundation.
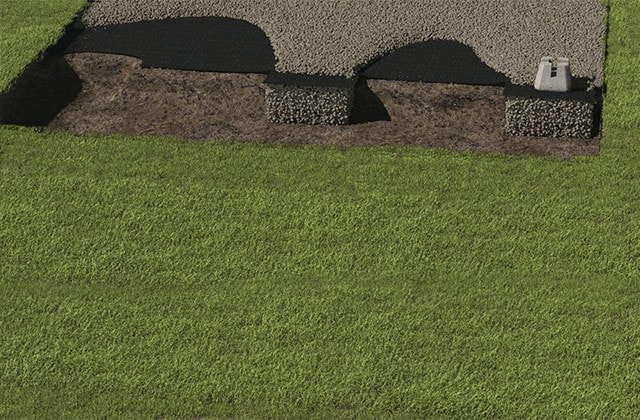
Deck foundation made of concrete blocks
Deck foundation on concrete deck base blocks, called Dek-Blocks
3

Concrete Deck Base Blocks

Pros
  • Easy to install for ground-level decks
  • Ideal for compact terrain and small structures
  • Adaptable for slightly sloping terrain by inserting 4x4s to raise the structure.
  • Suitable for areas where frost heave is minimal.
Cons
  • May sag if soil drainage is poor
  • Affected by frost cycles, it may require adjustment in the spring
  • Not recommended for decks attached to the house.
  • 3.1 - Excavate 4" within the deck perimeter.
  • 3.2 - Determine the location of the deck base blocks and dig holes 12" deep 24" square in diameter.
  • 3.3 - Fill with 0-¾" gravel in 3 layers, 4" each.
  • 3.4 - Compact each layer using a vibrating plate or mechanical compactor.
  • 3.5 - Spread a geotextile sheet over the excavated surface.
  • 3.6 - Place the concrete blocks.
  • 3.7 - Level each block independently, then all blocks with each other. If one block is too high, remove some material underneath; if it is too low, add some gravel.
  • 3.8 - Backfill the entire perimeter with 0-¾" gravel.

Need help understanding various units of measurement?

Use our conversion tool
Converter
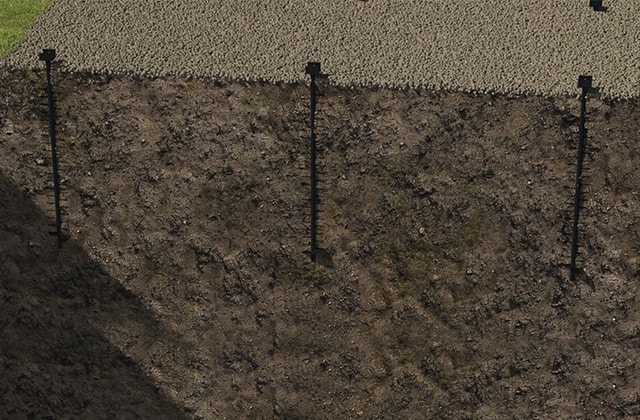
Deck posts in screw piles
Deck foundation built on screw piles
4

Deck Posts in Screw Piles

Pros
  • Installed deep in the ground below the frost line
  • Easy to install with the right equipment
  • Resistant to corrosion
  • Suited to all soil conditions except extremely rocky ground
Cons
  • Installation is usually carried out by professionals since specialized equipment is required
  • 4.1 - Determine the location of the piles.
  • 4.2 - Use a hydraulic pile driver to screw the ground screw anchor into the ground.
  • 4.3 - Ensure that installation is vertically square and aligned with the deck perimeter.
  • 4.4 - Realign the screw pile if it twists out of line.
  • 4.5 - Compact the soil around the base.
  • 4.6 - Set the deck post in the pile.
  • 4.7 - Repeat for the remaining deck posts. Always verify the distance between installations before proceeding to the next one.

Suggested products