Published on July 22, 2024
DIY Christmas Decorations: Outdoor Reclaimed Wood Plank Presents
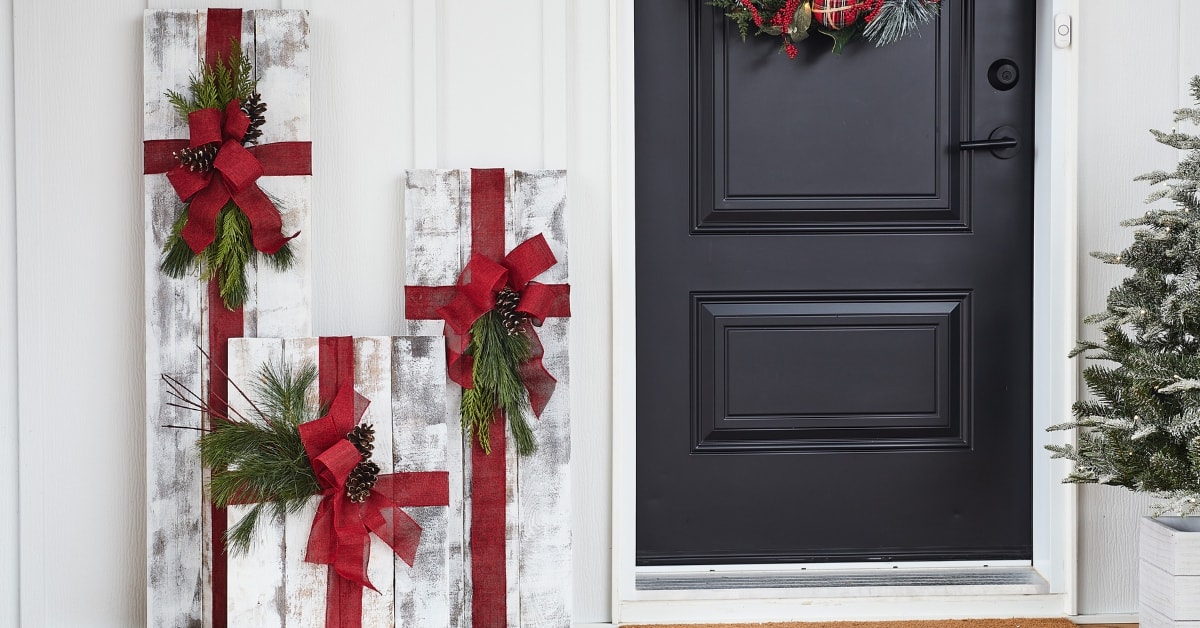
Here’s a great DIY outdoor Christmas decoration idea. Budget-friendly and fun to make, these reclaimed wood plank presents can add some Holiday flair to any front porch. Learn how to make yours in a few easy steps!

1Measure the Planks
Designer Tip
We recommend the following heights for a balanced and well-thought-out look: 24”, 32”, and 48”.

2Cut the Planks

3Assemble the Present
- 3.1Cut wood scraps or slats to use as vertical pieces to hold everything together; depending on the height of the present, you will need two or three scraps. Make sure the length of each piece is 2” shorter than the width of the present.
- 3.2Pre-drill the pieces, then screw them behind the planks (along the width) to join the planks together and solidify the present.

4Paint the Presents

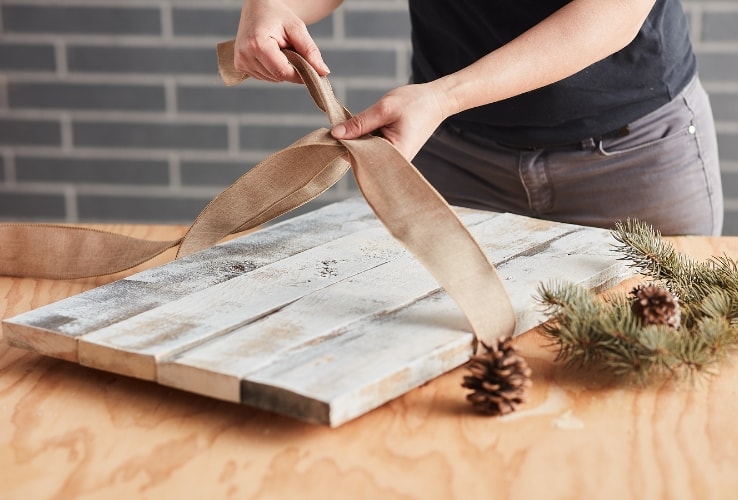
5Decorate Your Project
Pro Tip
Take your project to the next level by adding LED lights to bring your presents to life at night!
Disclaimer
These DIY projects are provided for informational purposes only. The information contained in RONA’s DIYs is intended to provide general guidelines to simplify jobs around the house. Because tools, products, materials, techniques, building codes, and local regulations are continually changing, RONA inc. assumes no responsibility for the accuracy of the information contained herein and disclaims any liability for the omissions, errors, or outcome of any project. RONA inc. makes no representation on the feasibility of any project and the viewer bears all risks coming with the realization of the projects. It is the responsibility of the viewer to ensure compliance with all applicable laws, rules, codes, and regulations for a project. The viewer must always take proper safety precautions and exercise caution when taking on any project. If there is any doubt in regard to any element of a project, please consult a licensed professional.


