Published on July 22, 2024
DIY Christmas Decorations: Wooden Snowmen
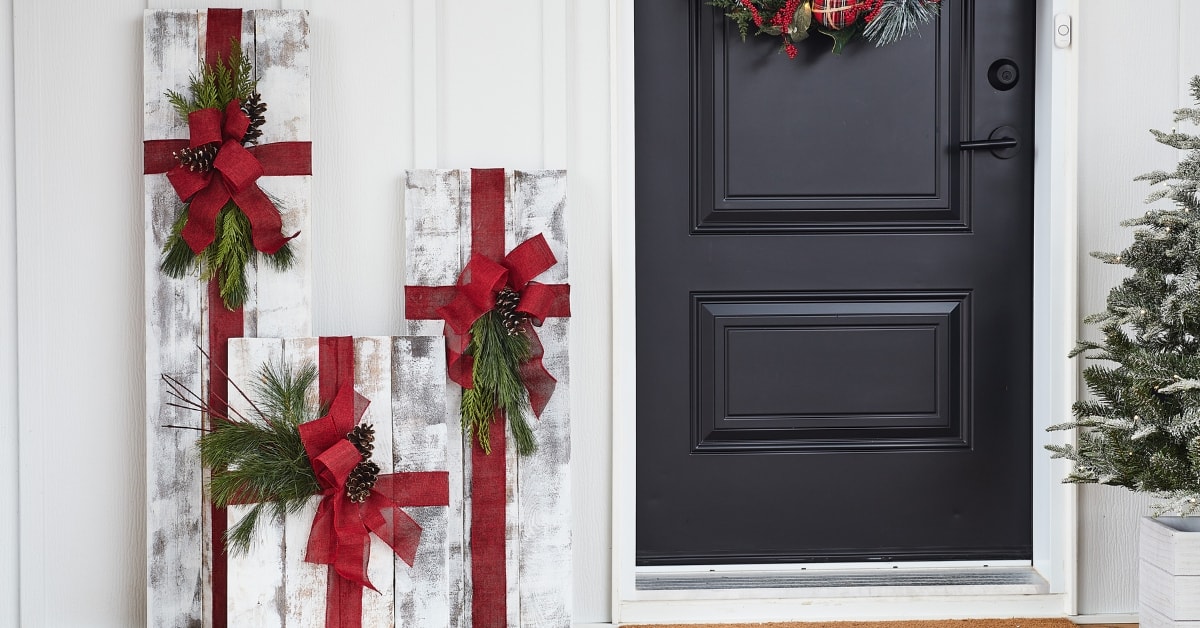
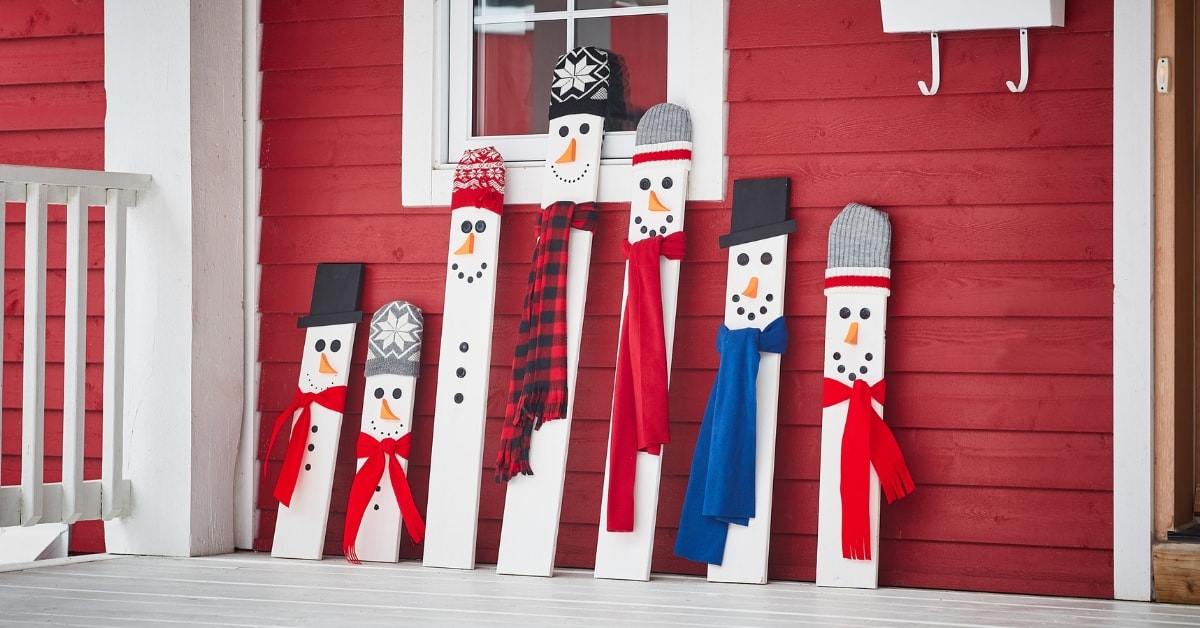
Nothing keeps the Holiday spirit alive (and the little ones happy!) like making DIY Christmas decorations. These fun and adorable wooden snowmen come together in just 5 easy steps. Learn how to make yours now! You’ll have a blast picking out the perfect day-to-day objects for decorating them.
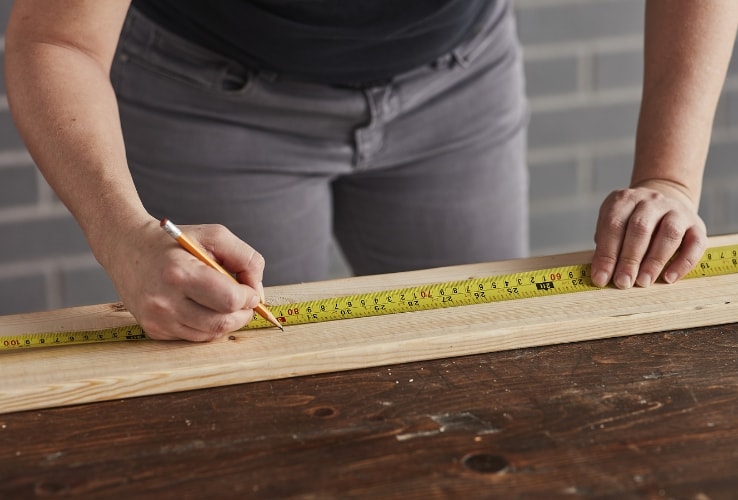
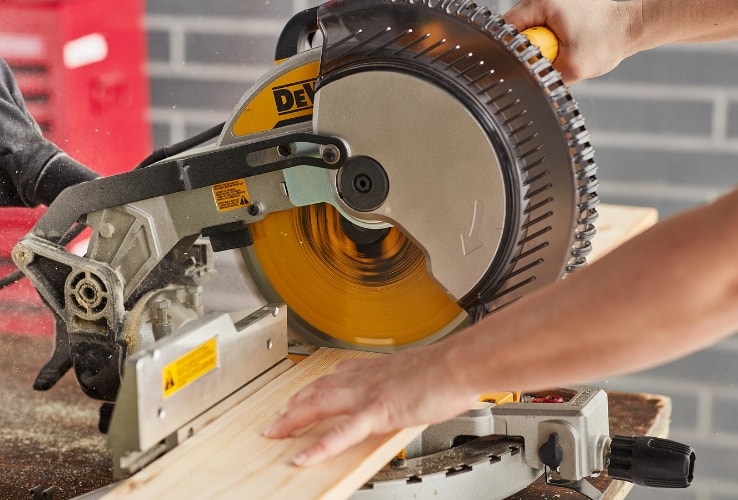
1Measure and Cut the Planks
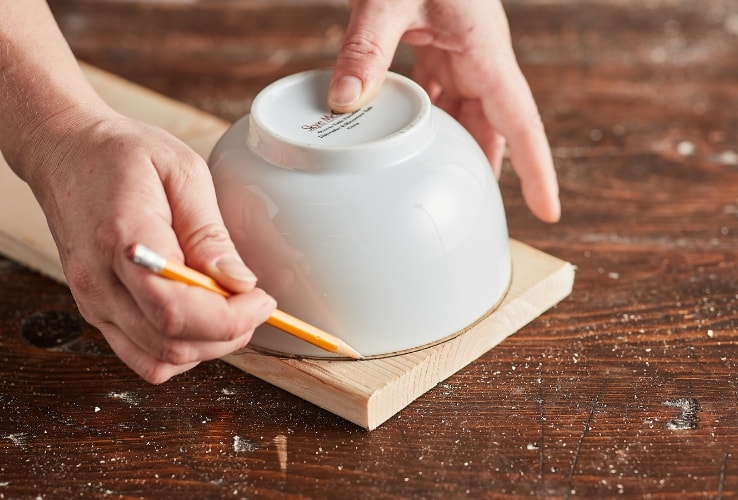
2Create the Head Shape
- 2.1Trace the head shape using a 5.5” bowl.
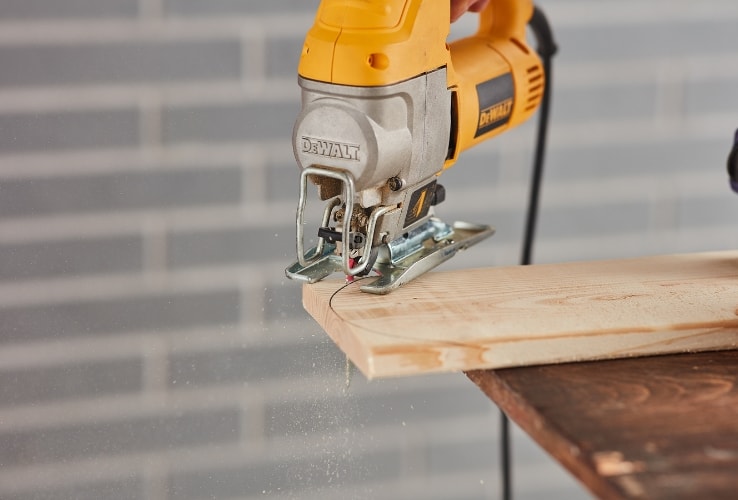
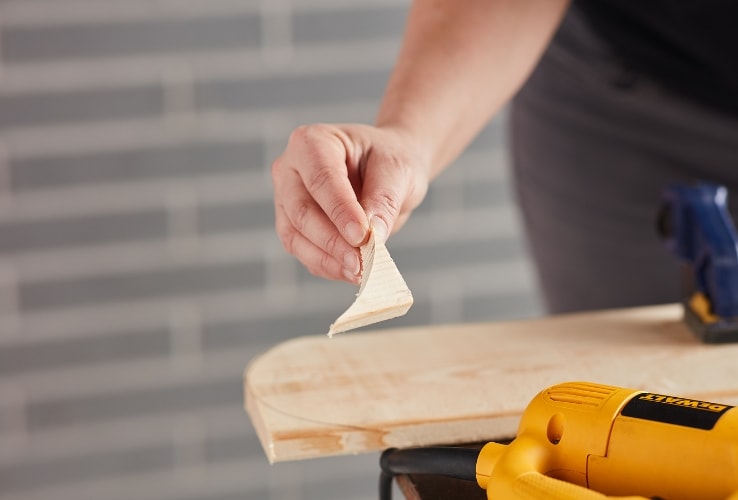
- 2.2Cut along the line using a jigsaw. Keep the wood scraps for the nose.
Pro Tip
For greater stability and a cleaner cut, secure the plank to a workbench using clamps before cutting it with the jigsaw.

3Sand It Down
4Paint the Snowmen
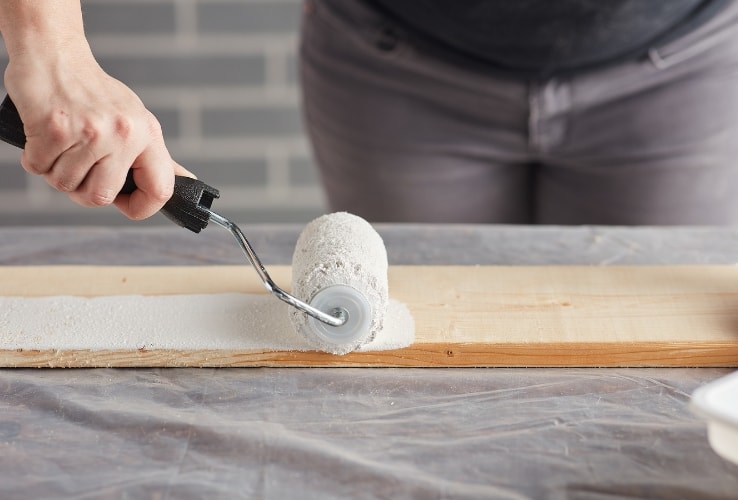
- 4.1Using a roller, apply 2 coats of white exterior paint or exterior stain and sealer to all planks.
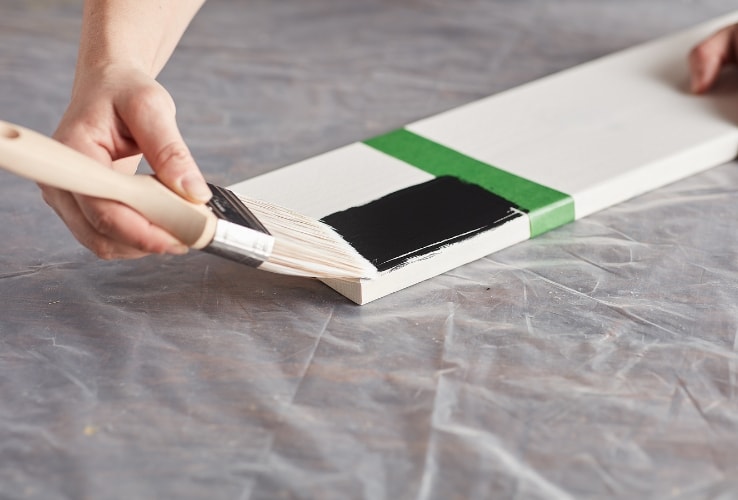
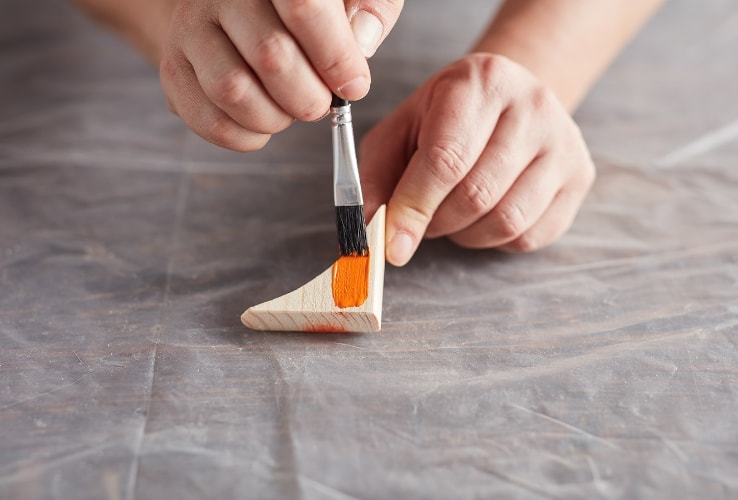
- 4.2Paint the nose orange and the top hats in black.
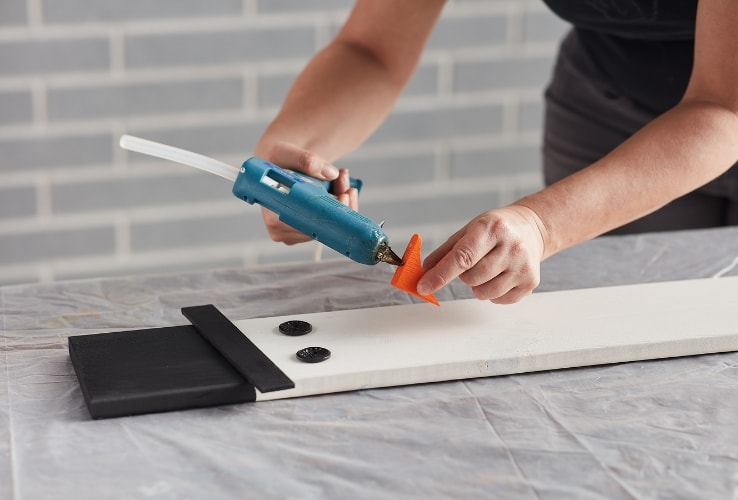
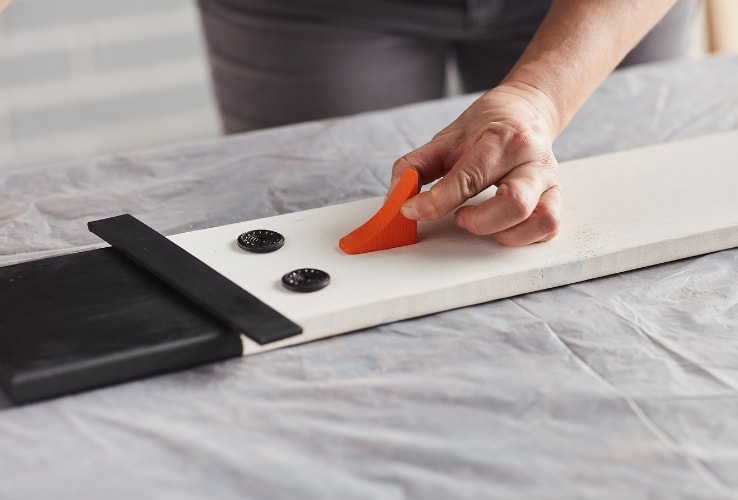
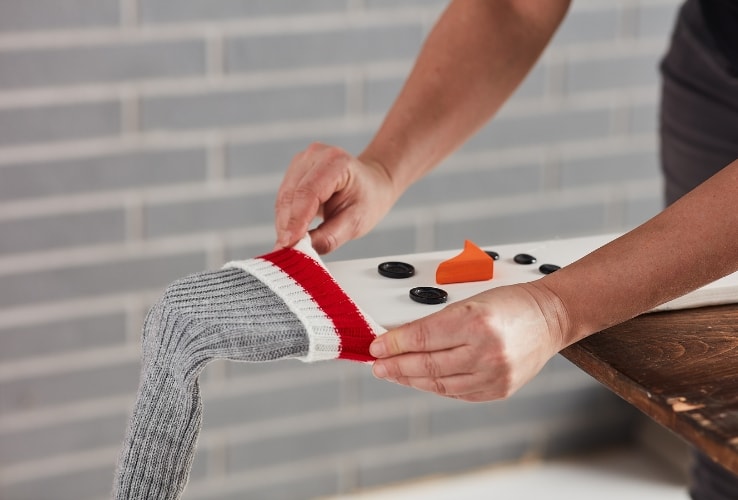
5Decorate the Snowmen
- Coat buttons: old buttons or recycled screws
- Winter hat: orphan socks (or socks with holes)
- Top hat: paint stir stick, painted black
- Scarf: piece of fabric
- Nose: wood scraps, painted orange
Disclaimer
These DIY projects are provided for informational purposes only. The information contained in RONA’s DIYs is intended to provide general guidelines to simplify jobs around the house. Because tools, products, materials, techniques, building codes, and local regulations are continually changing, RONA inc. assumes no responsibility for the accuracy of the information contained herein and disclaims any liability for the omissions, errors, or outcome of any project. RONA inc. makes no representation on the feasibility of any project and the viewer bears all risks coming with the realization of the projects. It is the responsibility of the viewer to ensure compliance with all applicable laws, rules, codes, and regulations for a project. The viewer must always take proper safety precautions and exercise caution when taking on any project. If there is any doubt in regard to any element of a project, please consult a licensed professional.


