1
Make a copper candlestick
Copper is making a strong comeback in decoration trends. This DIY candlestick is a beautiful gift idea with a unique style that everyone will love!
Difficulty level: Easy
Duration: 1 hour
Material
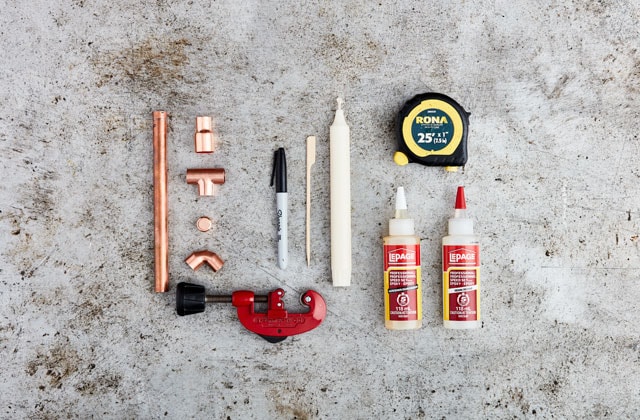
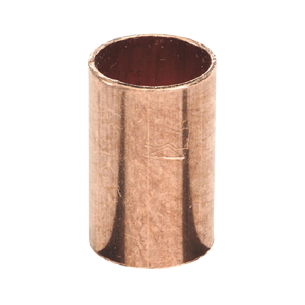
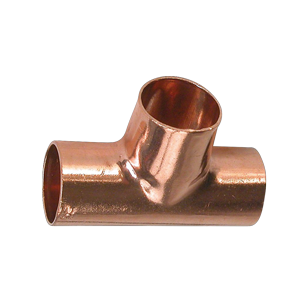
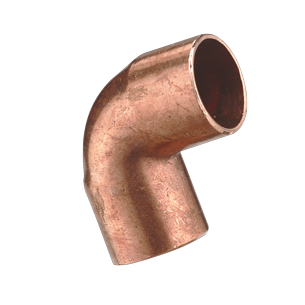
1 x 6 ft. 1/2-in copper pipe4 x 1/2-in copper elbows3 x 1/2-in copper tees4 x 3/4-in copper couplings1x 1/2-in copper cap4x candles1 small piece of wood (popsicle type stick)
Mineral spirits or fondue fuel
Epoxy glue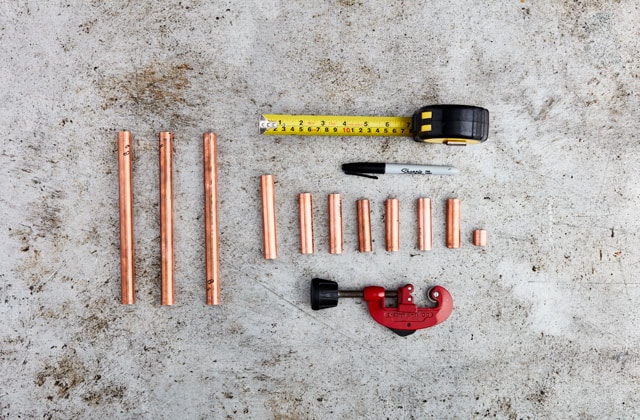
2
Measure and cut the copper pipe
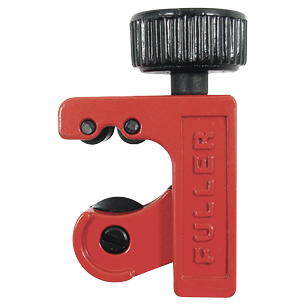
- Use the permanent marker to indicate measurements on the pipe and cut pieces using the tubing cutter:
- 4 x 2 ¼’’ pieces
- 3 x 8’’ pieces
- 2 x 2 ¾’’ pieces
- 1 x ¾’’ piece
3
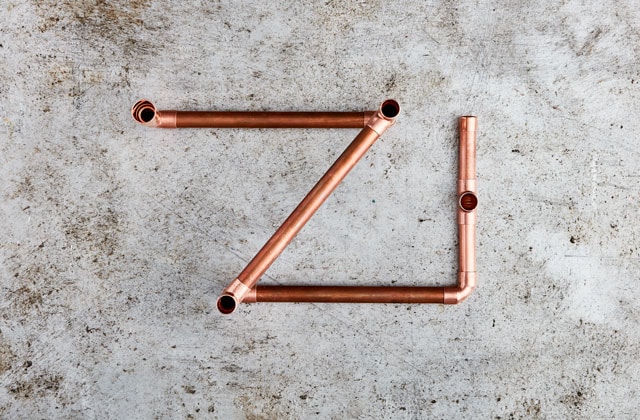
Assemble without glue
- 3.1 - Start by assembling the pipe pieces with different elbows and other fittings without using glue.
- 3.2 - Once you are satisfied with how it looks, disassemble the candlestick.
4
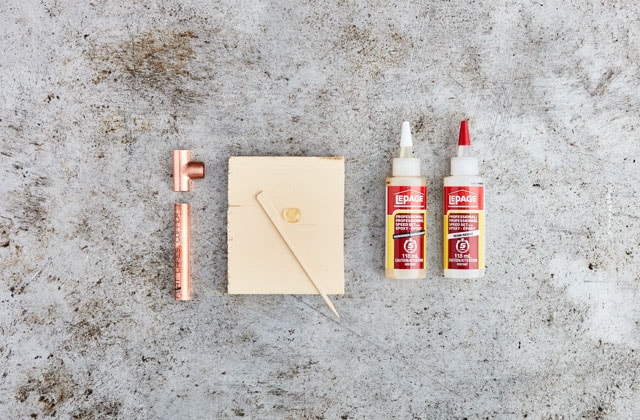
Glue the parts together
- 4.1 - Glue the interior of one of the caps by spreading a small amount of epoxy glue (carefully read instructions on the glue’s packaging before starting) on the inside using a popsicle stick.
- 4.2 - Insert the copper pipe.
- 4.3 - If necessary, clean off excess glue with mineral spirits or fondue fuel.
- 4.4 - Repeat the steps above until you have completed the candlestick.
- 4.5 - Let the glue dry for 24 hours.
Pro Tip
Place the candlestick on a plate to avoid damage and wax dripping on the table.

5


