Share
Do it yourself

Garage Storage

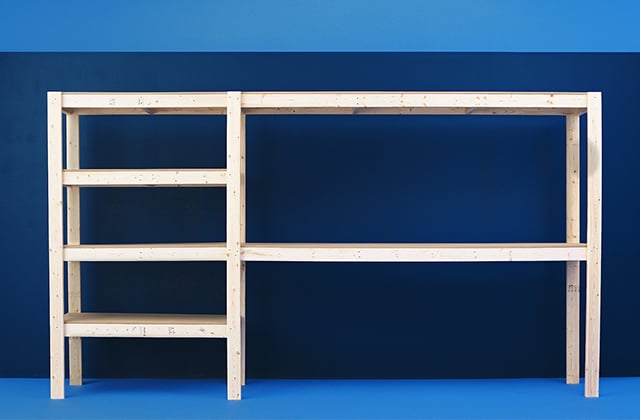
Decluttering, effective storage, good organization… words that sound good to the ear. This shelving unit is the first step in cleaning the mess that is the garage. Grab your tools! See the plan for plank dimensions and the assembly instructions.
1

Cut the beams and plywood

  • 1.1 - Measure and cut the beams and sheets of plywood as indicated on the plan.
2

Assemble the right structure

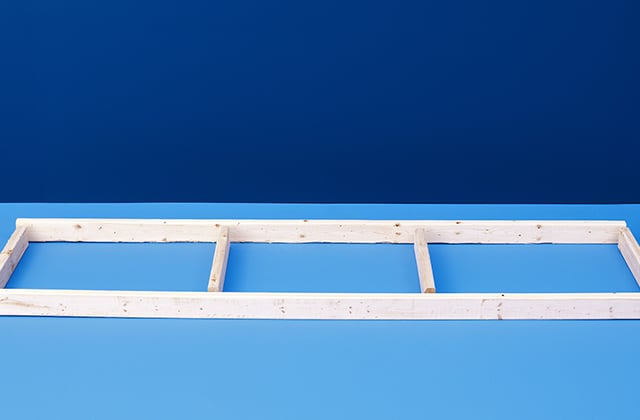
  • 2.1 - Put 2 – 2" x 4" x 8' on the ground and place 4 – 2" x 4" x 21" pieces in between, 2 on either extremity and the other 2 26" apart.
  • 2.2 - Check the square and screw the pieces from outside.
  • 2.3 - Secure a 2' x 8' sheet of plywood on top of the structure.
  • 2.4 - Repeat steps 2.1 to 2.3 for the second shelf.
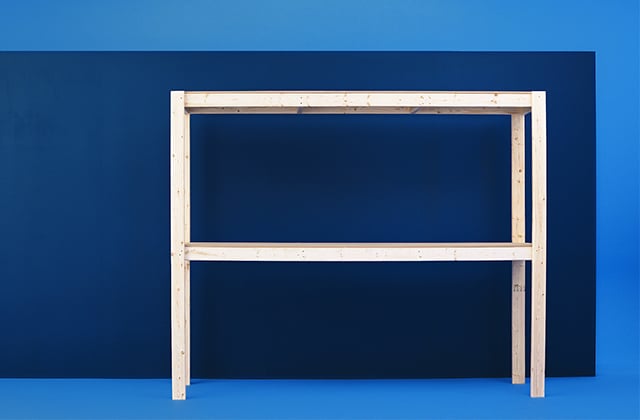
  • 2.5 - Mark the 4 – 2" x 4" x 80" pieces at 40"
  • 2.6 - Place the 2 shelves vertically at 40" from each other. Place a 2" x 4" x 80" piece on the mark, and the other at the top. Check the square and screw the pieces from outside.
  • 2.7 - Turn the structure and secure the other side.

Pro Tip

The structure can be painted, stained, or varnished for a nicer finish.
3

Assemble the left structure

  • 3.1 - Put 2 – 2" x 4" x 48"on the ground and place 3 –2" x 4" x 21" in between, 2 at the extremities and one in the centre.
  • 3.2 - Check the square and screw the pieces from outside
  • 3.3 - Secure a 24" x 48" sheet of plywood on top of the structure.
  • 3.4 - Repeat steps 3.1 to 3.3 for the 3 other shelves.
  • 3.5 - Mark the 4 – 2" x 4" x 80" pieces at 20"
  • 3.6 - Place the shelves vertically at 20" from each other. Place two 2" x 4" x 80" piece on the marks. Check the square and screw the pieces from outside.
  • 3.7 - Turn the structure and secure the other side.
4

Secure on the wall

  • 4.1 - Assemble the left and right units.
  • 4.2 - Secure the storage shelf solidly on the wall using corner braces and anchors.

Pro Tip

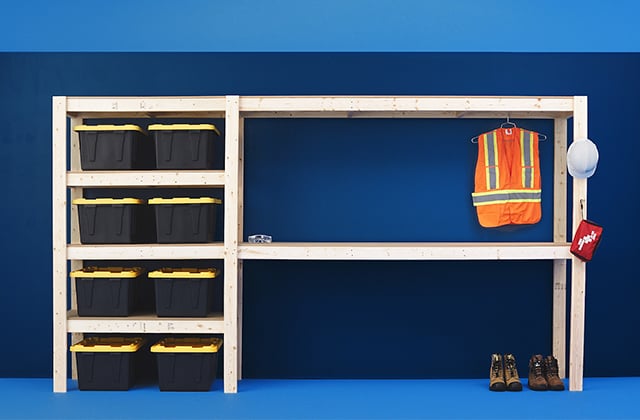
Add bins, hooks, or any other storage accessory for a solution that fits your needs.

Suggested products