Updated on March 7, 2023
How to Install Tile Using a Levelling System
A DIY ceramic tile installation is a great way to save some money, and you can keep things looking professional and make sure the floor is straight with a tile levelling system.
1Apply the Mortar
- 1.1Go through the steps up until Spread the Mortar in our guide on How to Lay Floor Tiles.
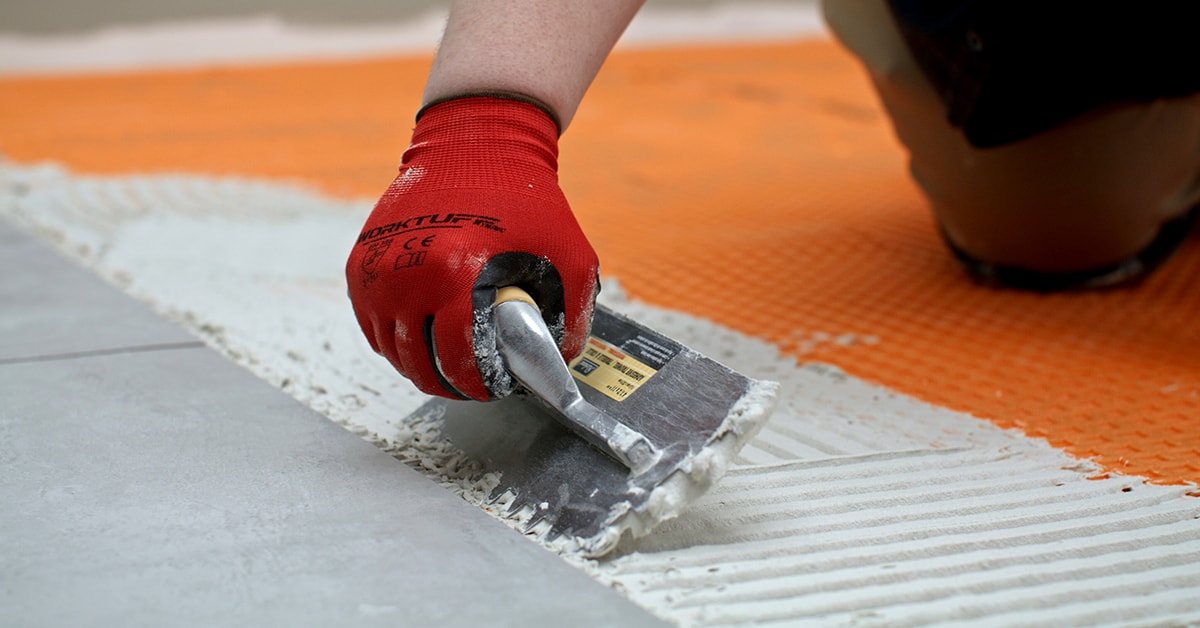
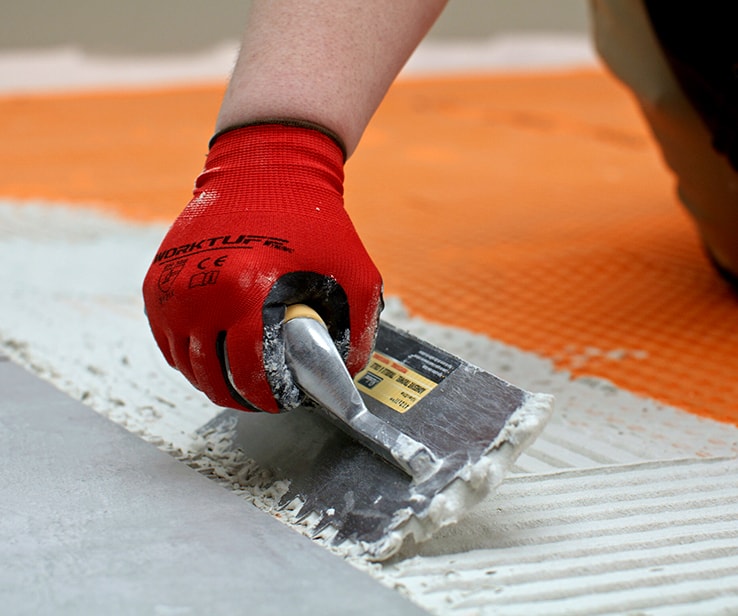
- 1.2Use the layout lines to spread mortar, using enough product to fill membrane gaps and covering the area of about 2 or 3 tiles at a time.
- 1.3To create ridges, rake through the mortar with the notched edge of a trowel. Orient all ridges in the same direction.
2Install Tiles and Clips
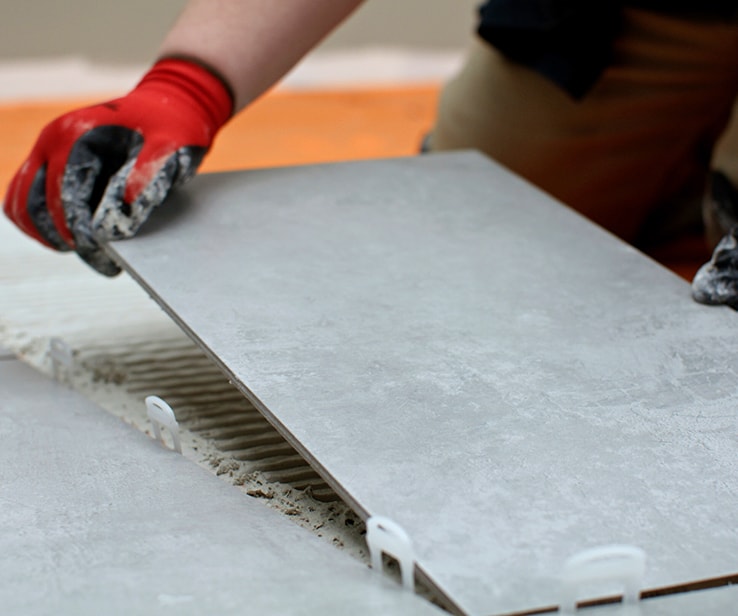
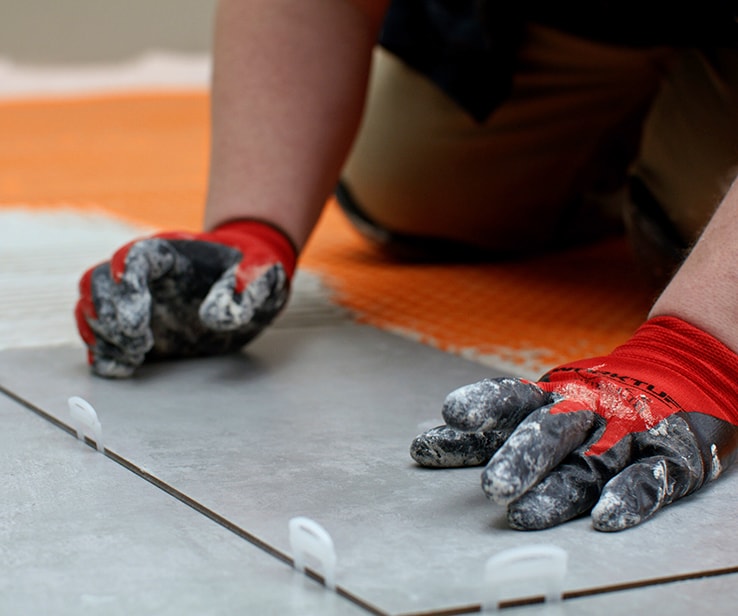
- 2.1Position a ceramic tile onto the mortar following the reference lines, and press down lightly.
- 2.2Wipe away excess mortar.
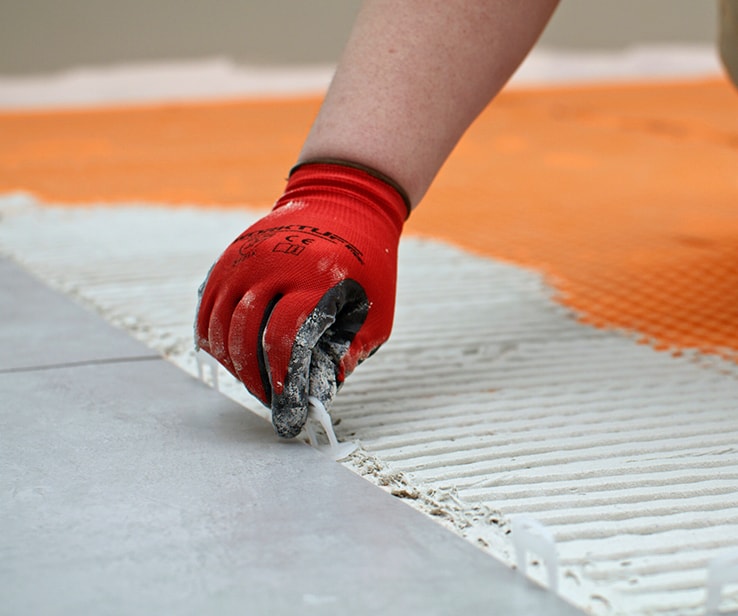
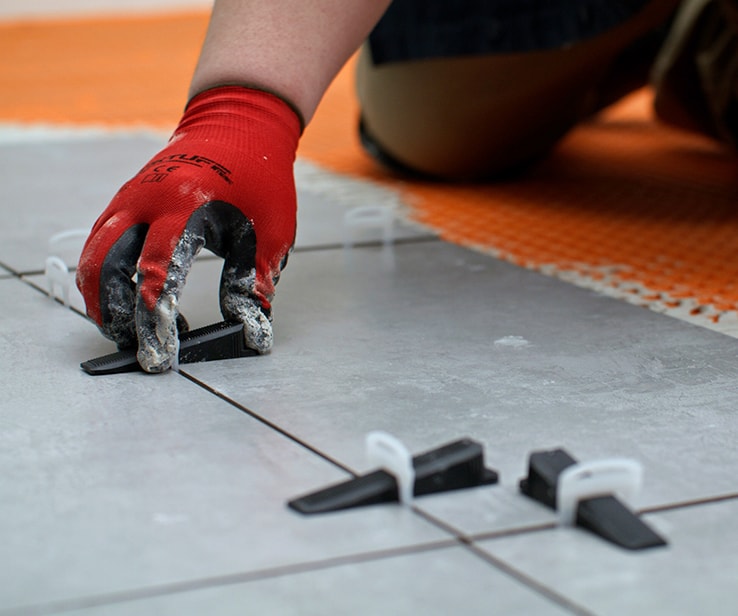
- 2.3Under each side of the tile, slip 2 levelling clips so they’re firmly set in the mortar. Position each clip 2-3” from the tile’s corners.
- 2.4As you position the next tile to the levelling clips, check that the clips’ feet have proper mortar coverage.
Pro Tip
Larger tiles (12” or larger on any side) may require 3 clips per side. Make sure you purchase extra clips and wedges if needed. To help keep them in place when you press them into the mortar, we also suggest applying a fine, uniform coat of mortar on the back of these larger tiles.
3Insert the Wedges
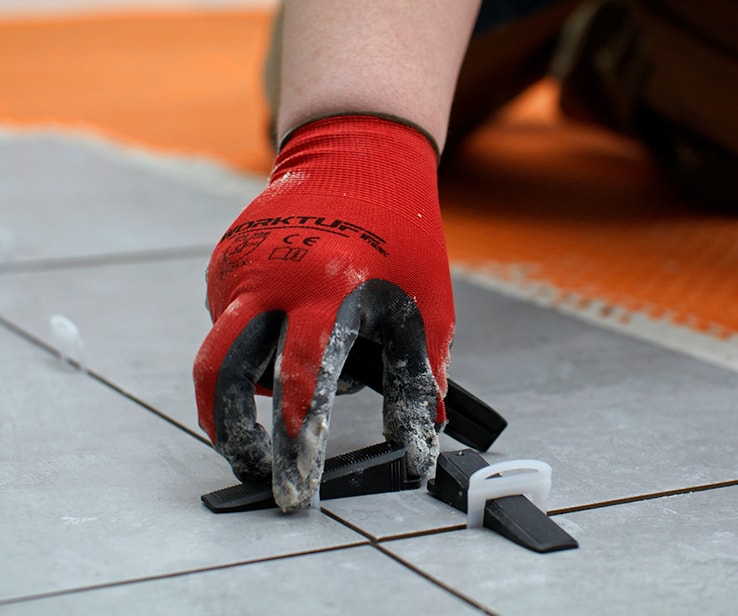
- 3.1After you lay the next 2-3 tiles, take the levelling wedges then insert them, by hand, into the levelling clips.
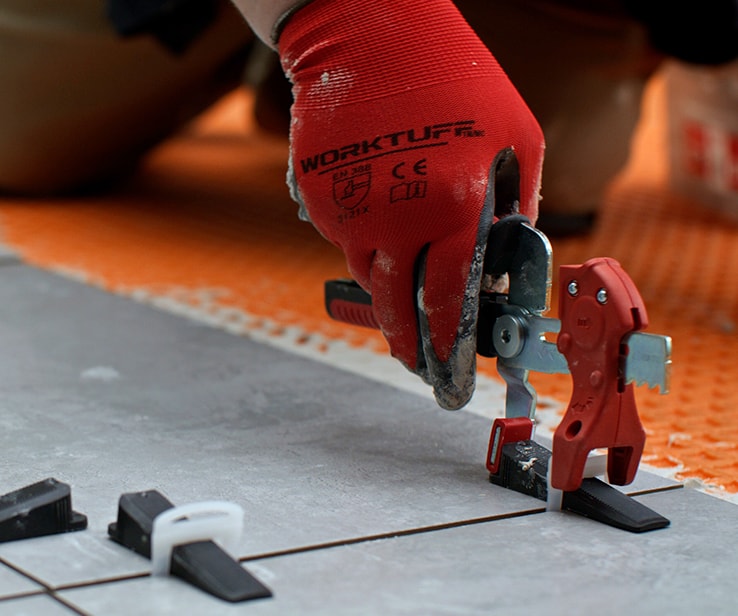
- 3.2Set your levelling system pliers to the right length for the wedges.
- 3.3Gently use the pliers to push the wedges into the clips, bringing the surface of both tiles into flushed alignment.
- 3.4Insert the wedges until you feel resistance. The wedges need to be snug but not too tight so as not to snap the clips.
- 3.5Repeat the steps above for every tile.
- 3.6As you go through the process, wipe any excess mortar away from the clips, wedges, and joints.
- 3.7Let everything dry for the duration specified by the manufacturer guidelines, or for a minimum of 24 hours.
4Remove the Wedges and Clips
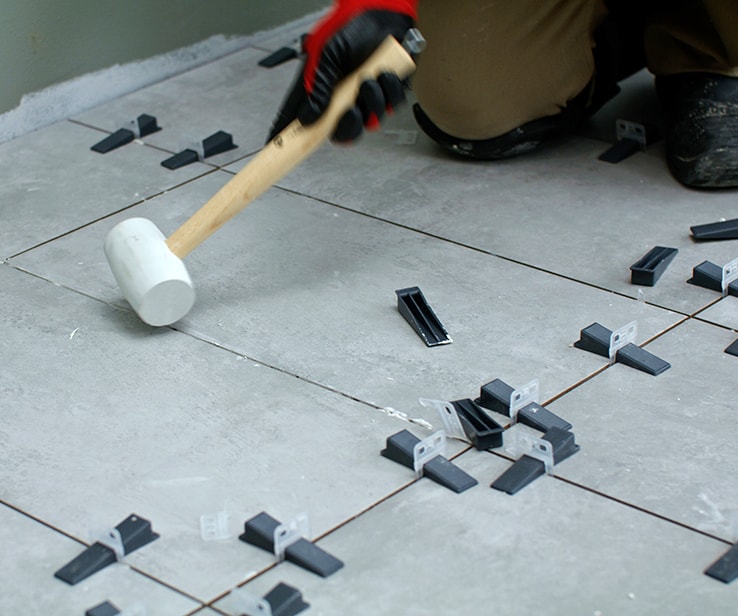
- 4.1After the mortar has dried, you can remove the clips and wedges.
- 4.2Take a rubber mallet and give a brisk tap, in the direction of the joint, to each clip and wedge. You could also use your foot.
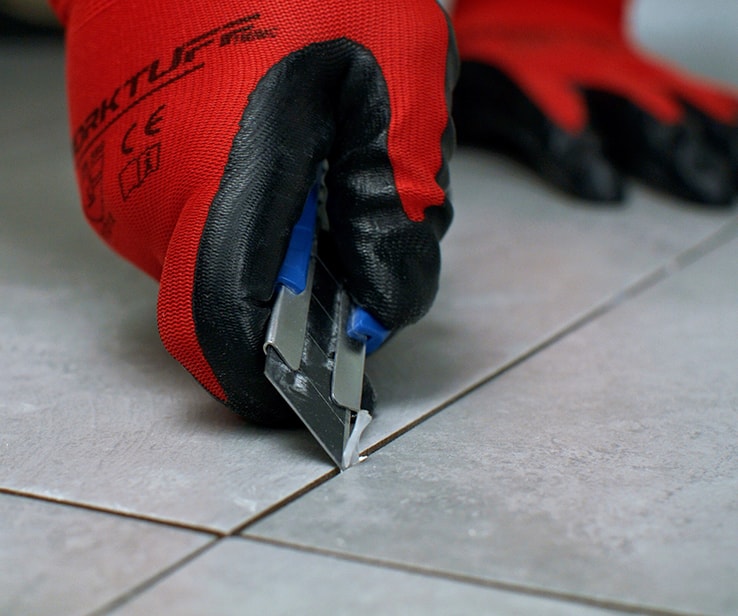
- 4.3Use a utility knife and long-nose pliers to remove any remaining parts of the clip in the joint.
5Follow the Final Steps
Pro Tip
Save and keep the wedges for your next tiling project!
Disclaimer
These DIY projects are provided for informational purposes only. The information contained in RONA’s DIYs is intended to provide general guidelines to simplify jobs around the house. Because tools, products, materials, techniques, building codes, and local regulations are continually changing, RONA inc. assumes no responsibility for the accuracy of the information contained herein and disclaims any liability for the omissions, errors, or outcome of any project. RONA inc. makes no representation on the feasibility of any project and the viewer bears all risks coming with the realization of the projects. It is the responsibility of the viewer to ensure compliance with all applicable laws, rules, codes, and regulations for a project. The viewer must always take proper safety precautions and exercise caution when taking on any project. If there is any doubt in regard to any element of a project, please consult a licensed professional.


