DIY Illuminated Porcupine Pumpkin

Kids and adults won’t be able to resist the cuteness of this porcupine pumpkin! Plan one hour to make it.
Difficulty level: Easy
Duration: 1 hour
Material

Large pumpkin

Small pumpkin

Light garland

Toothpick

1

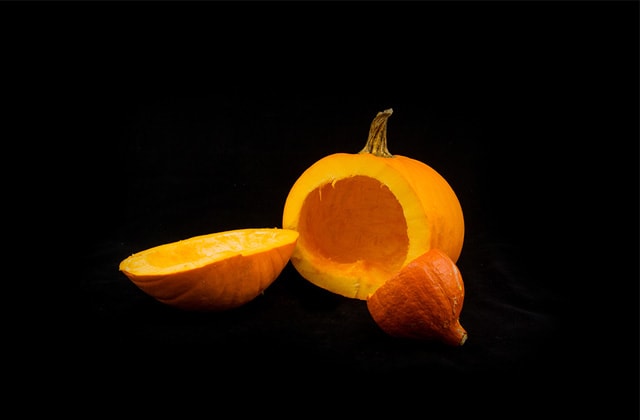
Cut the pumpkins

  • 1.1 - Cut both pumpkins lengthwise.
  • 1.2 - Cut a circle at the bottom of the large pumpkin.
  • 1.3 - Empty the seeds and pulp.

Pro Tip

Do not cut the stem from the pumpkins. The big one will be used to make the porcupine’s tail and the small one, for the snout.
2

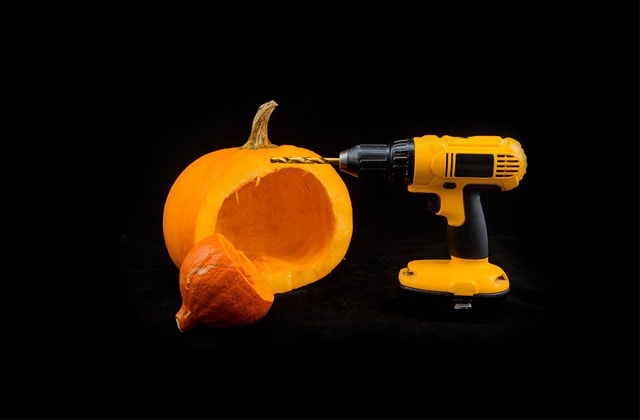
Drill holes

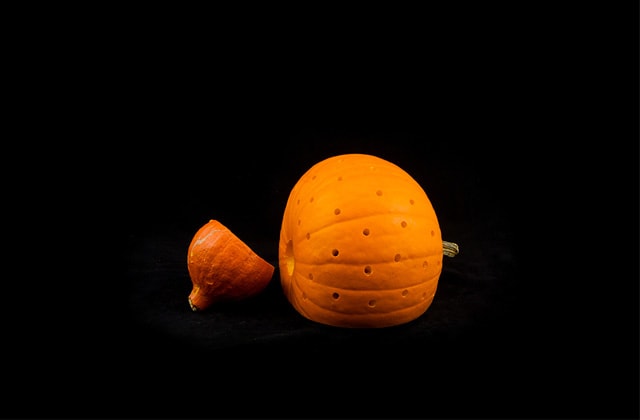
  • 2.1 - Drill several holes in the big pumpkin.
  • 2.2 - Drill eyes in the small pumpkin.
  • 2.3 - Clean off the excess flesh.
3

Assemble the pumpkins

  • 3.1 - Place the large pumpkin’s cut base on the table.
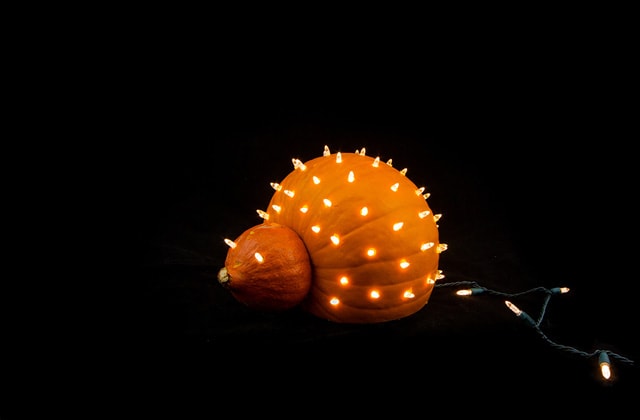
  • 3.2 - Put the light garland inside the large pumpkin.
  • 3.3 - Put one bulb per hole. Don’t forget the eyes.
  • 3.4 - Attach the porcupine’s head with toothpicks.
4

Admire your work

  • 4.1 - Plug in the light garland and admire your work!

Suggested products