Published on April 19, 2023
How to Repair an Asphalt Driveway: Fix Cracks and Potholes
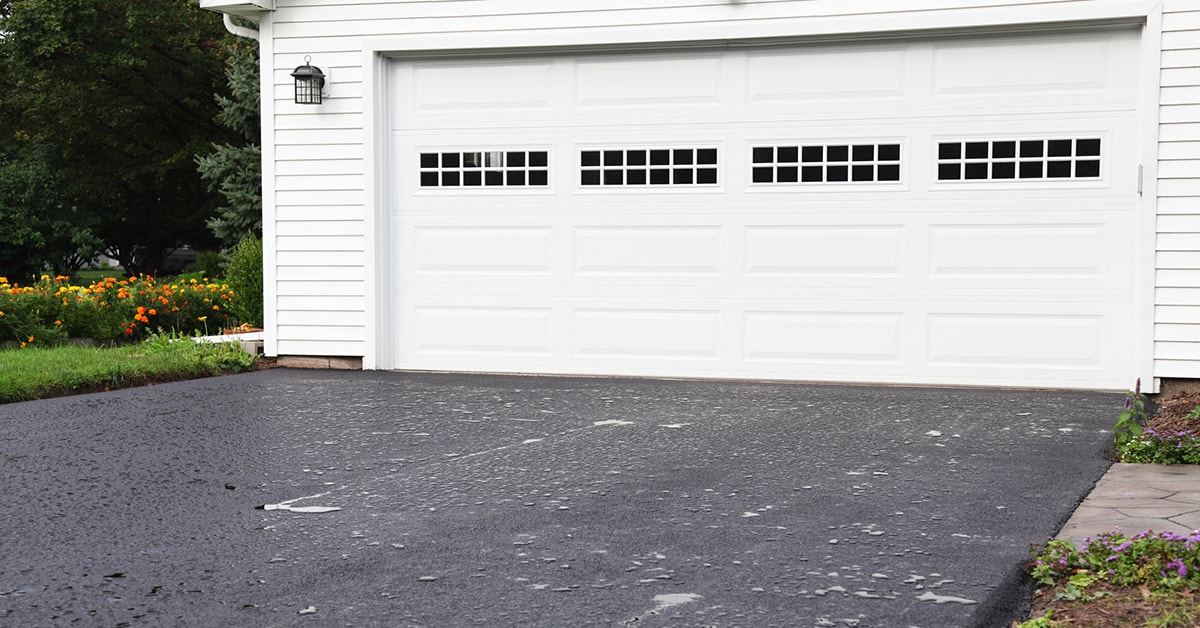
Get your driveway looking like new again by restoring and repairing it in just 4 steps. From fixing cracks and potholes to sealing the surface, we’ll walk you through this easy DIY project.
1Prepare and Clean the Surface
- 1.1Remove everything from the surface of your driveway, including cars, sporting equipment, and toys.
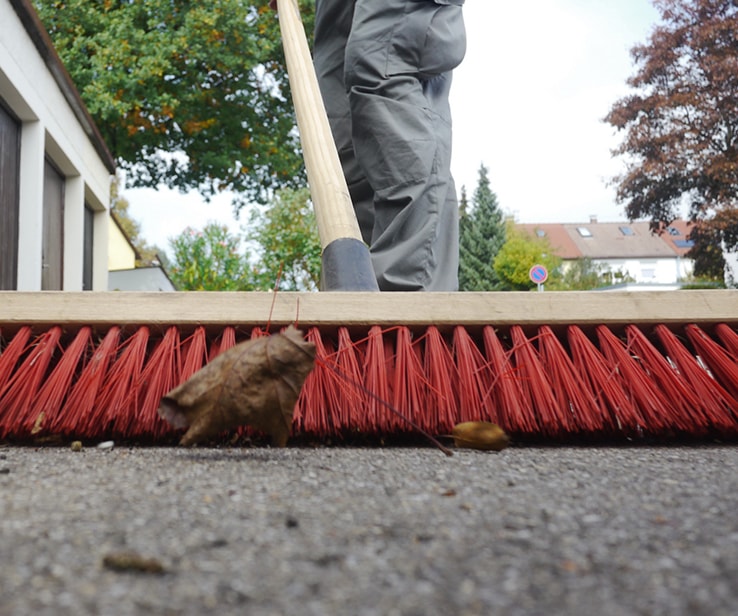
- 1.2Sweep away any dirt and debris using a broom.
- 1.3To remove driveway stains:
- Cover the stain completely with an ample amount of cleaner.
- Let the cleaner stand and work for 15 minutes.
- Use a stiff brush to scrub the area and rinse it clean with water.
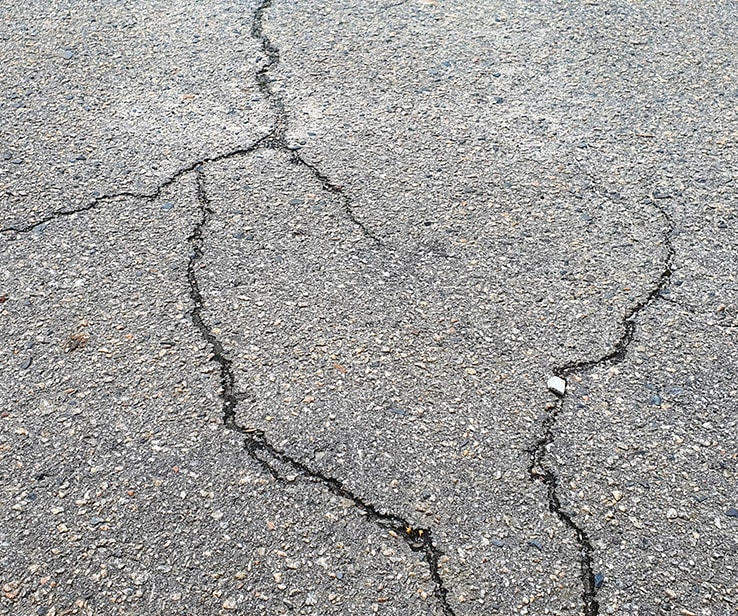
2Repair the Cracks
- 2.1Use crack filler to repair any cracks on the driveway surface.
- 2.2You can apply it with either a caulking applicator or a putty knife.
- 2.3Wait for the crack filler to thoroughly dry before proceeding.
3Fill the Potholes
- 3.1For larger potholes and depressions on your driveway, start by filling them with fine sand up to about 1” of the surface.
- 3.2Finish filling the hole with depression filler and level off the surface using a leveller.
- 3.3Wait for the depression filler to thoroughly dry before proceeding.
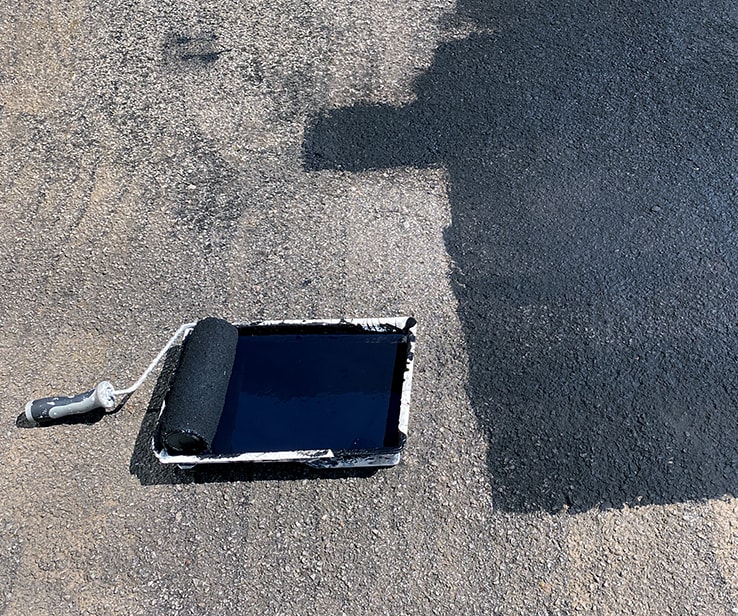
4Seal the Surface
- 4.1Use a long-handled roller to apply an appropriate sealer to your driveway surface.
- 4.2Work in 4’ by 4’ sections.
- 4.3Allow at least 24-48 hours for your asphalt sealcoat to dry.
Pro Tip
For even coverage, cross-roll each section in perpendicular strokes.
Driveway Maintenance Tips
A few simple and regular maintenance tasks will help you do just that:
- Give your driveway a routine cleaning.
- Fill cracks and holes as soon as they form.
- Keep your lawn mowed to prevent weed encroachment.
- Seal your driveway as needed (usually every 1-3 years).
Disclaimer
These DIY projects are provided for informational purposes only. The information contained in RONA’s DIYs is intended to provide general guidelines to simplify jobs around the house. Because tools, products, materials, techniques, building codes, and local regulations are continually changing, RONA inc. assumes no responsibility for the accuracy of the information contained herein and disclaims any liability for the omissions, errors, or outcome of any project. RONA inc. makes no representation on the feasibility of any project and the viewer bears all risks coming with the realization of the projects. It is the responsibility of the viewer to ensure compliance with all applicable laws, rules, codes, and regulations for a project. The viewer must always take proper safety precautions and exercise caution when taking on any project. If there is any doubt in regard to any element of a project, please consult a licensed professional.


