Share
Do it yourself

Wood planter

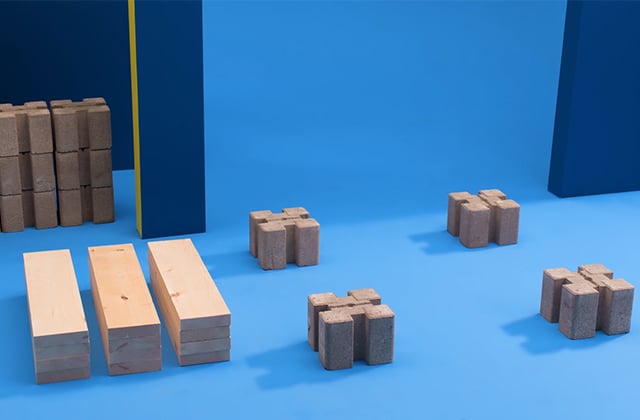
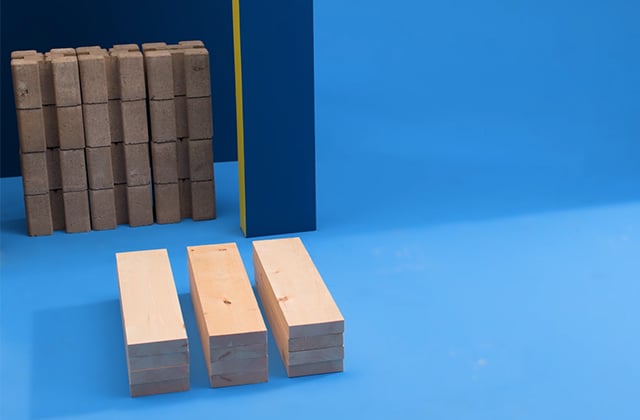
The square planter is a great solution for gardeners who have limited space to practice their hobby. This 4.5’ planter takes only two hours to build and is made with 12 concrete deck blocks and as many wood planks.

See the plan for plank dimensions and the assembly instructions.
1

1. Cut the beams

  • 1.1 - Cut each of the 2'' x 6'' beams into 2 - 48'' pieces to form the sides
  • 1.2 - Cut each of the 2'' x 8'' beams to 63 ½'' long
  • 1.3 - Cut a 45 o angle at each end of the 2'' x 8'' beams
2

Place the first row of concrete blocks

  • 2.1 - Remove the grass from the area where the planter will be placed. This will help prevent weeds.
  • 2.2 - Place the first block in one of the corners.
  • 2.3 - Insert one of the 2'' x 6'' beams into the side slits.
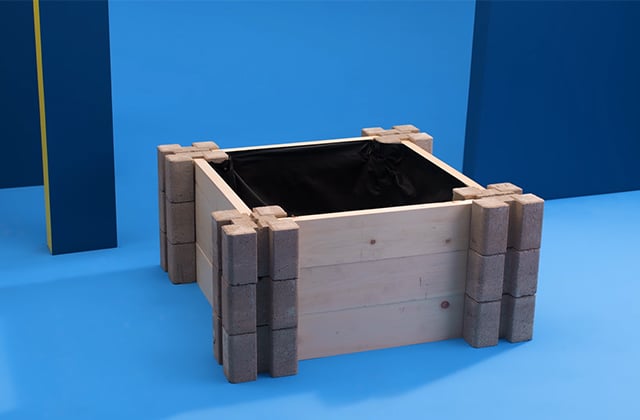
  • 2.4 - Place a second block in the adjacent corner. Insert another 2'' x 6'' beam into the block, and so forth until the first row is complete.
  • 2.5 - Verify that the planter is level.
  • 2.6 - Repeat the steps to build the other two rows.
3

Install the geotextile

  • 3.1 - Cut two 83'' strips out of the landscape fabric (geotextile) measuring 48'' wide using an all-purpose knife.
  • 3.2 - Cross the landscape fabric strips inside the planter and make sure the entire surface is covered.
  • 3.3 - Using a stapler, secure the geotextile to the beams
4

Install the seat (this step is optional)

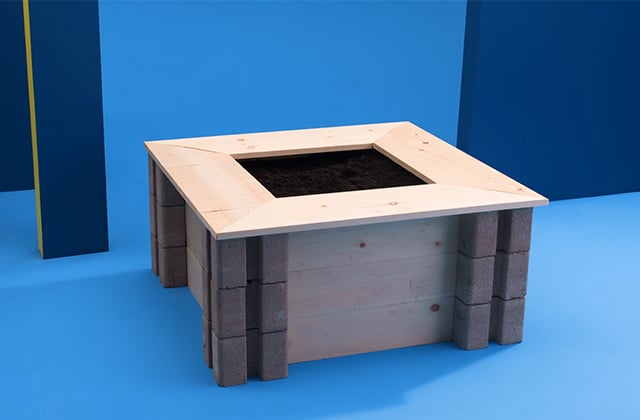
  • 4.1 - Place the 2'' x 8'' beams on the planter’s periphery. Align the angles well at the corners.
  • 4.2 - Using a drill/driver and 2 ½'' wood screws, install the beams onto the side pieces.
  • 4.3 - Sand the surface as needed.
5

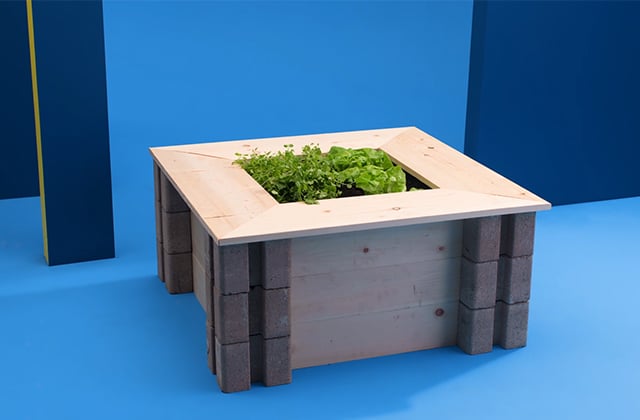
Plant the fine herbs and vegetables in the planter

  • 5.1 - Fill the planter with potting soil without going over the wall height.
  • 5.2 - Plant the seeds directly in the earth at the start of the season. You can also plant vegetables or fine herbs.

Suggested products