Festive wooden centrepiece

Add a festive touch to your holiday table with this quick and easy-to-make centrepiece.
This project is fun to do as a family. Let your imagination run free and decorate your centrepiece as you wish!

Notes

The size of the completed centrepiece for this project is 15 ¼’’ x 17 ¼’’ x 4'’.
You can, however, adjust the size to your liking.
1

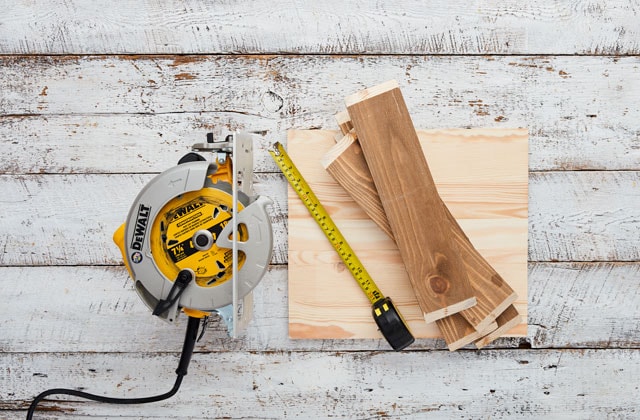
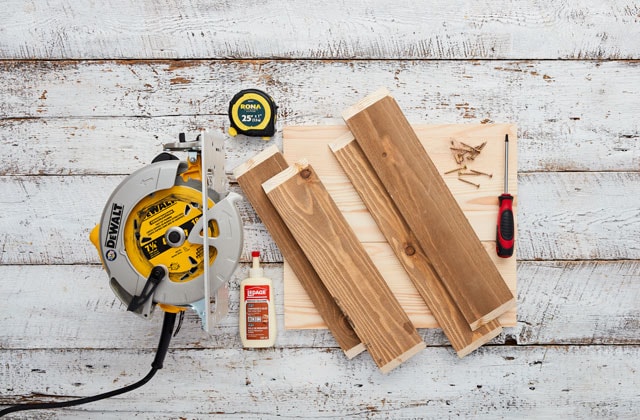
Gather the material

2

Measure and cut the wood planks

  • 2.1 - Cut a 14’’ x 16’’ base in the pinewood plank.
  • 2.2 - In the 1’’ x 4’’ x 8’ pine moulding, cut 2 pieces of 15 ¼ inches for the shorter sides.
  • 2.3 - Cut 2 pieces of 17 ¼ inches for the longer sides.
  • 2.4 - Using a mitre saw, cut the corners of the sides at a 45° angle for assembly.
3

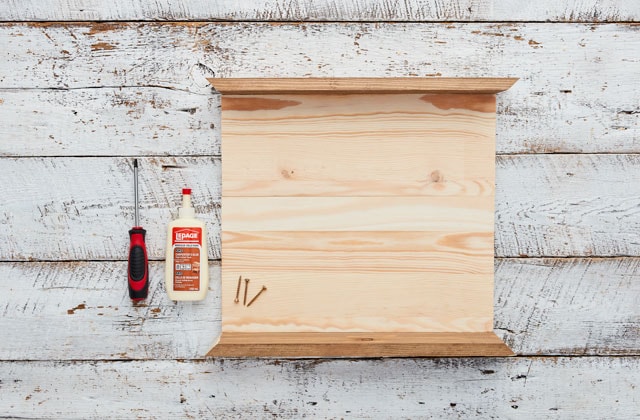
Assemble the box

  • 3.1 - Use wood glue to glue together each side of the box.
  • 3.2 - Screw the parts together using a screwdriver.
4

Decorate the box

  • 4.1 - Put a polystyrene foam base to fill in the box a little and to attach the decorations.
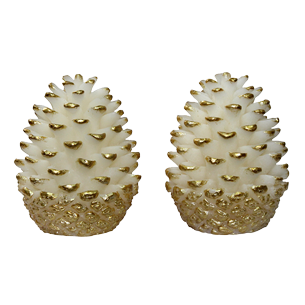
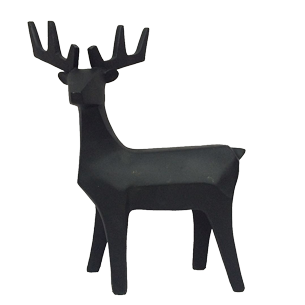
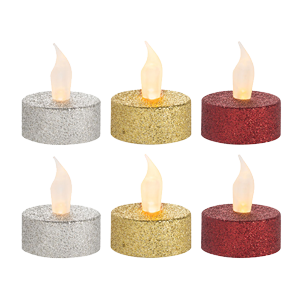
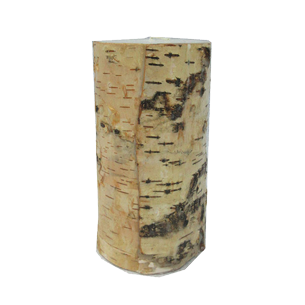
  • 4.2 - Decorate the box to your liking using a DEL light string, pine cones, candles and paper candles.
  • 4.3 - Add some greenery.
  • 4.4 - Place your creation on the dining room table or in any another spot you prefer and admire it proudly.

Pro Tip

We used live plants for the picture: eucalyptus, fir branches, cedar, hydrangeas, hypericum. If these flowers are not available in your region, you can use plastic twigs instead.

If you decide to use real candles, make sure you keep the decorations far away from the flames to prevent fires. Do not leave a lighted enterpiece unattended.