DIY copper pipe photobooth

A nice backdrop to take pictures in front of without having to make holes in the wall? Possible thanks to this one-hour project.
1

Measure and cut the pipes

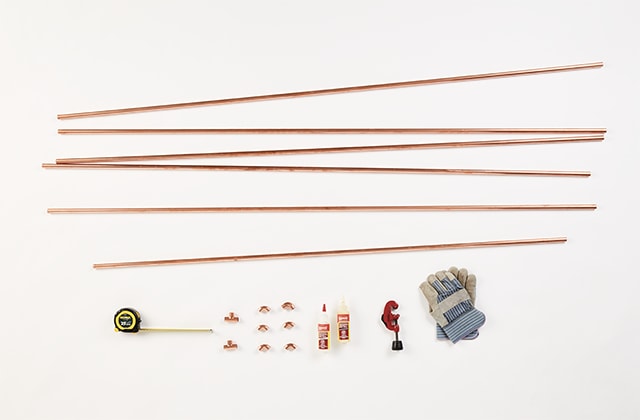
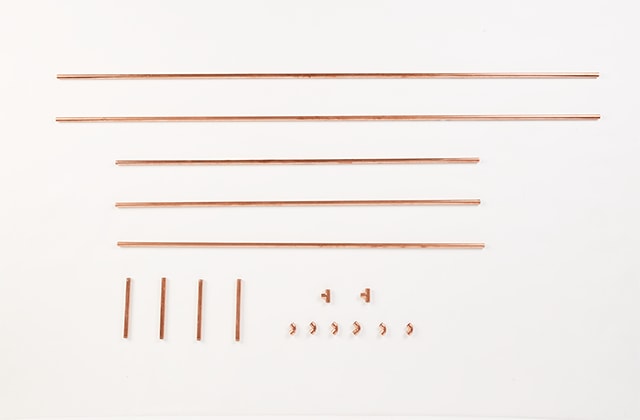
  • 1.1 - Measure and cut 3 pieces of 4'.
  • 1.2 - Measure and cut 3 pieces of 6'.
  • 1.3 - Measure and cut 4 pieces of 8".
2

Assemble the base

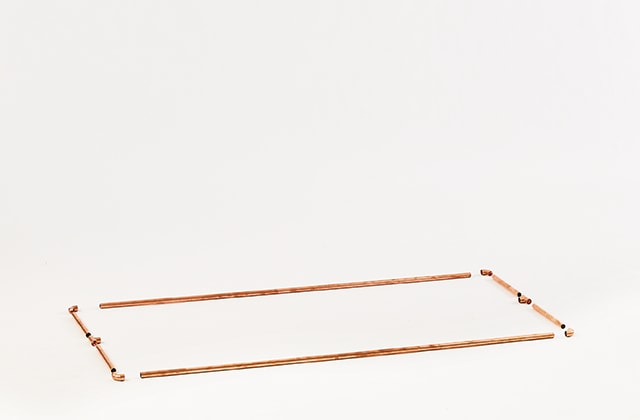
  • 2.1 - Place a copper elbow on one extremity of an 8" pipe. Place a tee on the other end.
  • 2.2 - Place a copper elbow on one extremity of another 8" pipe and insert it in the tee.
  • 2.3 - Repeat steps 2.1 and 2.2 for the other side.
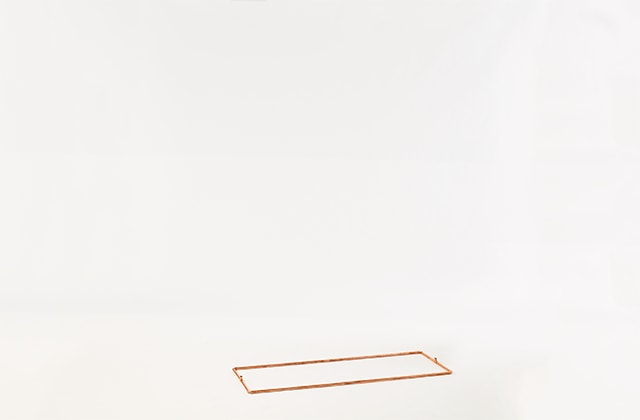
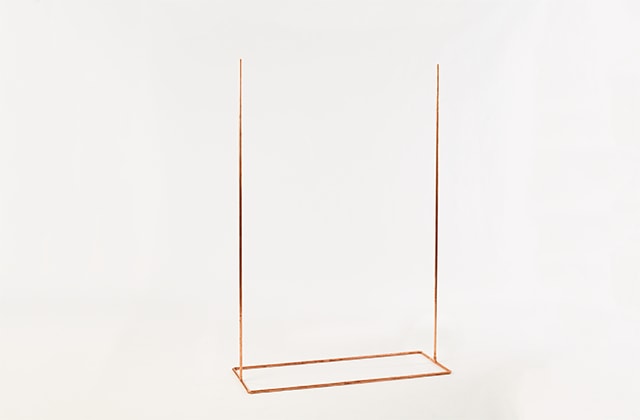
  • 2.4 - Insert 2 pieces of 4' in the elbows to assemble the sides.

Pro Tip

Glue the pieces together with epoxy for a more secure assembly.
Make sure the tees are pointing up.
3

Assemble the sides

  • 3.1 - Insert the 6' pipe pieces in the tees from the base.
4

Assemble the top

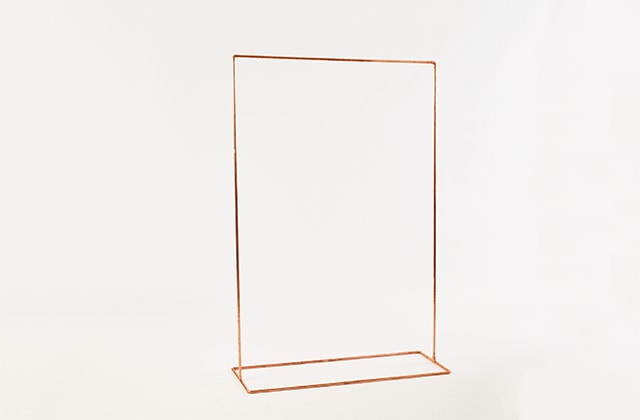
  • 4.1 - Insert elbows in either side of the last 4' piece of copper pipe.
  • 4.2 - Insert the top part into the side pieces built in step 3.1.
5

Build the frame

  • 5.1 - Using a circular saw, cut the wood panel to 32" X 40".
  • 5.2 - Make 3" marks from the top and sides of the panel, and another mark at 8" from the bottom.
  • 5.3 - Trace straight lines using a level.
  • 5.4 - Using a jig saw, cut out the frame.
  • 5.5 - Paint the wood panel matte white and let dry.

Pro Tip

The frame can also be built using white cardboard.
6

Finish and decorate

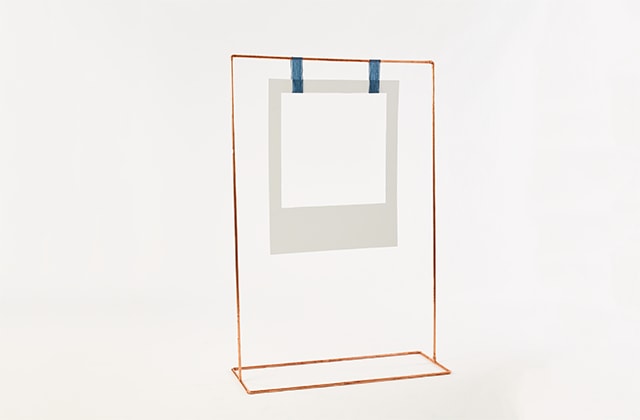
  • 6.1 - Hang the frame from the top of the photobooth using ribbon.
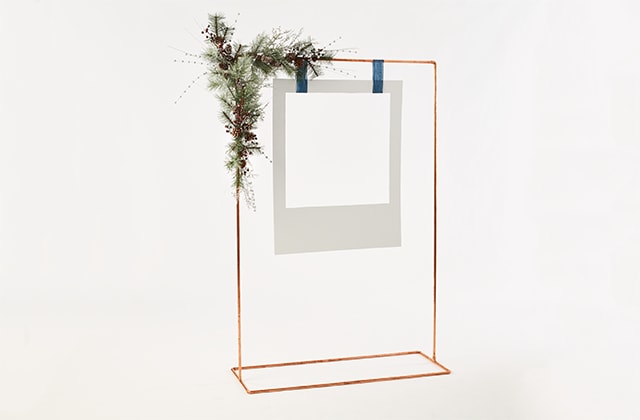
  • 6.2 - Decorate with foliage or other accessories, according to the occasion.
  • 6.3 - Say cheese!

Suggested products