Share
Do it yourself

Wood shoe rack

Perfect to put away all the shoes lying in the entrance, this wood shoe rack can be built in less than an hour. See the plan for plank dimensions and the assembly instructions.
1

Cut the wood

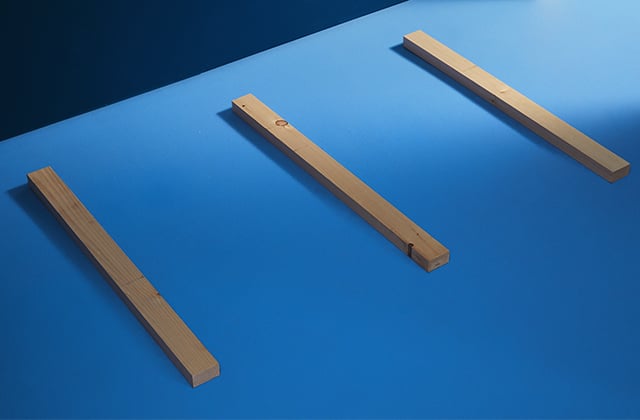
  • 1.1 - Cut the 2" x 3" x 8' planks at 33 ½"
  • 1.2 - Cut the 1" x 4" x 8' planks at 50"
  • 1.3 - Cut the 1" x 6" x 8' planks at 50"
2

Assemble the base

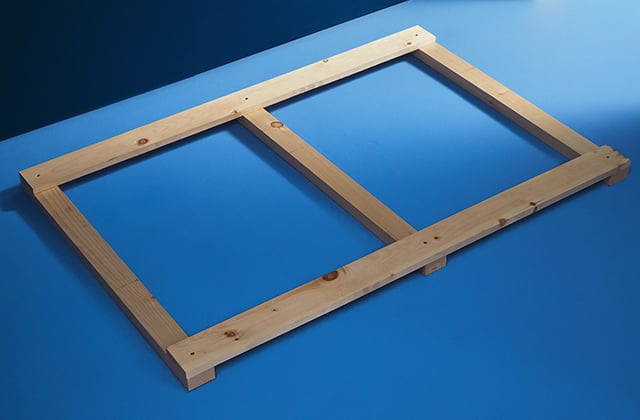
  • 2.1 - Place the 2" x 3" x 33 ½"planks on the floor with a distance of 20 ½" in between.
  • 2.2 - Pre-drill and secure 2 – 1" x 4" x 50" planks to the ends of the planks, perpendicularly.
  • 2.3 - Turn the base and place it on the wall at the desired spot.

Pro Tip

If needed, secure the base to the wall using anchors.
3

Install the front

  • 3.1 - Pre-drill and secure a 1" x 6" x 50" plank at the bottom of the base.
  • 3.2 - Measure 3", pre-drill and secure a 1" x 4" x 50" plank. Repeat with the other 2 planks.
  • 3.3 - Pre-drill and secure a 1" x 6" x 50" plank at the top of the base.
  • 3.4 - Pre-drill and secure a 1" x 4" x 50" plank on the top of the shoe rack to create a shelf.

Pro Tip

It is preferable to protect the wood with paint, stain, or varnish.

A hook system can be added using an extra plank and dowels.

Suggested products