Updated on August 20, 2024
Choose the Right Kitchen Sink
A sink is essential for any kitchen, but how do you make the right choice? Discover the main types of kitchen sinks on the market, the different styles and materials available, factors to consider, maintenance and care tips, and more.
Kitchen Sinks Mounting Styles
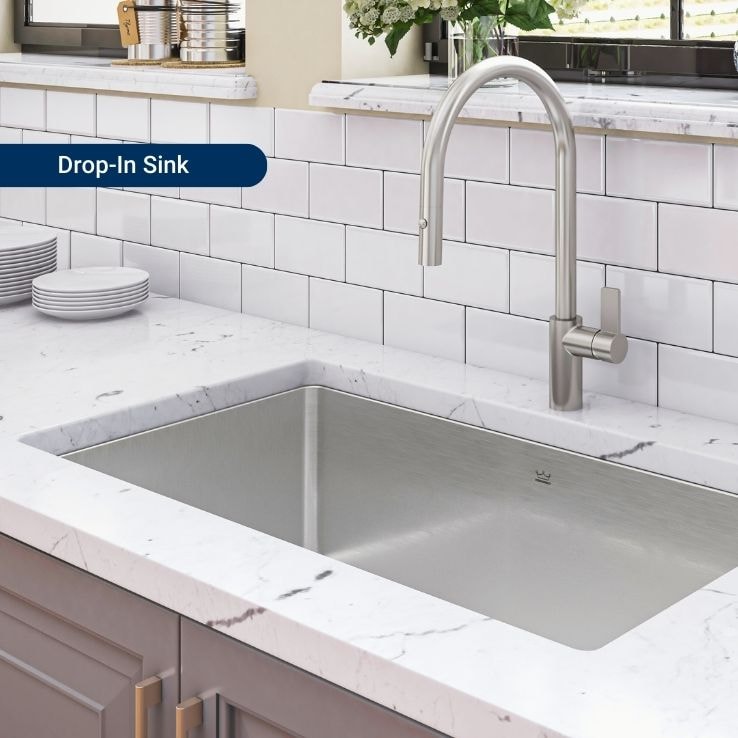
Drop-In Sinks
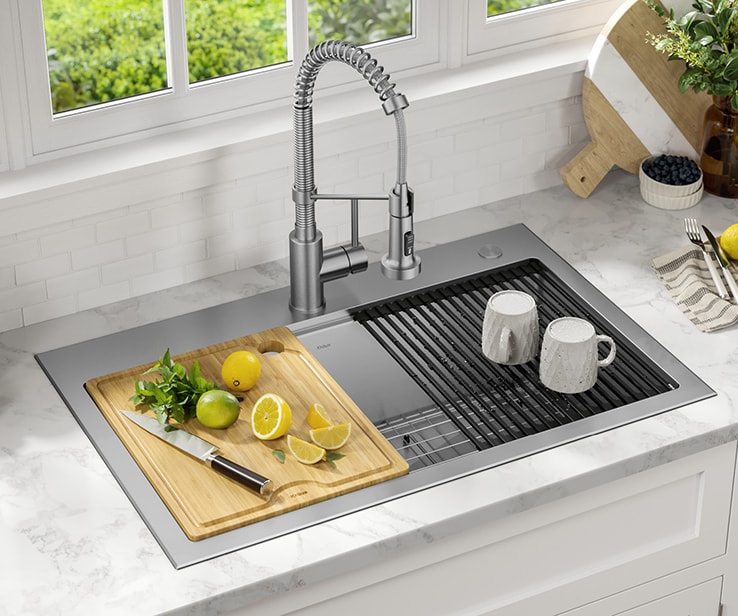
The easiest type of sink to install is a drop-in sink (also called top-mount sink), whose rim rests on the countertop. The sink is lowered into the hole in the countertop and secured and sealed with a waterproof adhesive caulk to prevent leaks and build-up of debris around the edge.
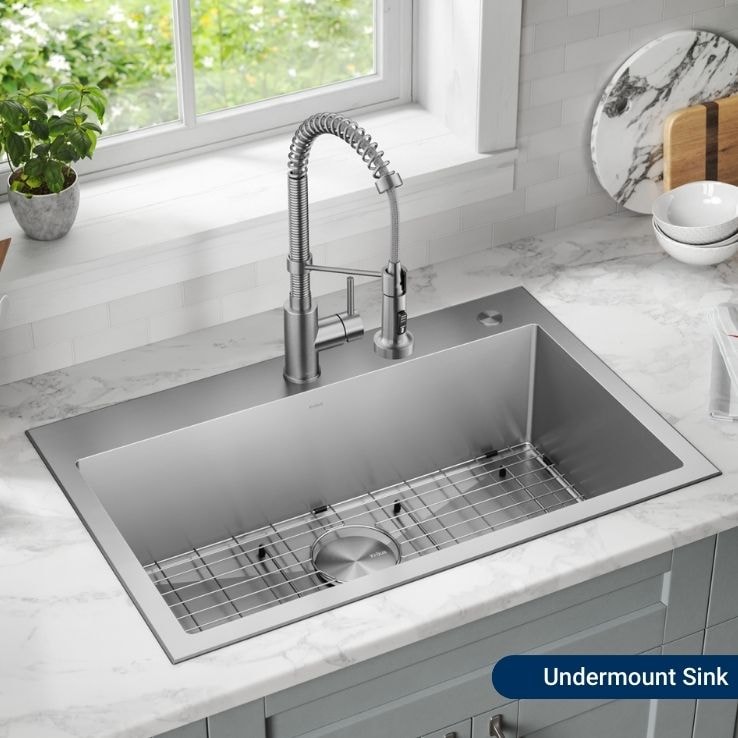
Undermount Sinks
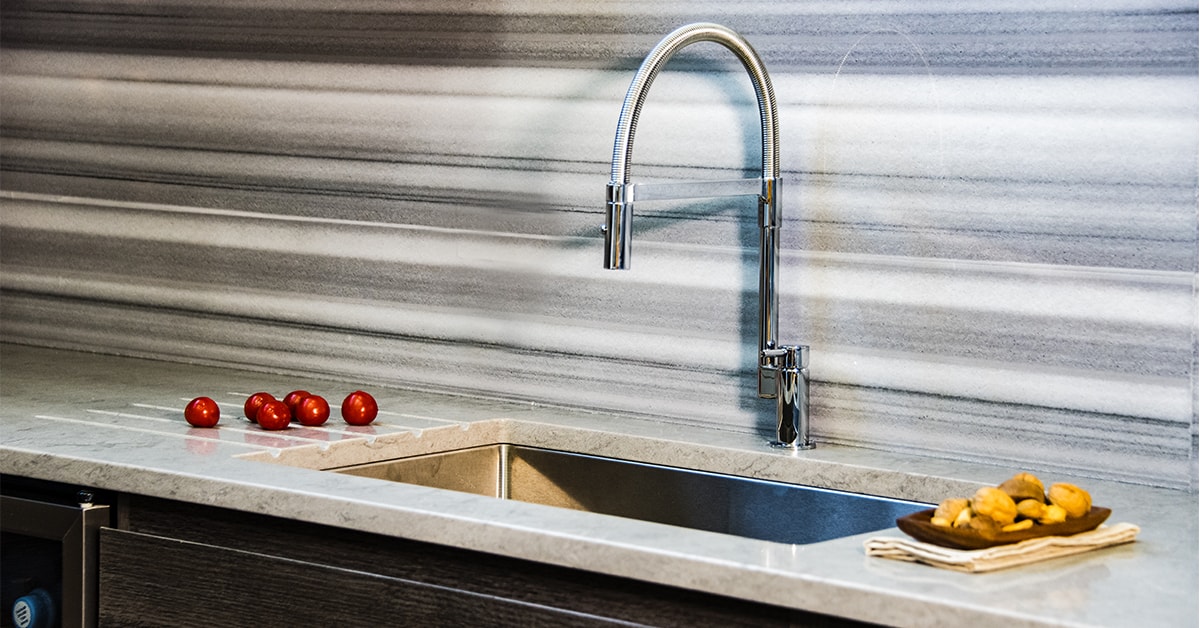
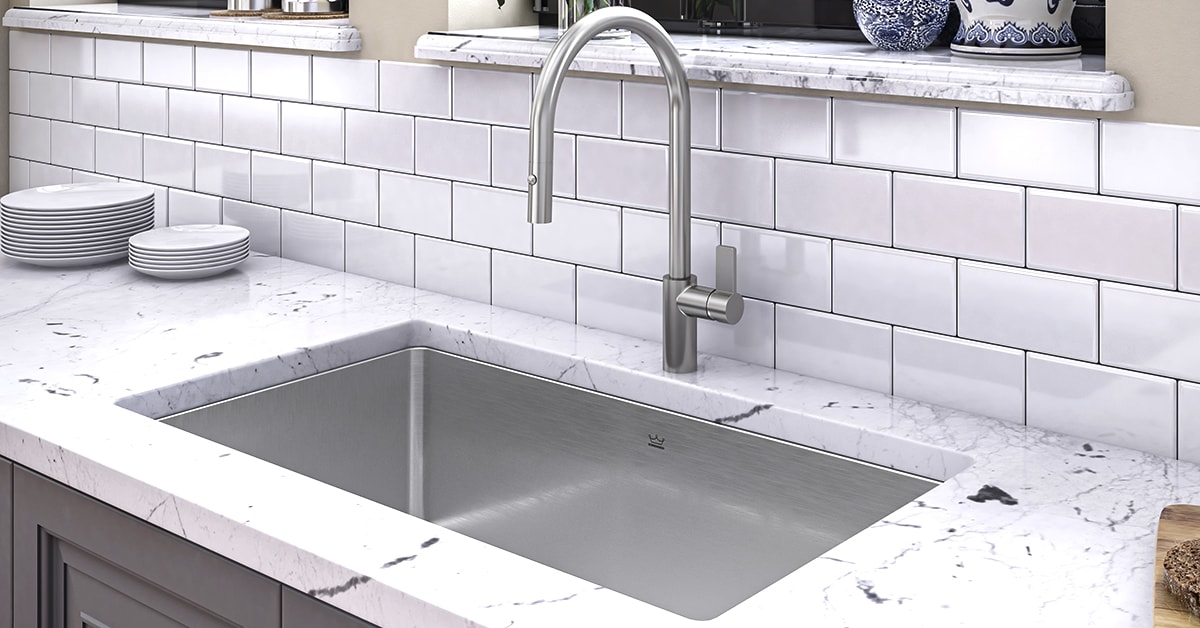
Fitted beneath the countertop, they are trickier to install. Since the majority of countertops used with this type of sink are made of stone or synthetic surface, they will be shaped and pre-cut by the manufacturer. At this stage, you will then need to choose the type of reveal, as described earlier, as well as the position of the faucets and any other accessories.
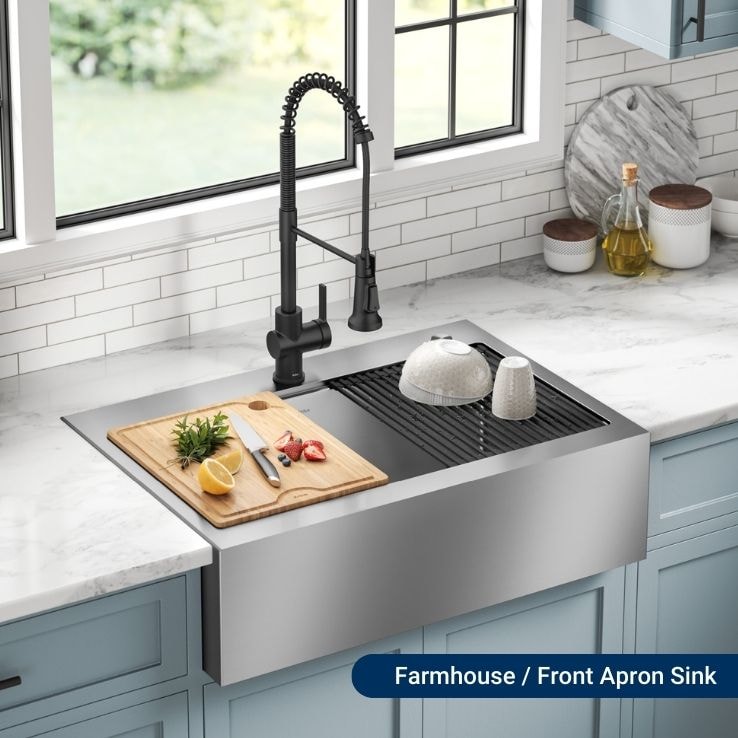
Apron/Farmhouse Sinks
These sinks have an exposed front, or solid surface sinks that are seamlessly integrated with the countertop. Laminate or melamine countertops are easy to cut, whereas stone or solid surface counters must be pre-cut by the manufacturer. Opting for one of the latter materials means you must choose your sink at the same time as the counter. A template is provided with the sink to have the hole cut to the right size.
If you do not want to install the sink yourself, you can always have it done by our professionals.
Types of Kitchen Sinks Available
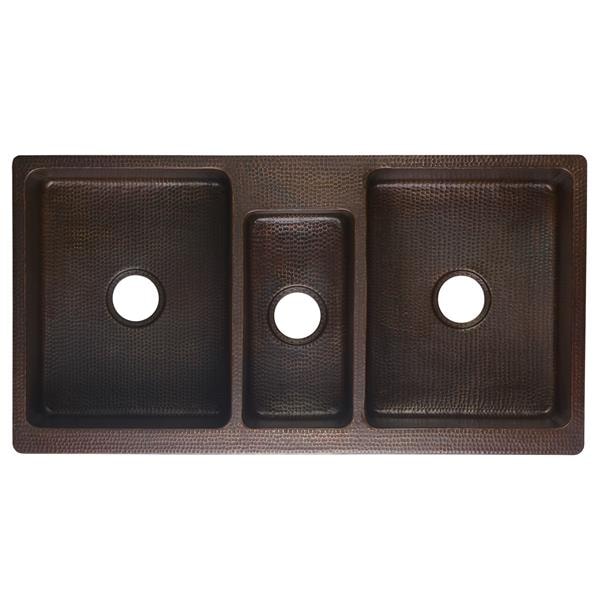
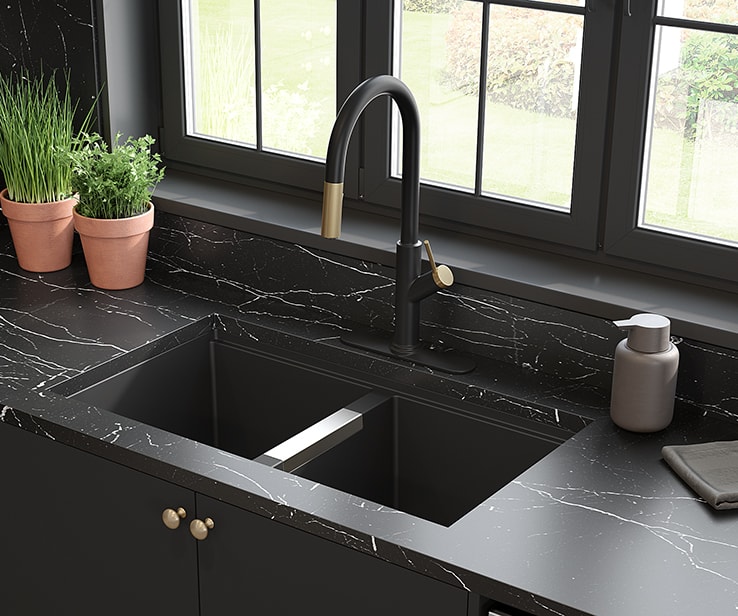
Some come with an integrated drain board. If you decide on a double- or triple-bowl configuration, make sure that the dividing wall between the bowls is lower than the outside rims, to prevent water from spilling over onto the countertop or the floor.
Single-Bowl Sinks
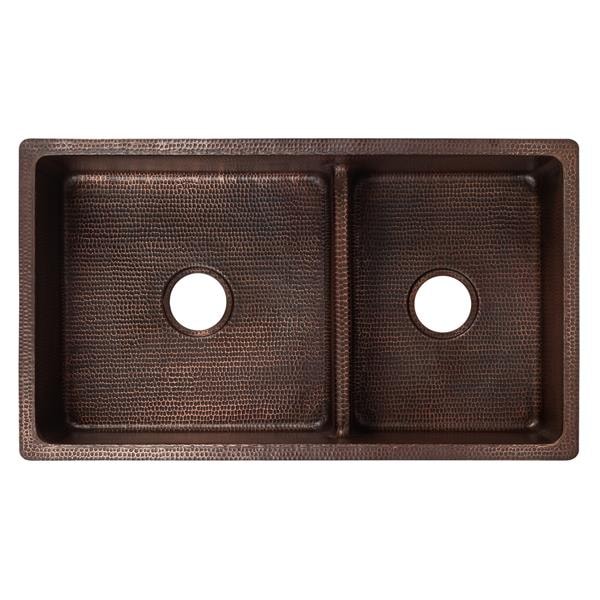
Double-Bowl Sinks
Triple-Bowl Sinks
Pro Tip
There are also one-and-a-half-bowl sinks. While they technically have two bowls, these are not the same size, with one large, deep main bowl, and another small, shallower one. The waste disposer is typically installed under the smaller bowl. This type of sink is perfect as the main kitchen sink in combination with a dishwasher.

Materials to Choose From
Many kitchen sinks on the market are made of stainless steel, with either a polished, shiny finish or a brushed, satin finish. It remains the most popular sink material. Brushed and matte finishes tend to hide water spots and scratches better than a mirror finish. Both attractive and impressive at hiding damage, satin is the most popular finish.
However, there are many other materials to choose from, from composite to granite and quartz to copper. Make sure to choose the one that better meets your needs while complementing your kitchen style.
| Pros | Cons |
Stainless Steel |
|
|
Granite Composite |
|
|
Fireclay |
|
|
Copper |
|
|
Enamelled Cast Iron |
|
|
Acrylic |
|
|
Stone |
|
|
Pro Tip
The gauge of a stainless-steel sink refers to the thickness of the metal. But beware: the higher the gauge, the thinner the steel (inverse relationship). The most common gauges are 18 (superior quality) and 20 (economy models).
A Tip from Our Designer
How to Properly Measure for a New Kitchen Sink
Whether you’re replacing an existing sink or renovating the kitchen, you must always know the dimensions of both the cabinet and countertop. Correct measurements are very important to ensure that enough space is allocated for the faucet, fixtures, and more. For example, faucets with a high neck are not a good fit with low overhead cabinets.
Cabinet Size
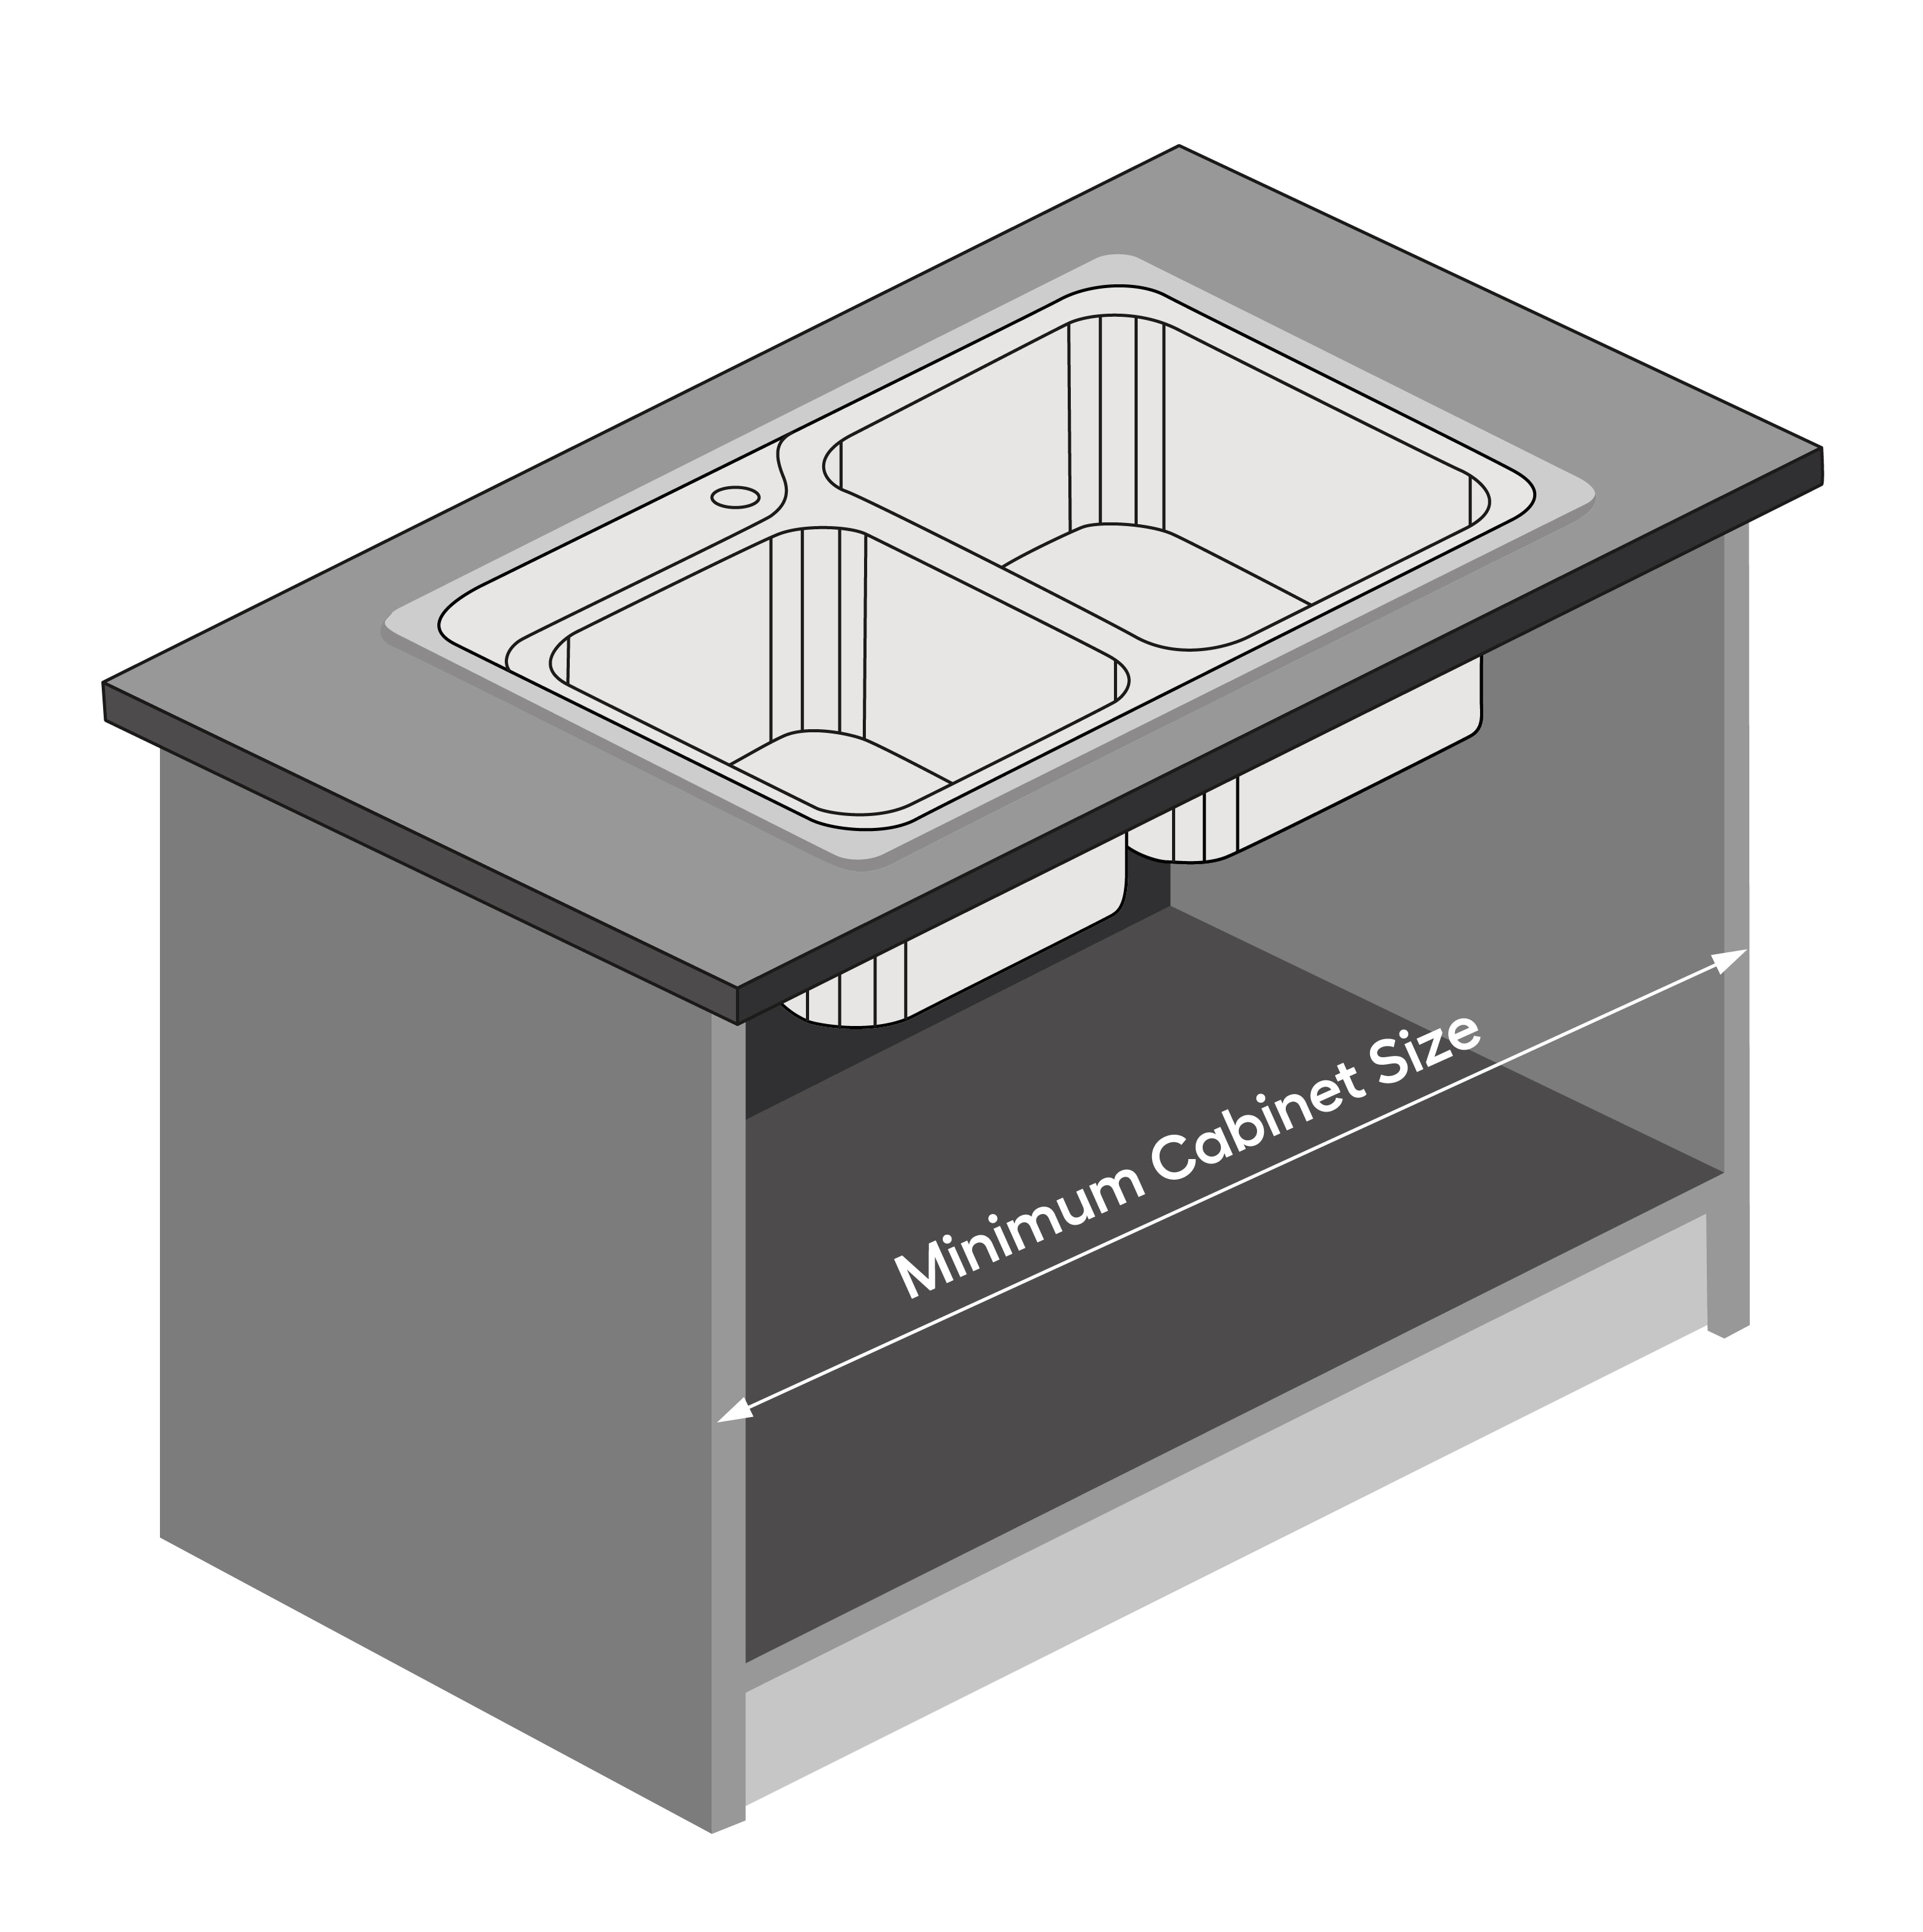
Here’s how to determine the minimum cabinet size:
- Measure the size of your cabinet (under the existing sink or where you plan on installing your new sink).
- Measure from outside edge to outside edge of the gables (left to right).
- Make sure to double check your measurements.
Countertop Depth
Here’s how to measure the depth of your countertop (front-to-back measurement):
- Drop-In Sinks:
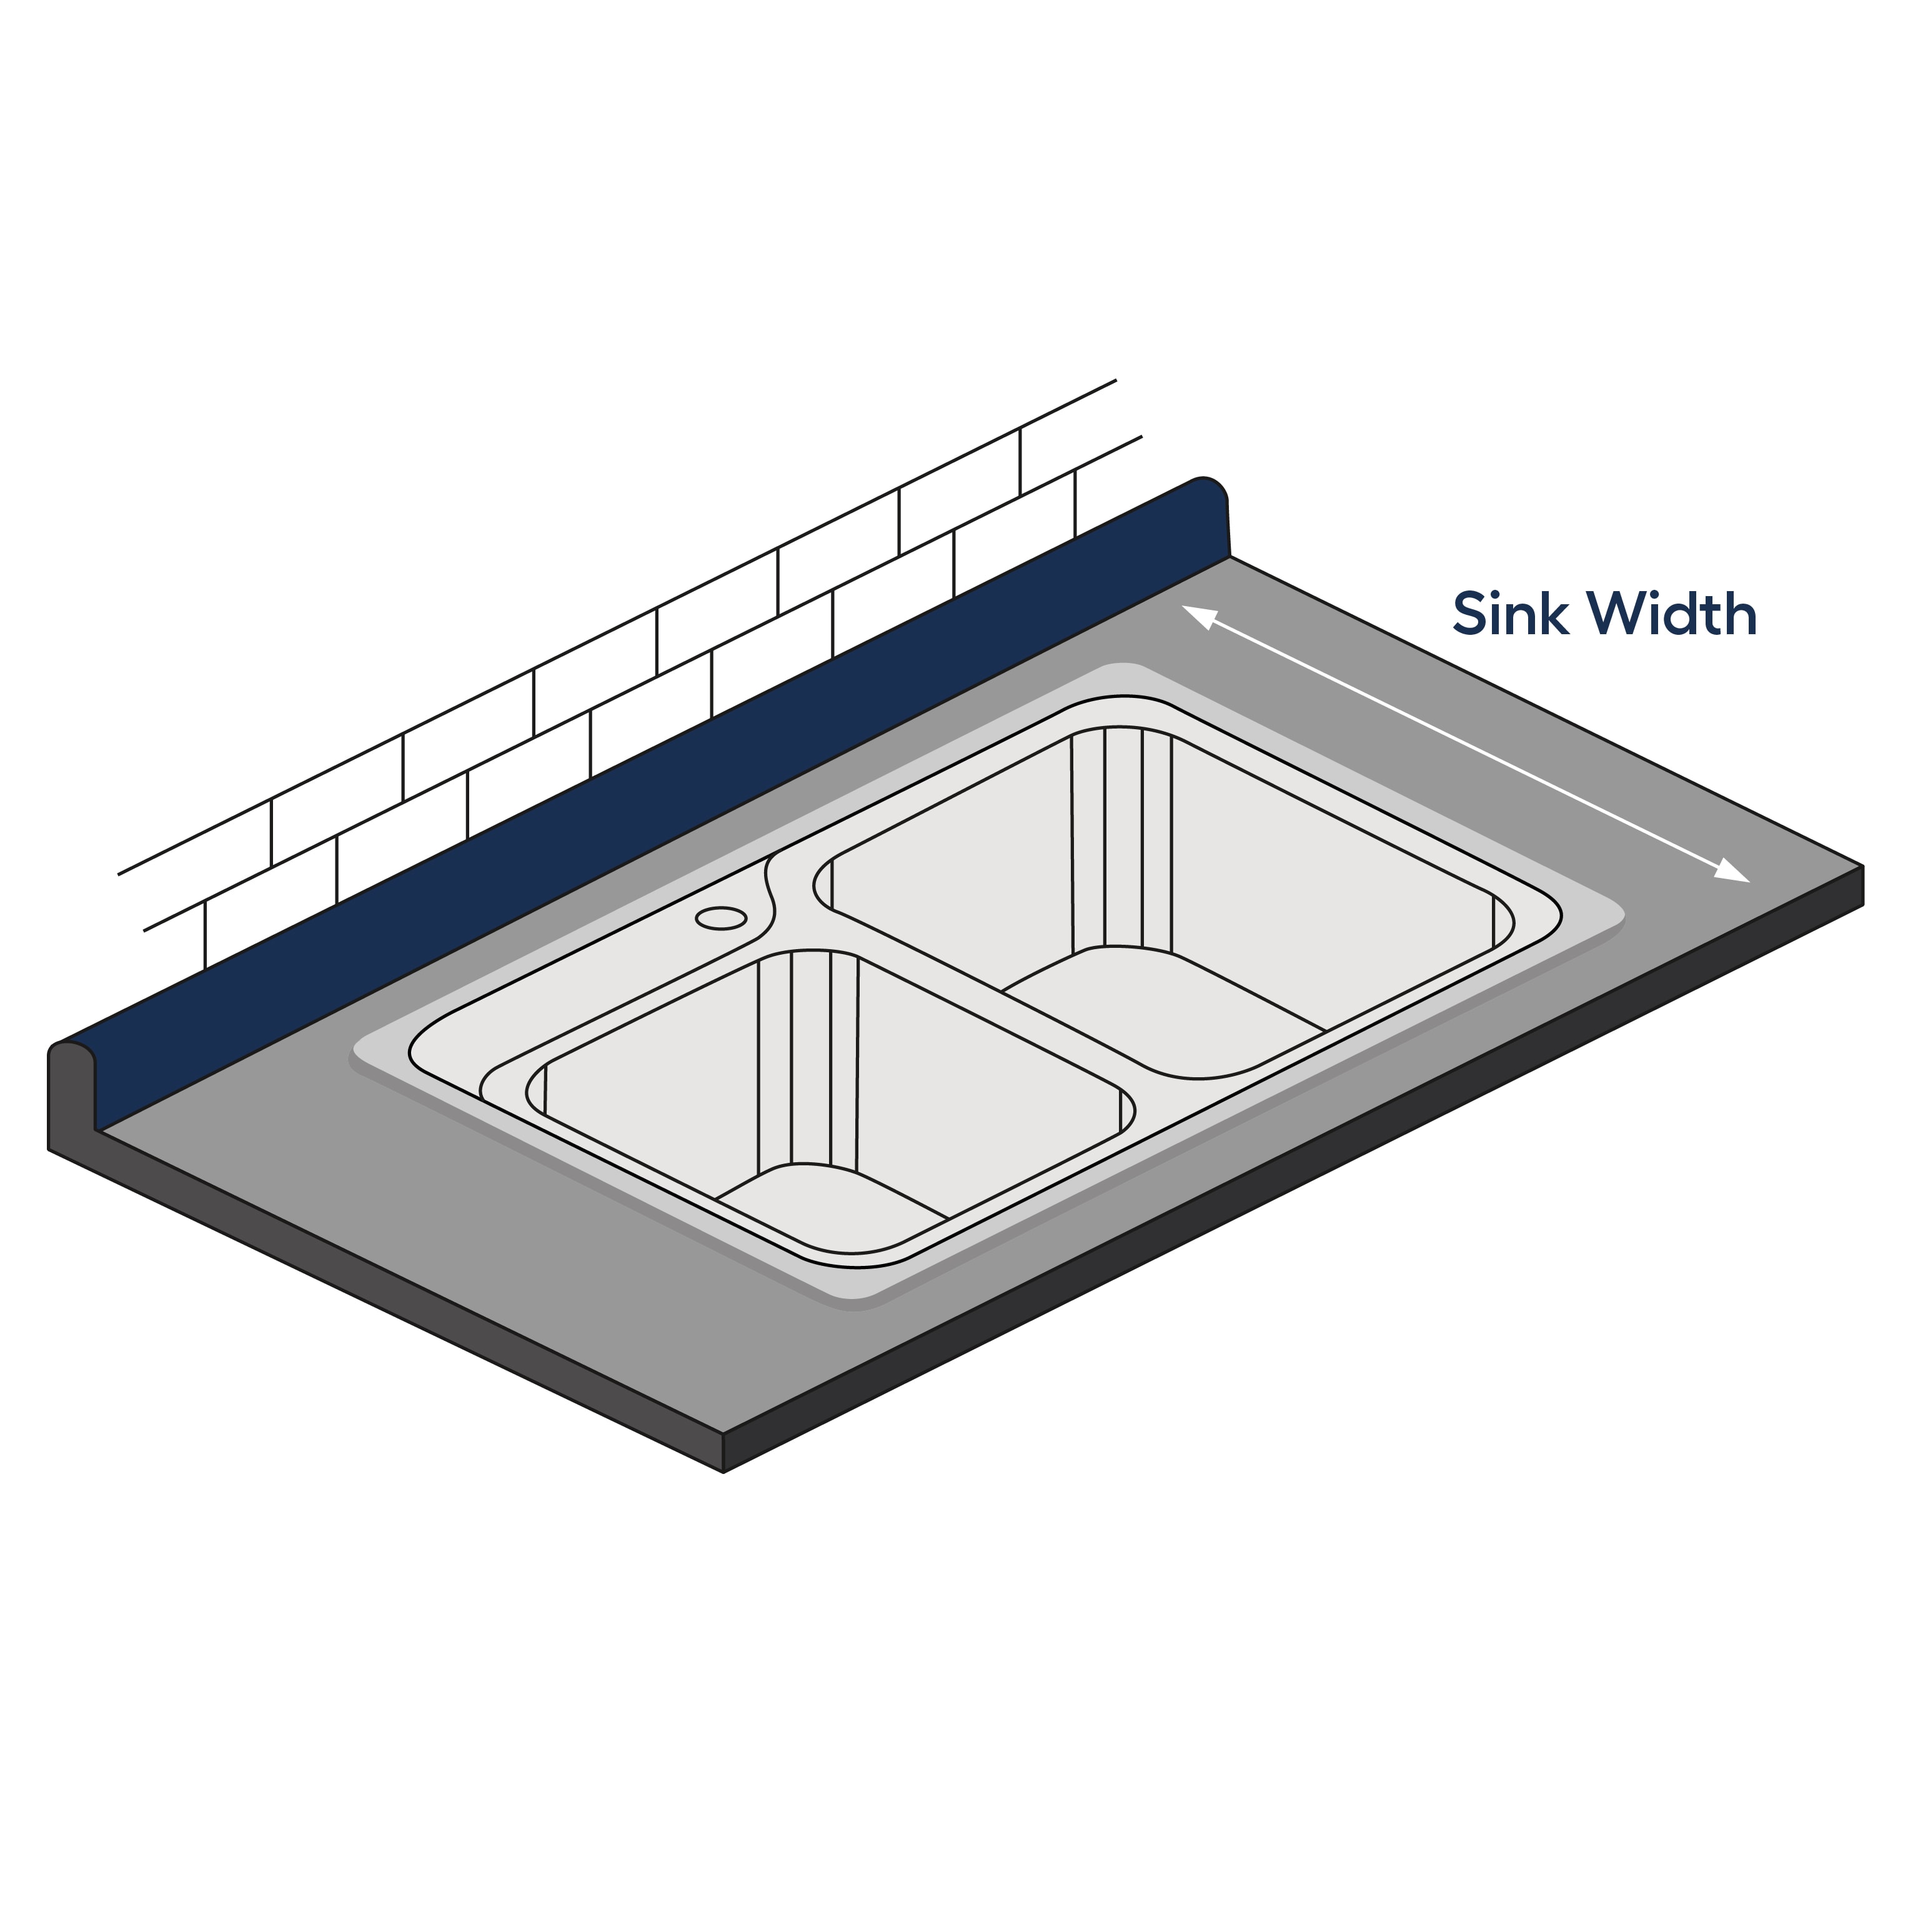
- If there is a backsplash, it’s possible to install a drop-in sink that is up to 20 1/2" deep.
- If there isn’t a backsplash, you can install a sink that is up to 22" deep.
- Undermount and Farmhouse Sinks: Refer to a professional. These types of installation are trickier, and there needs to be enough space allocated for fixtures and backsplash material behind the sink.
Sink Size
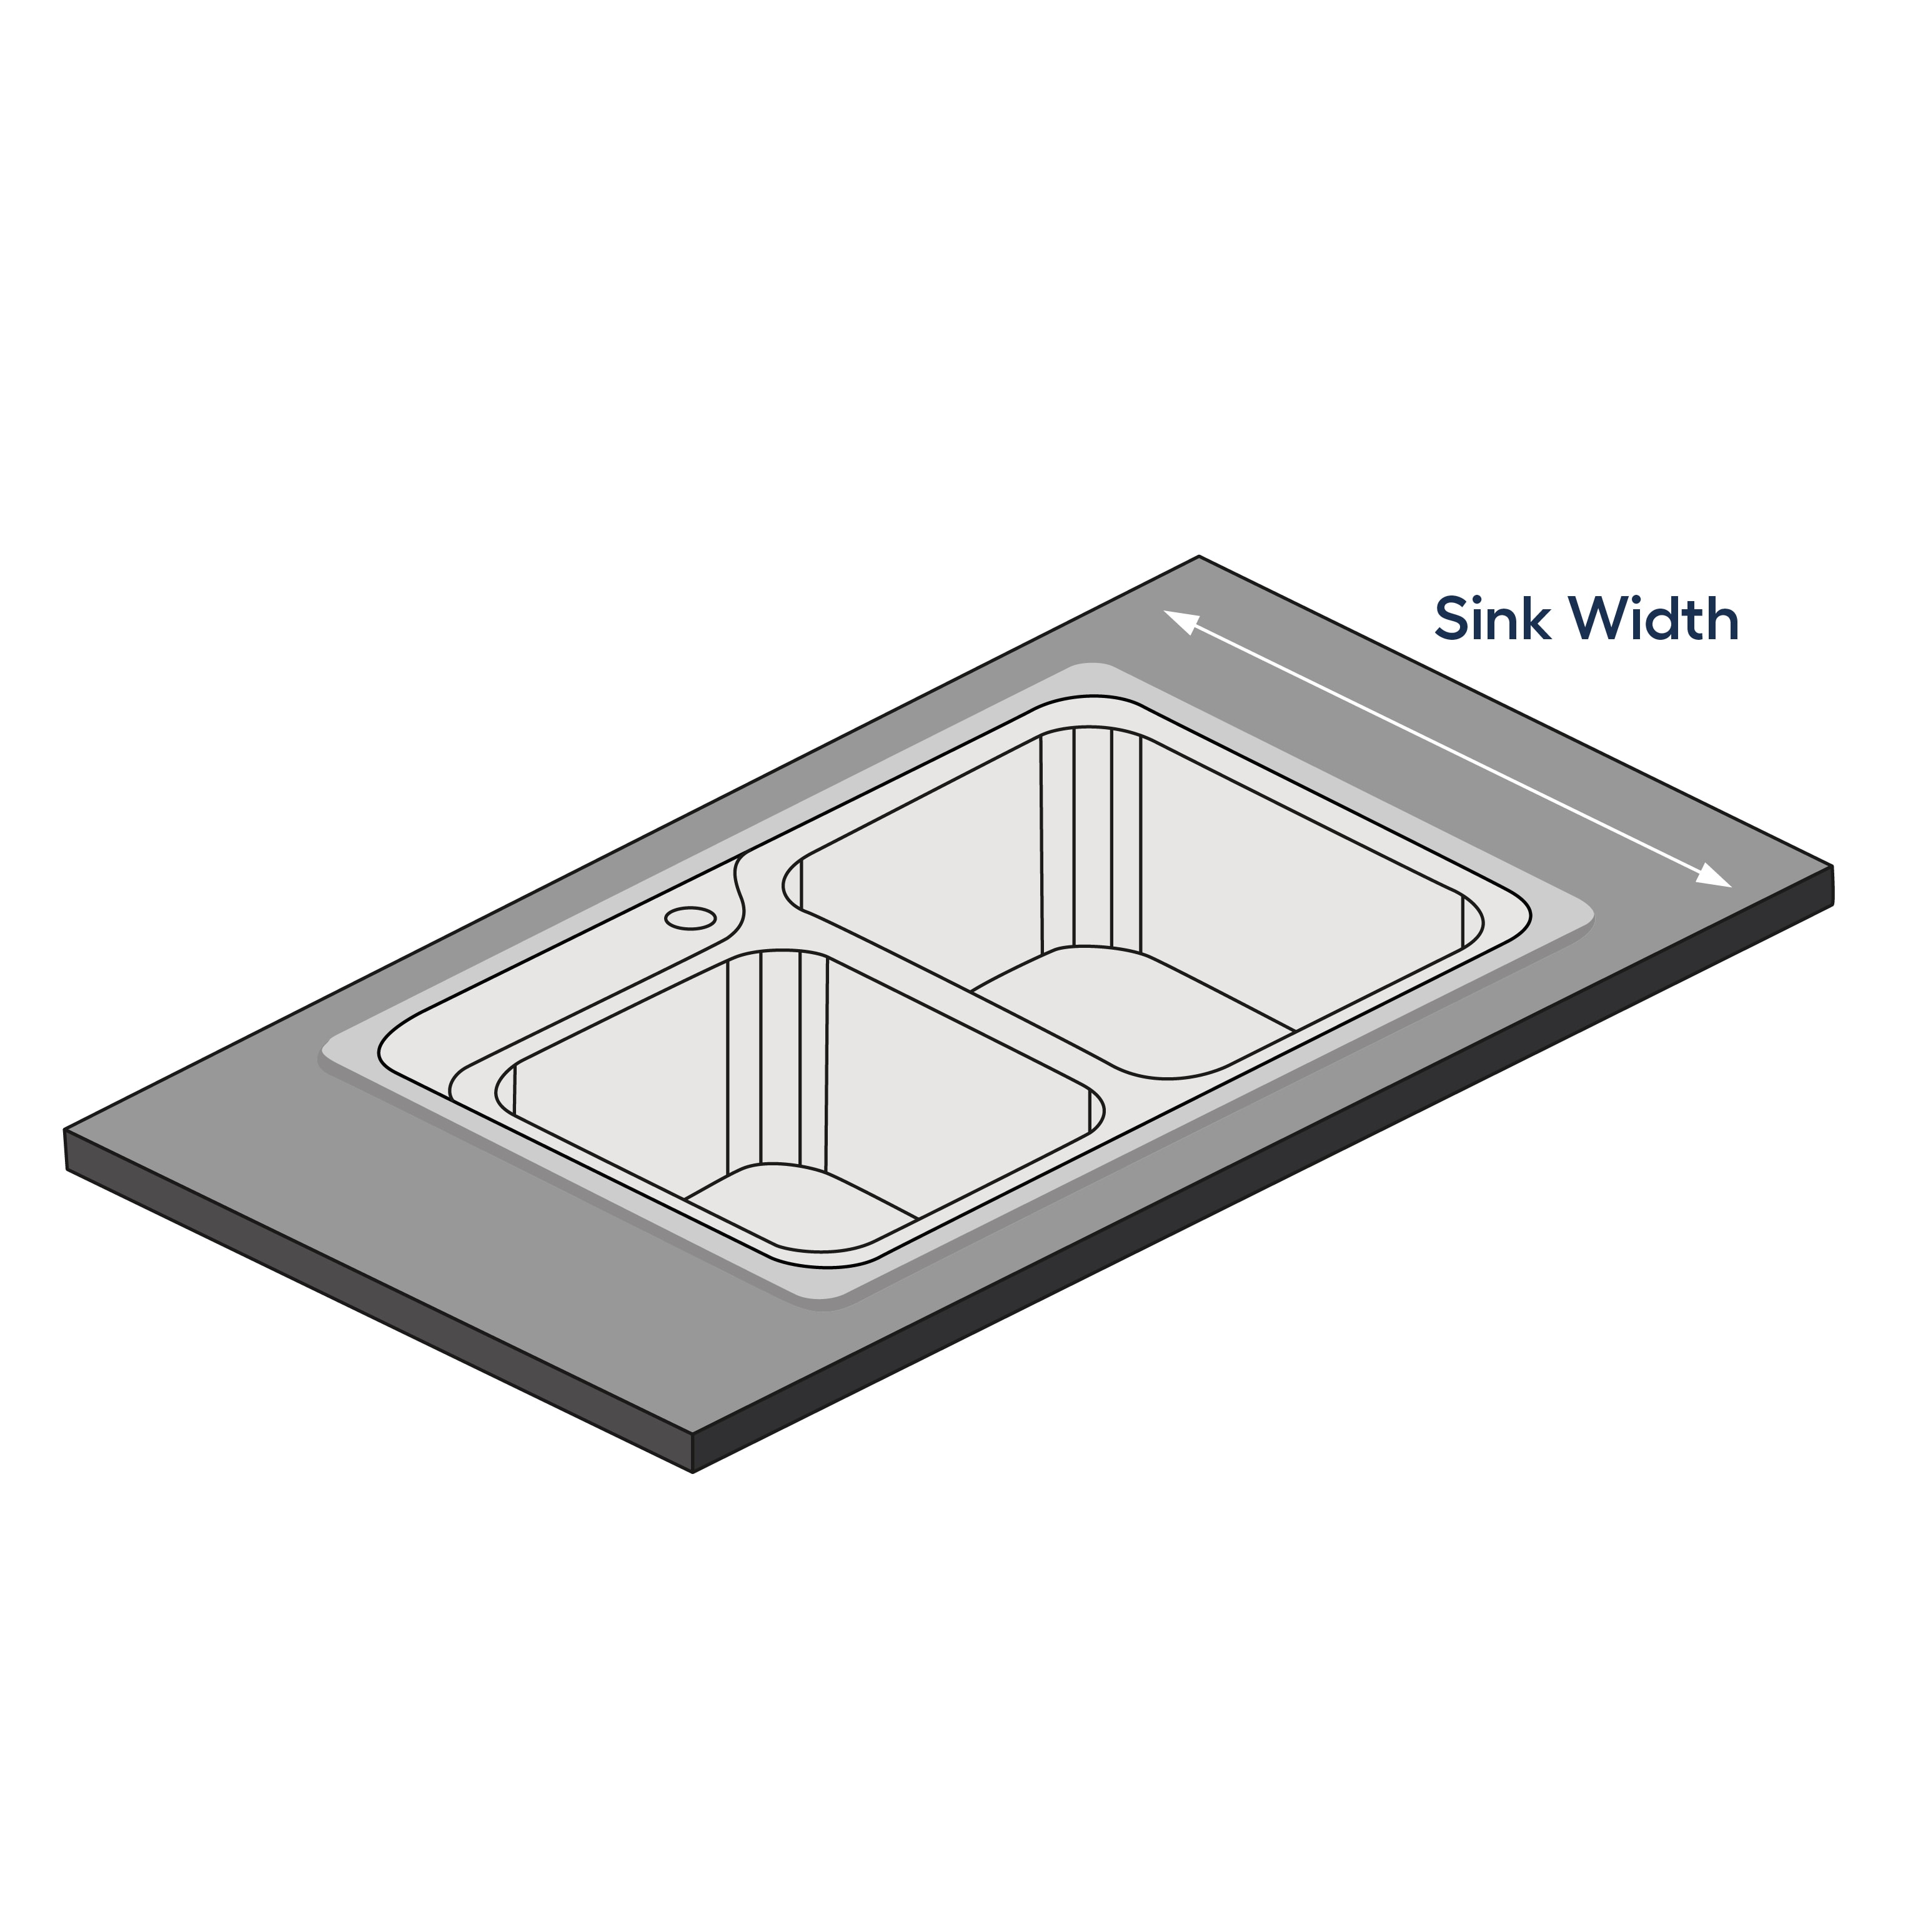
This is of the utmost importance, especially if you simply wish to replace an existing sink without modifying the cabinetry. Remember that the hole in the countertop can be made bigger but not smaller (i.e., you can buy a larger sink for your existing countertop but not a smaller one). The size of your sink will depend largely on the cabinet it sits in. The sink cannot be wider than the interior width of the cabinet. If the countertop has an integrated backsplash, the maximum width of the sink is 20 ½", compared to 22" for a counter with no backsplash. Here’s how to take proper sink measurements:
- Kitchen Sink Length: This measurement refers to how far a sink extends along the countertop. Start from the left edge of the sink and stretch your measuring tape over to the right.
- Kitchen Sink Width: Measure from the back edge of the to the front edge of the sink.
- Kitchen Sink Depth: Measure the top edge of the sink down to the bottom.
Bowl’s Depth
The bowl’s depth is generally between 6" and 12", with a 7" depth being the most common. Bowl depth is an important aspect to consider when replacing a sink if you do not want to touch the plumbing underneath. Choose the deepest model possible for your space, as a deep basin is perfect for cleaning large pots and pieces.
Pro Tip
If you’re replacing a drop-in sink with rims, start measuring from the outer lip of the sink rather than the basin itself. For an undermount sink, start measuring where the edge meets the counter.
Other Features and Characteristics to Consider
When buying a sink with pre-drilled faucet holes, you will need to choose a faucet set to match, which is why these two elements, though sold separately, are usually purchased at the same time. If for some reason, you end up with an unwanted faucet hole, it can be concealed with a cover, called an escutcheon, designed for that purpose.
Faucet holes are 1½" across and spaced 4" or 8" apart, centre to centre, to match the faucet configurations, which may have up to 4 holes.
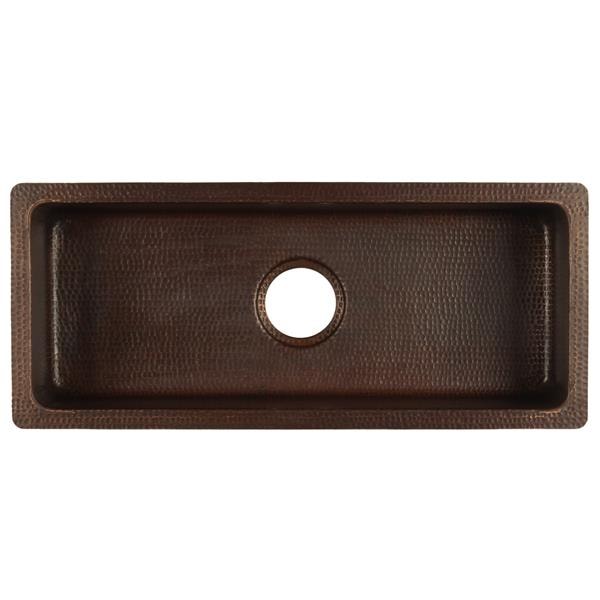
Drain hole and strainer. The strainer is an attachment installed in the sink drain hole providing the connection between the sink and the drain pipe. It is usually included with the new sink. All sink drain holes are 3½" in diameter. Most are situated in the centre of the sink or towards the back. Rear or offset drain holes are more practical since they provide a bigger flat surface in the bottom of the sink and more cabinet space underneath.
If a waste disposal unit is installed, it is usually fitted on the drain of the smallest bowl.
Rim. The sink edge, or rim, plays an important role in the sink installation method and in terms of cleaning. Drop-in or self-rimming sinks rest on the countertop and have a finished edge or raised rim designed to help prevent water spilling over the side. A drop-in sink must be secured and sealed with a waterproof adhesive caulk to prevent water and debris collecting under the edge.
For undermount sink installations, 3 types of rim "reveal" are possible:
- Part of the sink rim is exposed (positive reveal)
- The counter edge is flush with the bowl, so the rim is hardly visible (zero reveal) or
- The counter edge overhangs the bowl edge, so the rim is completely hidden (negative reveal).
When selecting a countertop and sink, you will need to mention your chosen type of reveal, so that the hole can be cut in the counter accordingly.
Shape. Sink shapes vary from a rectangular or square basin to a round one; the edges can be straight or curved. Look at the inside slope of the sink; the smaller the radius at the base of the bowl, the larger the useful capacity of the sink is. Consider corner sinks as well.
Thermal shock. Thermal shock is an essential factor to take into account. Kitchen sinks are repeatedly exposed to sudden temperature changes—anywhere from 40°C to 140°C in a matter of seconds—causing the sink material to expand and contract, which can lead to cracks and wear. While a stainless-steel sink is highly resistant to thermal shock and will not suffer damage, acrylic sinks will eventually show signs of wear.
Make Sure Your Kitchen Sink Remains in Good Shape
Each sink material has its own cleaning and maintenance requirements, but there are some best practices that apply to all:
DOs:
- Rinse the sink after each use.
- Use soft cloth to wipe, clean, and dry.
- Use a gentle soap for regular cleaning, then rinse with warm water.
- Wipe the sink dry after cleaning.
DON’Ts:
- Use abrasive cleaners.
- Use harsh materials (e.g., sponges, scrubbers, steel wool).
Some types require special care and/or specific cleaning products:
Stainless Steel |
|
Fireclay |
|
Copper |
|
Enamelled Cast Iron |
|
Stone |
|
DIY Recipes to Try at Home
Pro Tip
To prevent clogs, use drain strainers, periodically flushing the pipes with hot water and vinegar, and avoiding pouring grease, oil, and coffee grounds down the drain. Always remember to scrape off plates and put grease and grounds in the compost before rinsing.
Pick the Perfect Kitchen Faucet
Make Your Everyday Tasks Easier with Accessories
- Soap dispensers free up space on the work surface. Again, this kind of accessory is much easier to put in when installing the new sink.
- Basket or mesh strainers will help you keep food residue out of the drain and prevent clogs.
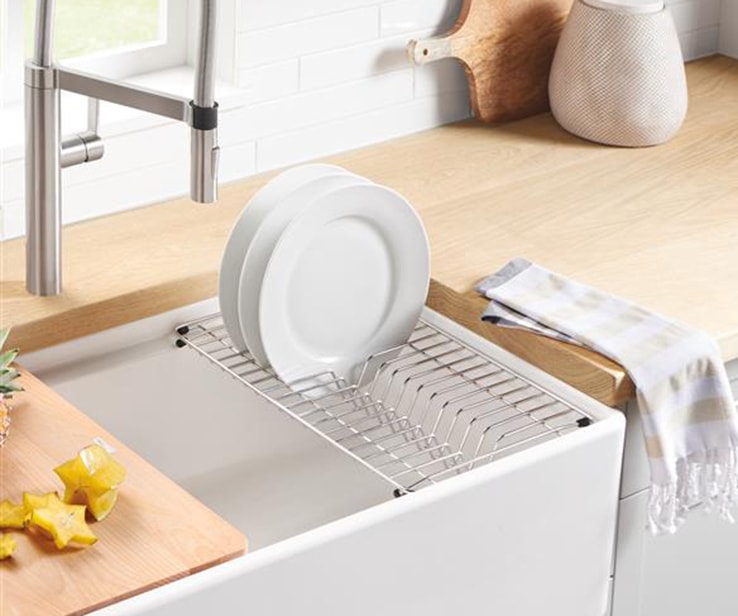
- Over-the-sink colanders, dish drainers, dish bowls, and cutting boards are a great option for single-bowl sinks and small spaces.
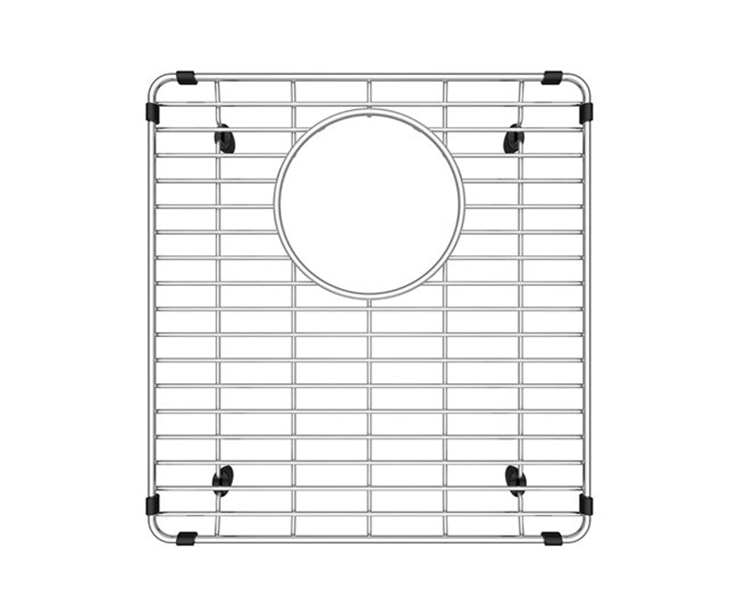
- Bottom grids protect the bottom of your sink while providing delicate dishware with an extra cushion.
- Sink caddies help keep everything you need within easy reach while decluttering your sink area.
